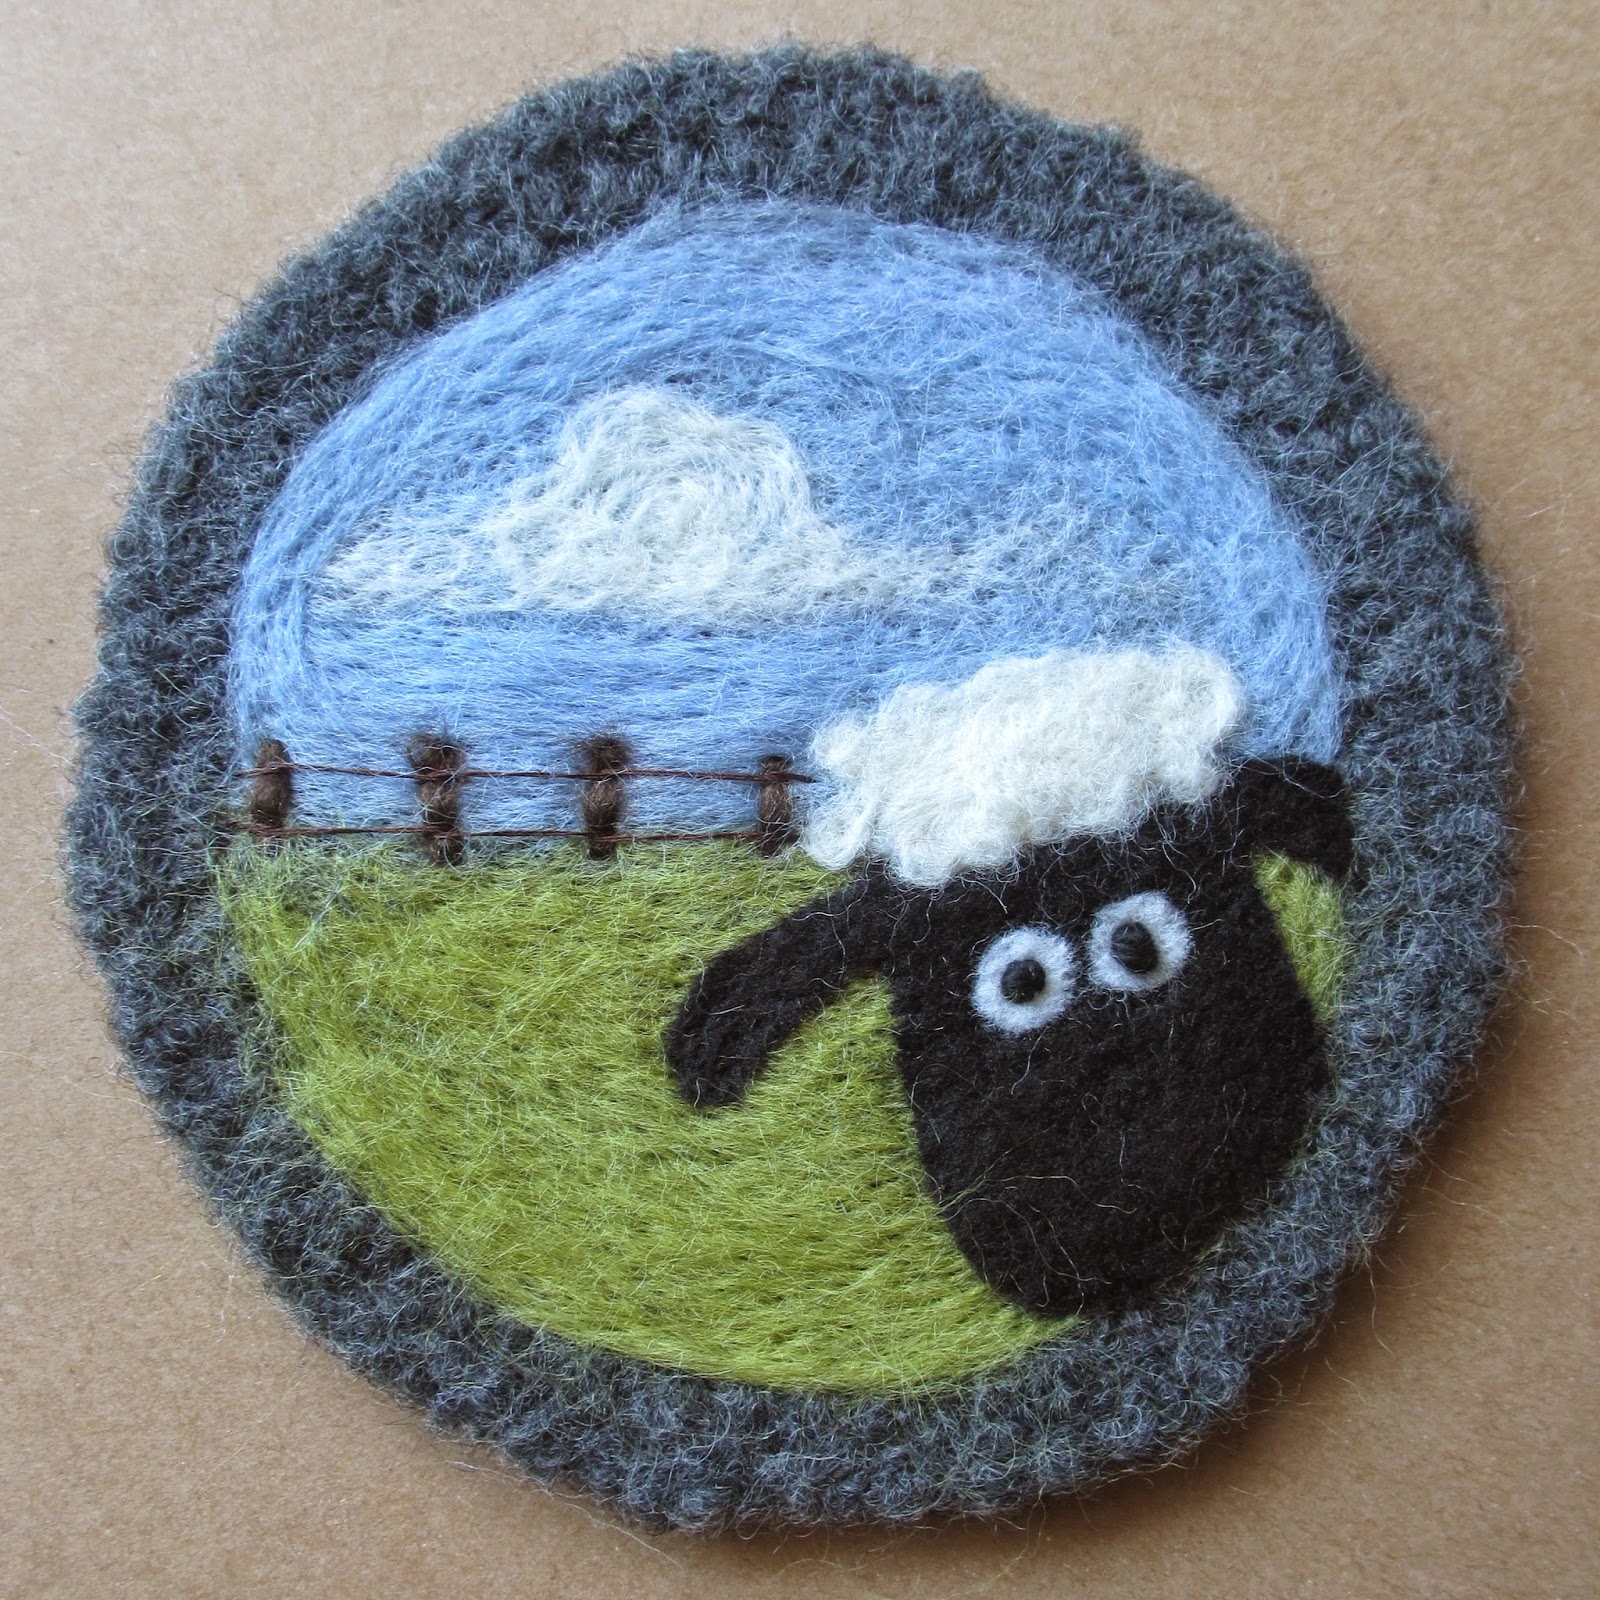
Here's the brief story about how this very exciting Shaun the Sheep coaster came to be. I'm going to share with you how I made my coaster (hey, cool - free pattern!) But you'll have to use your imagination to decorate your finished felted piece.
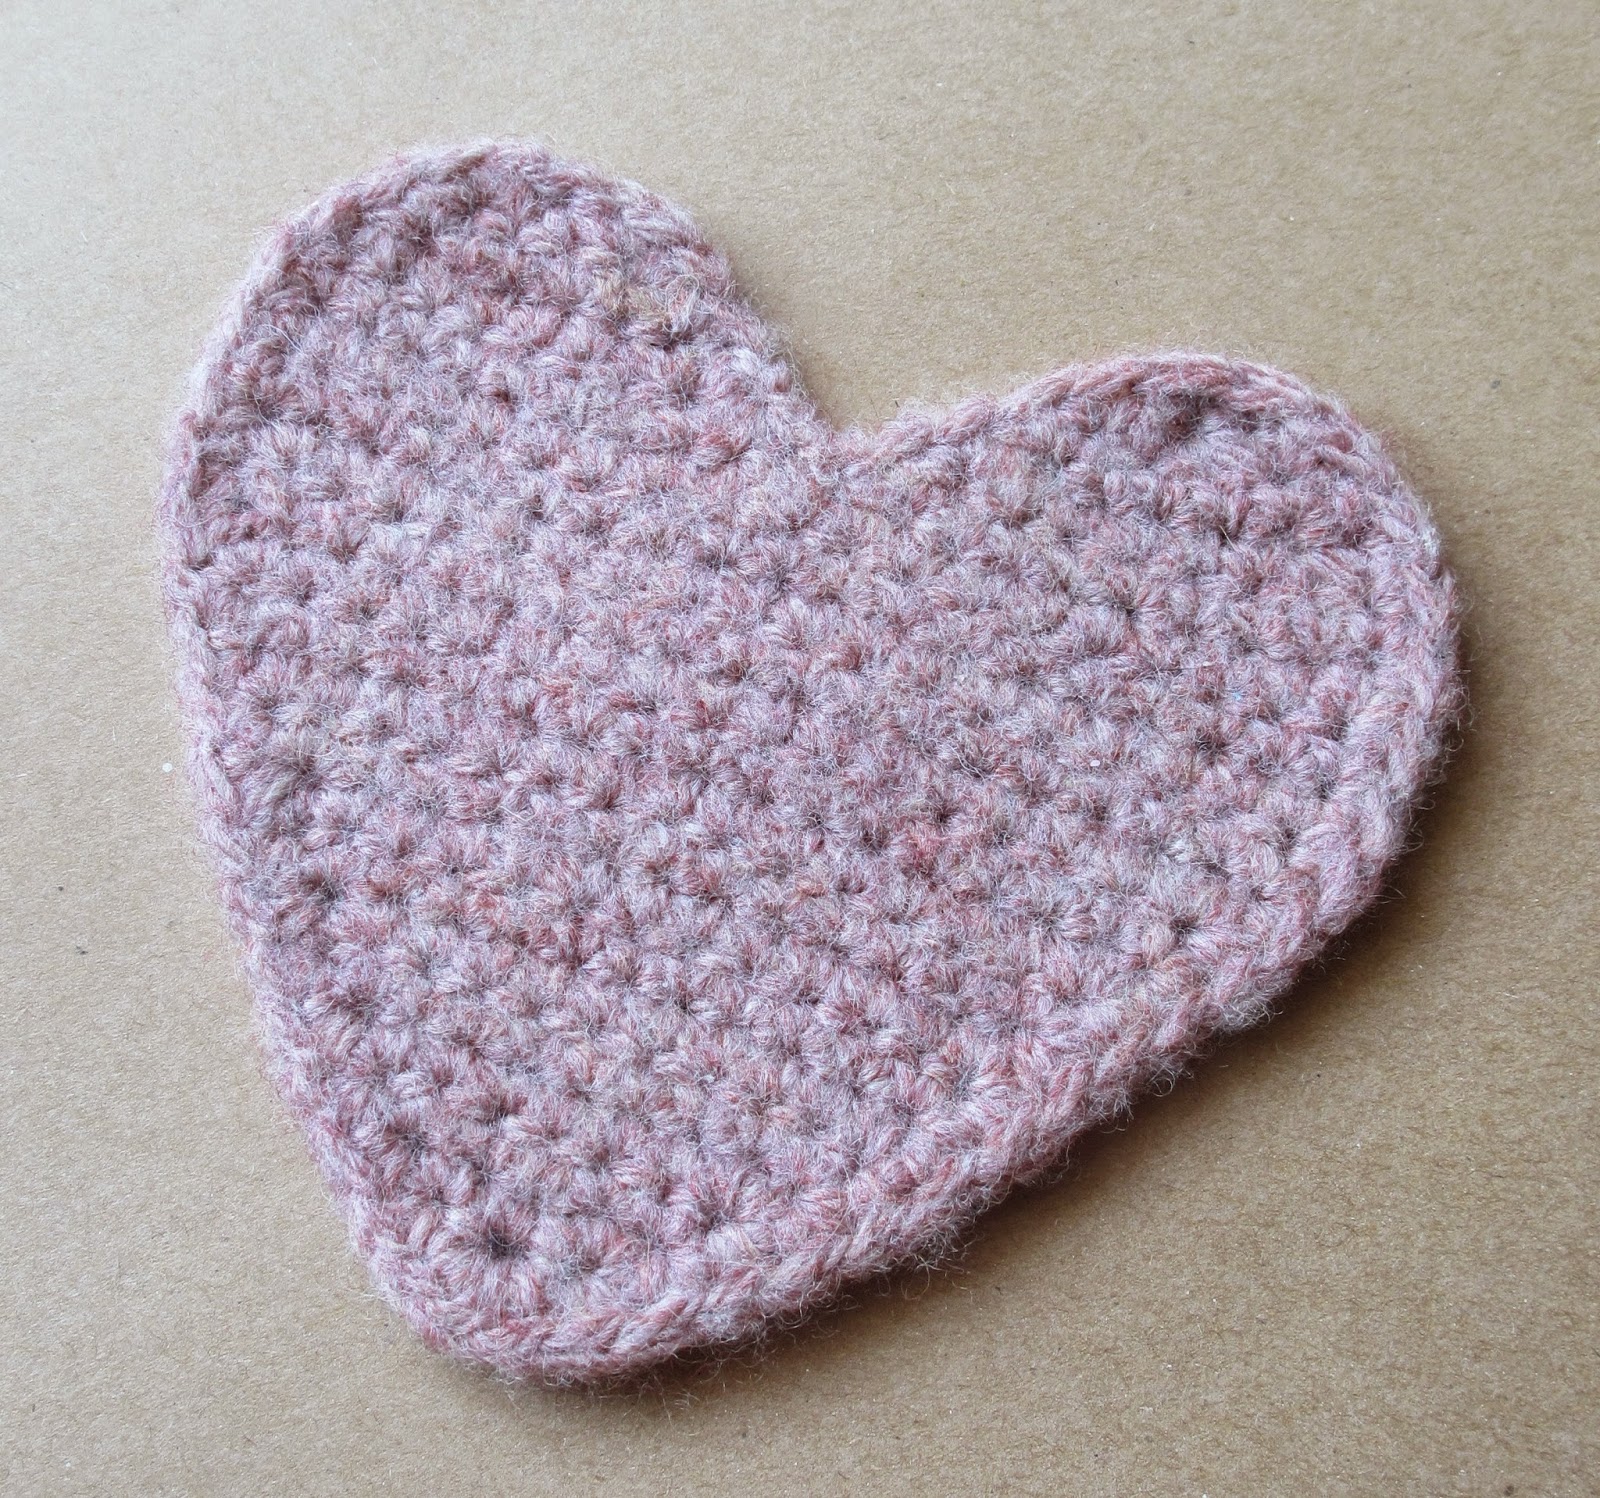
For a few years I've used this felted heart on my desk as a coaster. It works well enough I suppose, but lately I've been wanting to replace it with a round or square shaped coaster of some sort.
In the beginning, I didn't know exactly what I wanted, so I began with a crocheted circle. It's simple really.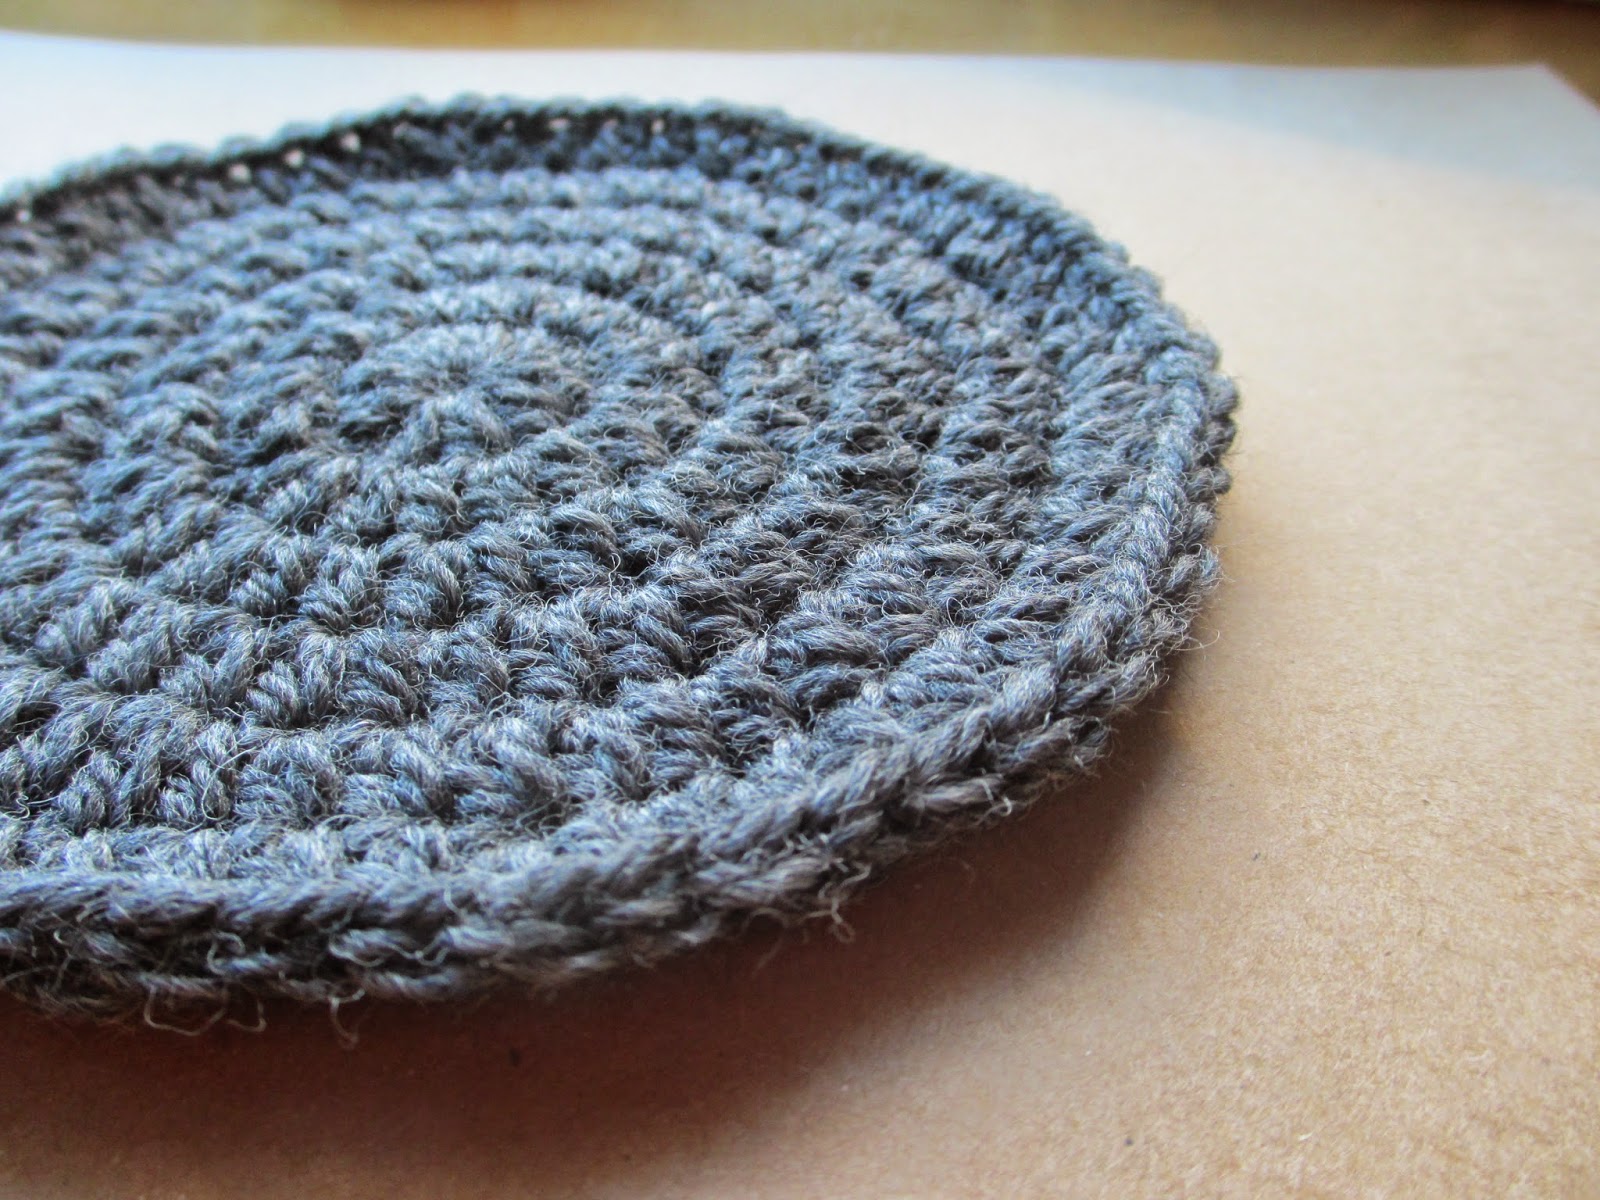
THE PATTERN
To make this coaster you'll need:
100% wool yarn for felting (I used Paton's wool)
Crochet hook US size I9/5.5MM
Yarn needle
Scissors
100% wool yarn for felting (I used Paton's wool)
Crochet hook US size I9/5.5MM
Yarn needle
Scissors
Begin with a magic loop.
Round 1: Ch 1. 10 hdc into the magic loop. Join. (10)
Round 1: Ch 1. 10 hdc into the magic loop. Join. (10)
Round 2: Ch 1. 2 hdc into each st around. Join. (20)
Round 3: Ch 1. *2 hdc into the next st, 1 hdc into the next st*. Repeat around. Join. (30)
Round 4: Ch 1. *2 hdc into the next st, 1 hdc into the next 2 sts*. Repeat around. Join. (40)
Round 5: Ch 1. *2 hdc into the next st, 1 hdc into the next 3 sts*. Repeat around. Join. (50)
Round 6: Ch 1. *2 hdc into the next st, 1 hdc into the next 4 sts*. Repeat around. Join and fasten. Weave in ends. (60)
FELTING
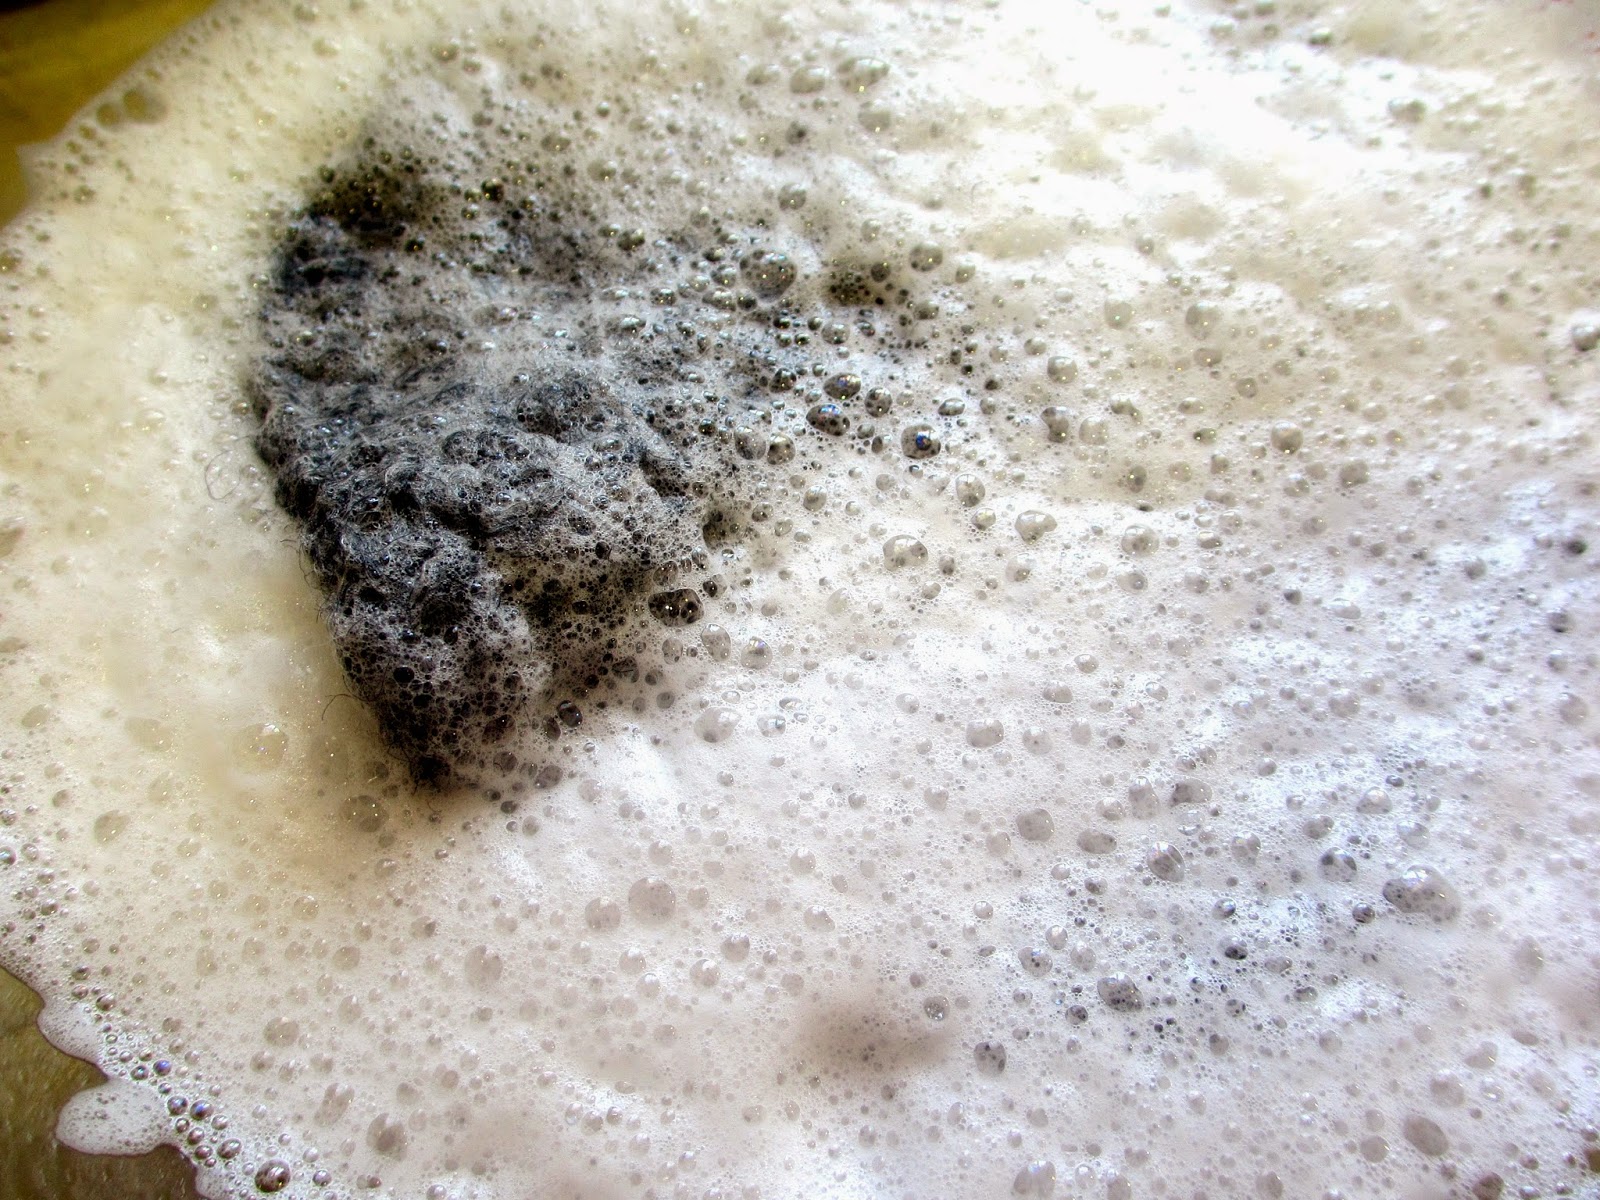
I'm not telling you what to do, but I'm sharing with you what works for me. There are different types of felting methods and the easiest is to toss your item into the wash along with jeans or towels, something heavy that will help with agitation. Click this link for tips and techniques for machine felting from LionBrand.com. Since I wasn't doing a load of laundry, I simply added a bit of detergent to a large bowl and filled it with HOT water. (Make the water as hot as you are able to handle working in it.) It would have been easier to felt if I had another item or two in the bowl to use for agitation, but I didn't so I did my best to rub the coaster against itself (sounds kinky!) until the fibers began to join and felt. Agitate, rub, fold over (don't twist!), squeeze, rinse in COLD water, repeat - until the piece is solid.
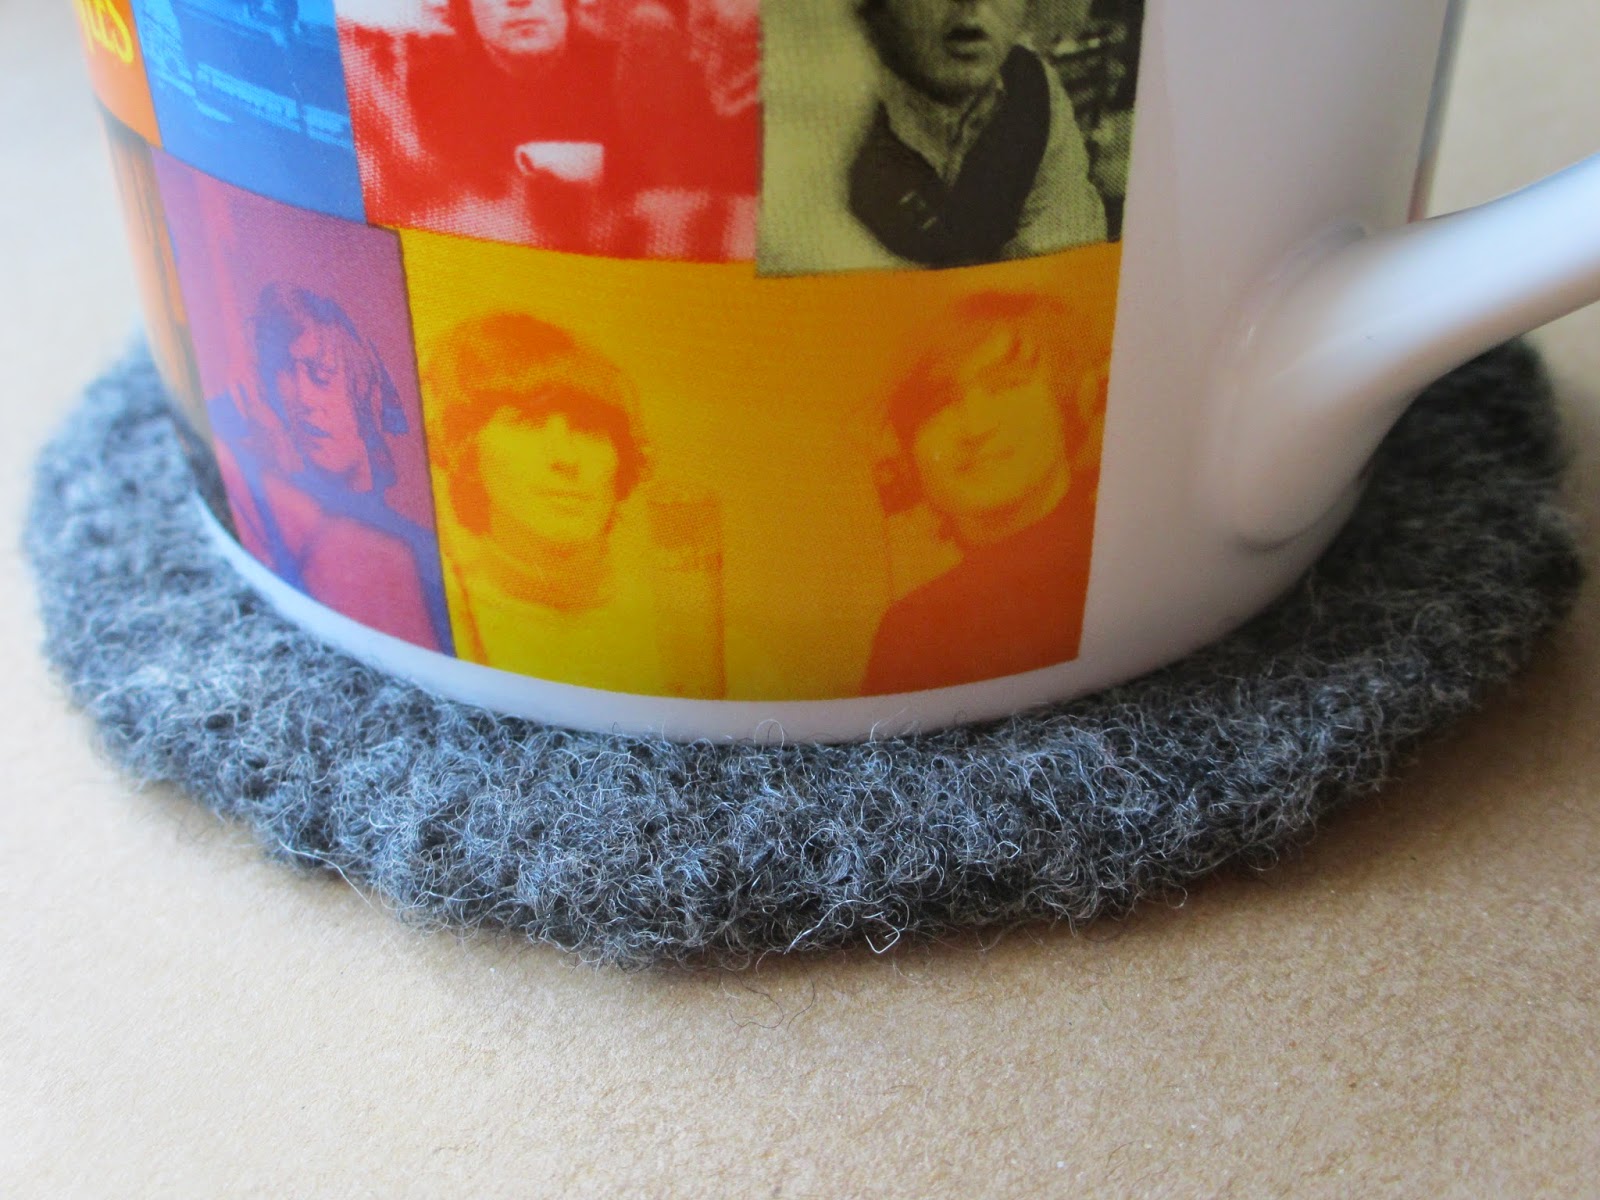
When I was finished, I tossed it into the dryer with some towels. Fancy, huh? It dried pretty quickly and then I was left with a solid gray felted circle. Success!
Round 5: Ch 1. *2 hdc into the next st, 1 hdc into the next 3 sts*. Repeat around. Join. (50)
Round 6: Ch 1. *2 hdc into the next st, 1 hdc into the next 4 sts*. Repeat around. Join and fasten. Weave in ends. (60)
FELTING
I'm not telling you what to do, but I'm sharing with you what works for me. There are different types of felting methods and the easiest is to toss your item into the wash along with jeans or towels, something heavy that will help with agitation. Click this link for tips and techniques for machine felting from LionBrand.com. Since I wasn't doing a load of laundry, I simply added a bit of detergent to a large bowl and filled it with HOT water. (Make the water as hot as you are able to handle working in it.) It would have been easier to felt if I had another item or two in the bowl to use for agitation, but I didn't so I did my best to rub the coaster against itself (sounds kinky!) until the fibers began to join and felt. Agitate, rub, fold over (don't twist!), squeeze, rinse in COLD water, repeat - until the piece is solid.
When I was finished, I tossed it into the dryer with some towels. Fancy, huh? It dried pretty quickly and then I was left with a solid gray felted circle. Success!
Except... that it was missing something.
I tinkered with a couple of thoughts, but I really didn't want to put a whole lot of time into this piece. I DO have other things to do, after all. I evaluated the colors I had to work with and decided I had a sky and grass in the box. I started to see something happen. I asked Monkey #1 what he was beginning to see. He said, "A farm!"
That was it. We love Shaun the Sheep and I felt confident that it wouldn't be too difficult to add him to my piece. And so it was done. What a lovely thing, that mischievous sheep, by my side at the desk.
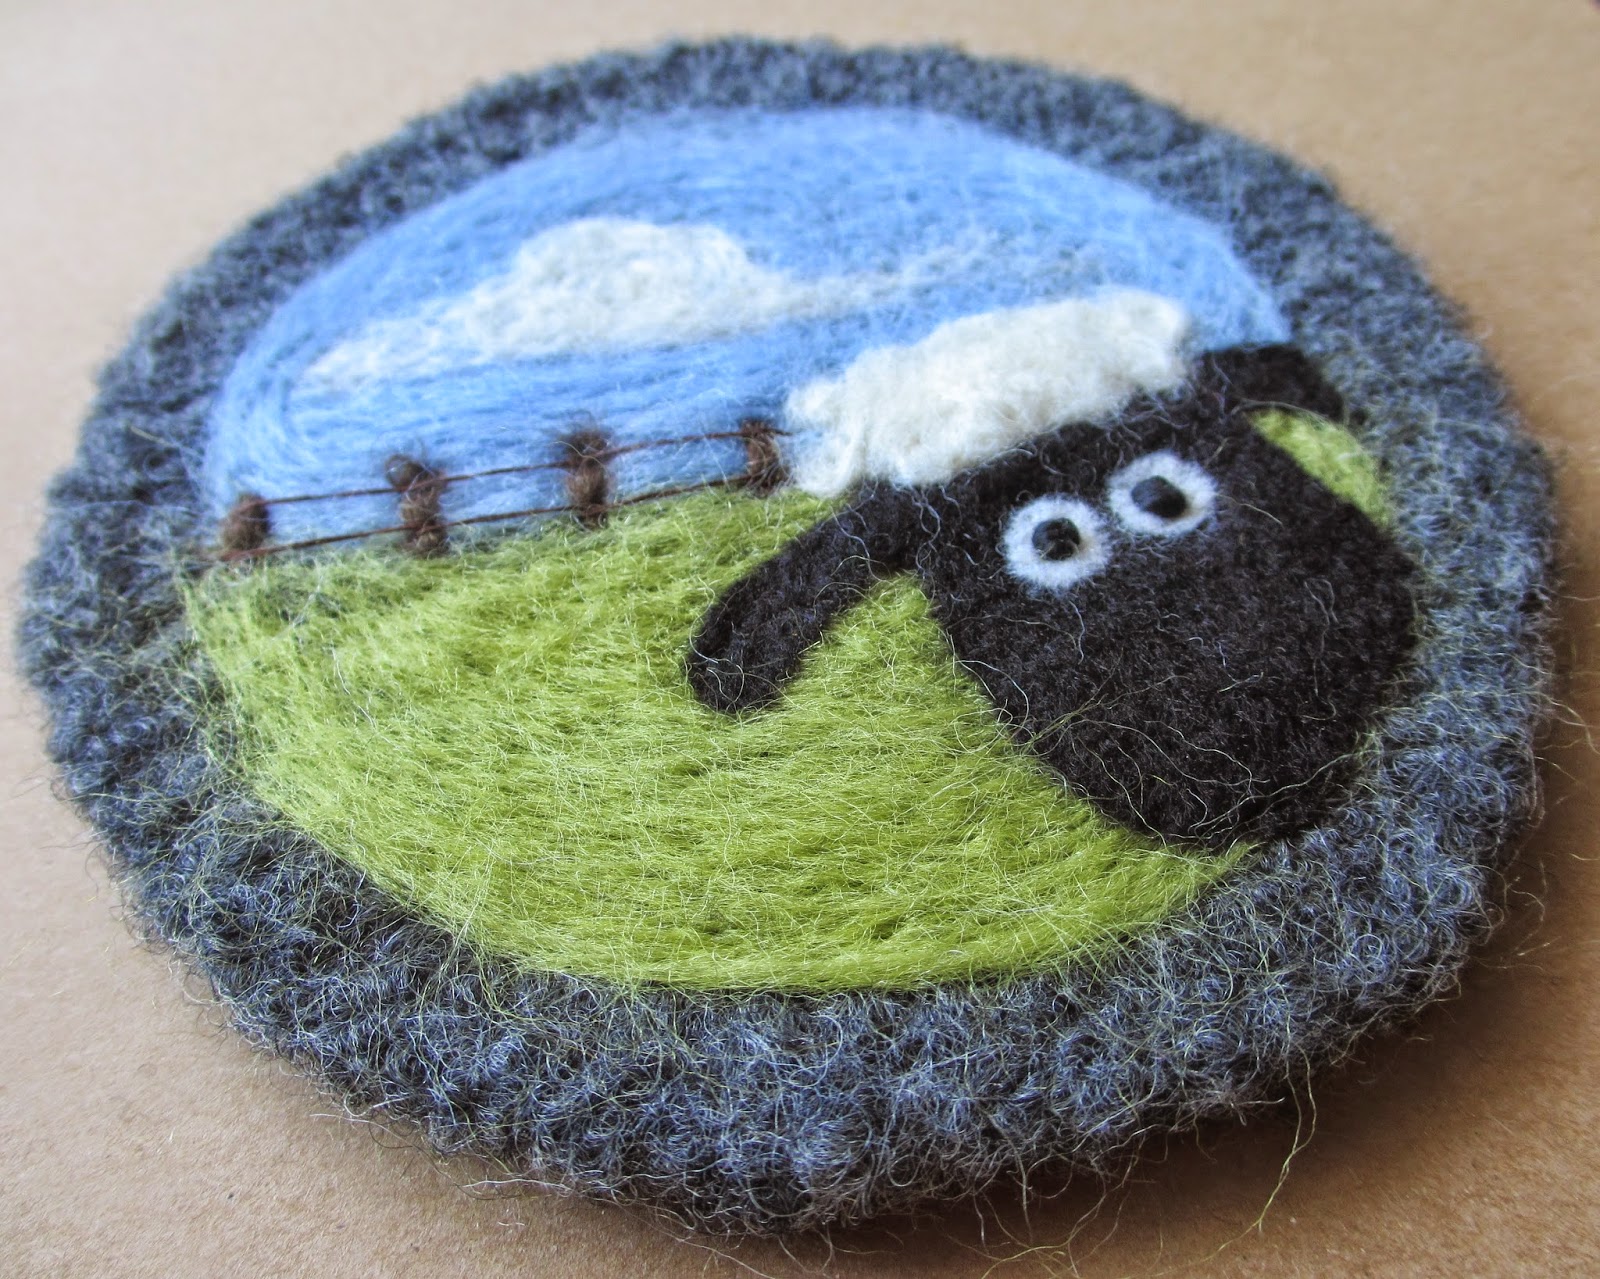
I hope this inspires you to make coasters for yourself. At least one very special piece of art to hold your morning cup of coffee or tea. They would also make great holiday and housewarming gifts. Please share your pictures with me on Facebook. I'd love to see what you come up with!