Tuesday, January 5, 2016

How To Tuesday - Playing With Distress Ink

I've recently discovered playing with watercolors and distress inks against my rubber stamped images.  I am absolutely having fun with the resist technique!  This is not a tutorial per se, but I will share a little bit of what I've been doing here as best I can.

Before we get started, I'd like to remind you that I am not a rubber stamp or scrapbook/card-making expert.  I design stamps.  I carve stamps.  I like to use stamps.  But when it comes to the knowledge of inks, powders, papers, tools, and methods... I'm still learning all of those things, too.  THAT is why this is not a tutorial.  I'm not going to tell you what you should do.  I encourage you to pick up some supplies to explore and discover this medium for yourself.  See what you like.  See what works best for you!

Here are a few tips to help get you started:

For the majority of us, standing in the rubber stamp aisle at the craft store can be extremely overwhelming.  There are 100s of different types of inks and tools staring right back at us.  You pick some up, you put a few back, you grab another color, you debate that color, then put it back...  Where do you begin?  As I was standing looking at the display of Tim Holtz Distress Ink, I decided it would be best to begin with the basics.  That meant I would need a red, yellow, and blue.  From there I could also have orange, green, and purple.  Perfect!  Of course, I wanted them ALL, but that's just not practical.  So, I picked up Picked Raspberry, Wild Honey, and Salty Ocean to begin with.
I bought the little daubers, too.  Those are fun!  I also bought the MISTER bottle by Ranger because it promised to produce a fine mist.  It does!  I'm glad I picked one up.  That was all I bought to get started because I didn't know if I would love it or hate it.  I'm pleased to say that I will eventually be adding more colors to my collection.

The supplies I used for these samples were:

watercolor paper (cut to 5" x 7", and scraps)
white pigment ink
clear embossing powder
heat tool
Tim Holtz Distress Ink
daubers
MISTER bottle
paint brush
laminating plastic (palette)
paper towels
p a t i e n c e
s e n s e   o f   a d v e n t u r e

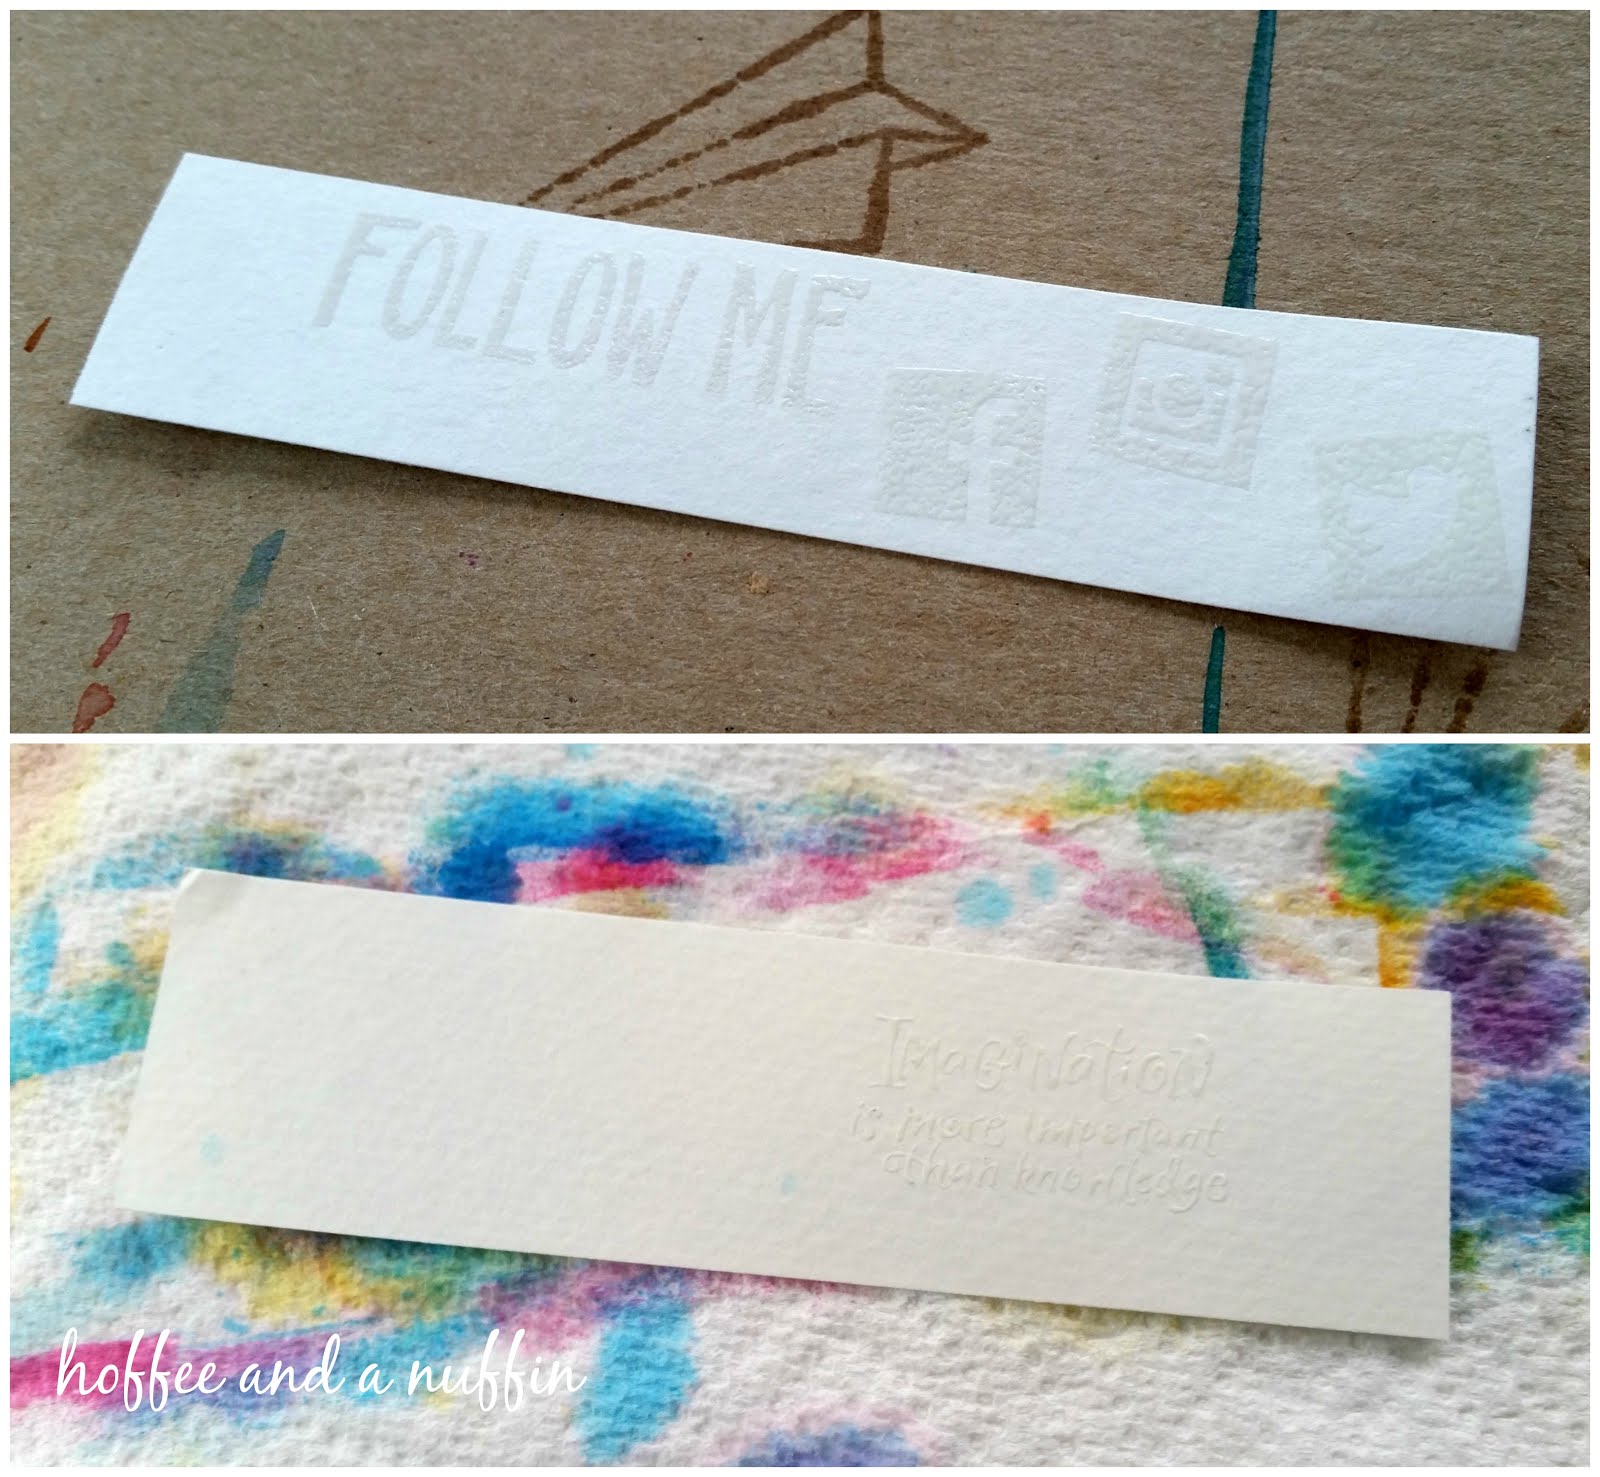
To begin, I stamped my images with white pigment ink onto watercolor paper.  Then I coated the wet ink with embossing powder and set it with a heat tool.
Then I cut a piece of laminating plastic (I used half of one side) and placed it on my table, smooth side up.  That is what I used for a palette.  I pressed the ink pad directly to the surface of the plastic, then spritzed it with the water bottle to make the ink wet.
From here we could do one of a couple of things.  On one of the book marks, the one that is very light and looks like watercolor, I turned the paper over and pressed it onto the ink.  Then I lifted it, turned it a bit, and pressed it down again.  It's very random.  It's very cool!  If you don't like the way it looks, you could dab your paper with a paper towel to lift the color (there will be residual color) and you could press it again.  Or paint over it.  Or throw it away and start over.  It's not a BIG deal.  Keep trying!
Working with distress inks for the first time.
The other, darker bookmark was created using the daubers.  That was more of a dry application of ink.  I used the daubers to sort of "paint" the color onto the paper.  There is a LOT more control with that method.  When I first started, I tapped the charged dauber onto the paper (dot, dot, dot) then later discovered that I could rub the dauber around to better blend the colors.  Try anything.  See what works for you.
The result of this method would have been different if I had spritzed the paper with the water bottle.  The colors would have played and blended like watercolors.  I decided that I liked the bold color on the paper and chose to add a few droplets of water for interest instead.  The way this ink works is that it is reactivated when you apply water to it.  So... for this bookmark, for example, when I added droplets of water to it and waited for about half a minute, then pressed a dry paper towel to it it lifted the water along with the ink in those spots to create sort of a "bleached" effect on the paper.  It's cool!  Give that a try.

Another thing to try is to paint with the wet ink from the palette with a brush like you would with watercolors.  What's really cool about a stamped, embossed image, is that you can get color to "pool" inside the raised surface, OR, you can use that surface as a barrier to keep color away from an area.
...and keep those paper towels nearby!  You'll use them to clean up little spills and extra sprayed water.  They can also be used to wipe your palette clean between projects.
 

I hope this helps to give a little bit of an idea of what's been going on in my little corner of the world.  I hope you feel inspired to grab a few colors and give it a try.  Be brave.  I don't think you will be disappointed.
(Hibiscus and Social Media hand carved rubber stamps are sold in my Etsy shop.) 


Tuesday, October 6, 2015

Coffee Sleeve Hand Stamped Tag Tutorial

With a few basic supplies and less than an hour of your time, you can make about 30 tags for your handmade coffee sleeves.

Make them any way your heart desires.  Here, I'll explain how I made mine.  Gather your supplies:

card stock
ink
paper cutter
1/8 inch hole punch
pen/marker
Tombow brush pens and blender pen (optional)
colored card stock (optional)
scissors
thread, yarn, or embroidery floss
I cut my paper down to tags measuring 2" x 1 1/4".   At this size I was able to get 30 tags from one 8 1/2" x 11" piece of card stock.  

After they were cut, I stamped my coffee cup with sleeve rubber stamp on one side (closer to the bottom than the center to allow a little room for the hole at the top of the tag.)

Using my Tombow brush pen I added some color with an ombre effect to my sleeves for a simple bit of color.  It worked up rather quickly and I was finished with that part in only a couple of minutes.  If you enjoy painting, the same effect could be achieved with watercolors.  Of course, you don't have to get super fancy with your sleeve.  Let your imagination steer your project in the direction of your own style.  Make it unique to YOU.

When the decorating was done, I punched a hole at the top of each tag.  I discovered that if I cut a skein of embroidery floss at each end (cut through ALL of the loops!) I was left with a pile of 6" pieces of thread to attach to my cards.  Those were finished with a basic overhand knot.

I wrote the price on the sleeve with my trusty Staedtler pigment pen then stamped care information, hand wash and dry flat, on the backside using my laundry care stamps.

That's it!  Or...

If you're like me you've got stashes of bits of card stock that you just couldn't bring yourself to throw away.  You know, because SOME DAY you'll need those bits of pretty paper.  Well, this is it.  This is what you've been saving those for.  If you want to make "fancy" tags, maybe for a birthday gift, or a shower gift, or a "just because" gift, all you need to do is stamp the coffee cup with sleeve rubber stamp onto those bits of pretty paper, then cut out the sleeve portion and attach it to your card with a bit of glue.  How cool is that?  And simple, too!
Either way you make these tags, you'll be sure to receive compliments on them.  Have fun and HAPPY CRAFTING!

Tuesday, September 15, 2015

Tips for Mounting Your Hand Carved Rubber Stamp

When mounting hand carved rubber stamps to wood, I would recommend using a pigment based ink such as Memento or VersaMagic by Tsukineko.  Of course, you may use any brand of ink you prefer.  I just happen to like these.

 STEP 1: Apply ink to your rubber stamp.
 STEP 2: Stamp the image to the top side of the wood mount.
 Looks great!  (It would be a good idea to clean and dry the stamp before moving on.)  Next...
STEP 3: Apply adhesive to the back side of your rubber stamp.  (I've used both E-6000 and Aleene's and they each work well.)
 STEP 4: Attach the rubber stamp to the wood mount.  Try to match the direction of the stamp with the image on the other side.
STEP 5: Set your rubber stamp aside in a safe place until the glue is fully cured (according to package directions.)  Remember that your mounted rubber stamp cannot be cleaned under running water.  To clean: Press stamp onto damp paper towel and gently pat dry.