I was asked recently to make a Hello Kitty earflap hat and matching fingerless gloves. That's not really what I "do", but it's something I can do. There are lots of patterns out there for hats, earflap hats, Hello Kitty hats, bows, ears, gloves, etc. (Hint: Ravelry.com is a GREAT resource for patterns.)
I'll share with you what I did.

HAT: Pick your favorite pattern for making a hat. Some people like single crochet. Some, like me, prefer a half-double crochet. Some like double crochet. Pick your favorite. The body of the hat is simple; it's white with an accent color trim. What color would you choose? (Need a pattern? Check Ravelry!)
BOW: The Crochet Bow Barrette by The Enchanted Ladybug is the one I chose to use for my hat. It was an easy to read pattern that worked up quickly.
EYES and NOSE: Elizabeth Trantham actually has a Hello Kitty Hat pattern listed on Ravelry, but the only parts of it I used for this hat were the directions for the nose. When I made the eyes with the larger oval, it didn't look quite right on my hat. Play around with it and see what works best for you.
EARS: There are lots of patterns for ears out there. None of them looked quite right for me, so I decided to make my own. Since I used an 'I' hook for the rest of my hat, that's the hook I used also for the ears.
Materials:
Worsted weight yarn (I used Vanna's Choice)
I hook
Tapestry Needle
The ears are worked in the round. Do not join the rounds.
Make a magic ring, 6 sc in ring. Pull tightly to close. Mark the beginning of next round.
Round 1: sc in each st around. (6 sts)
Round 2: 2 sc in each st around. (12 sts)
Round 3: sc in each st around.
Round 4: [2 sc in next st, sc in next st], around. (18 sts)
Rounds 5-6: sc in each st around.
Fold ear in half and slip stitch the opening closed. Pull a long yarn tail through and sew to your hat. This makes a nice, thick ear that can be shaped easily.
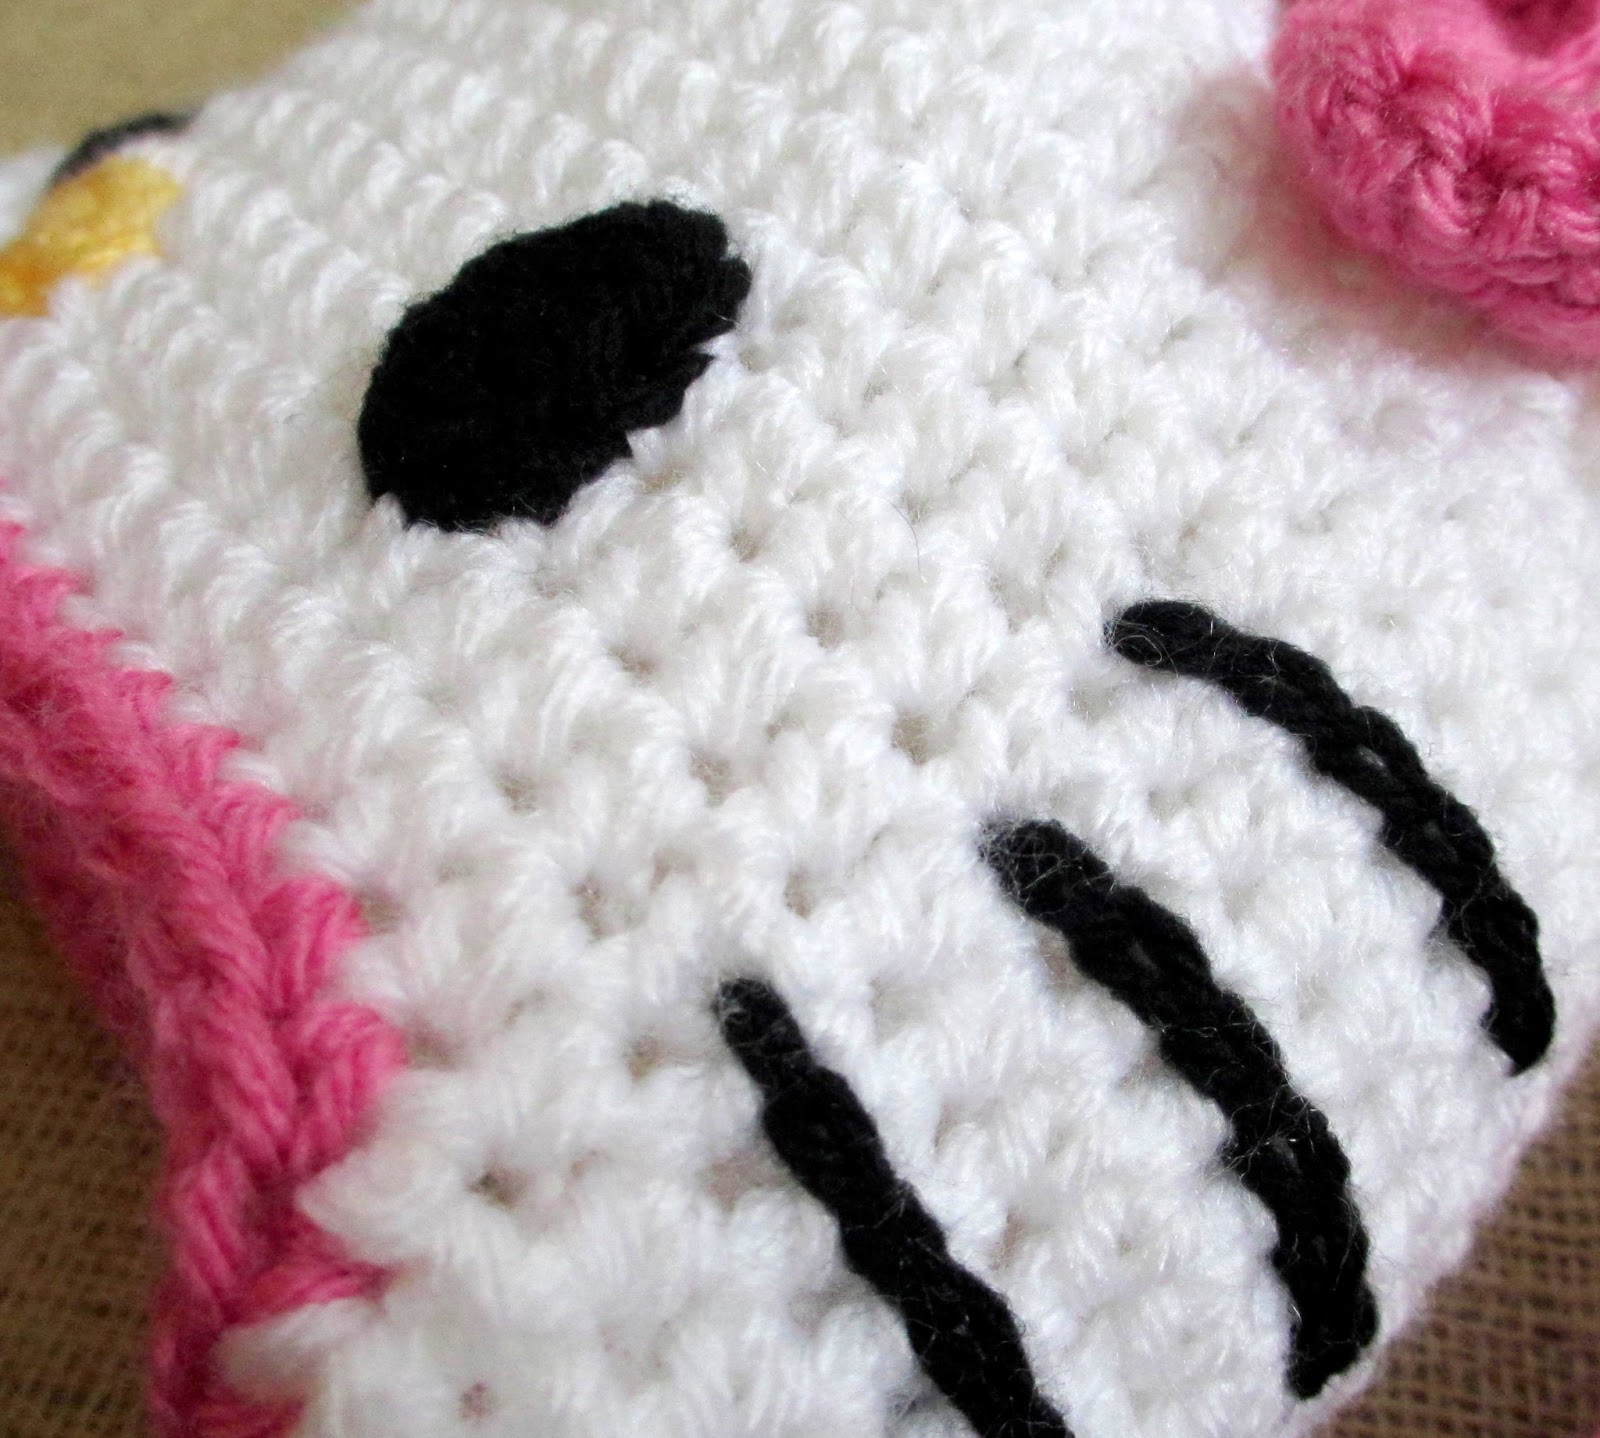
WHISKERS: I didn't like the look of a straight stitch on the hat for the whiskers, so I decided to embroider them with a chain stitch instead. It makes them a little thicker and more uniform. But hey - do what you like best! Make it your own.