Monday, October 13, 2014

Create DIY Stitch Markers Using Rubber Stamps, Shrink Film, and Permanent Markers.

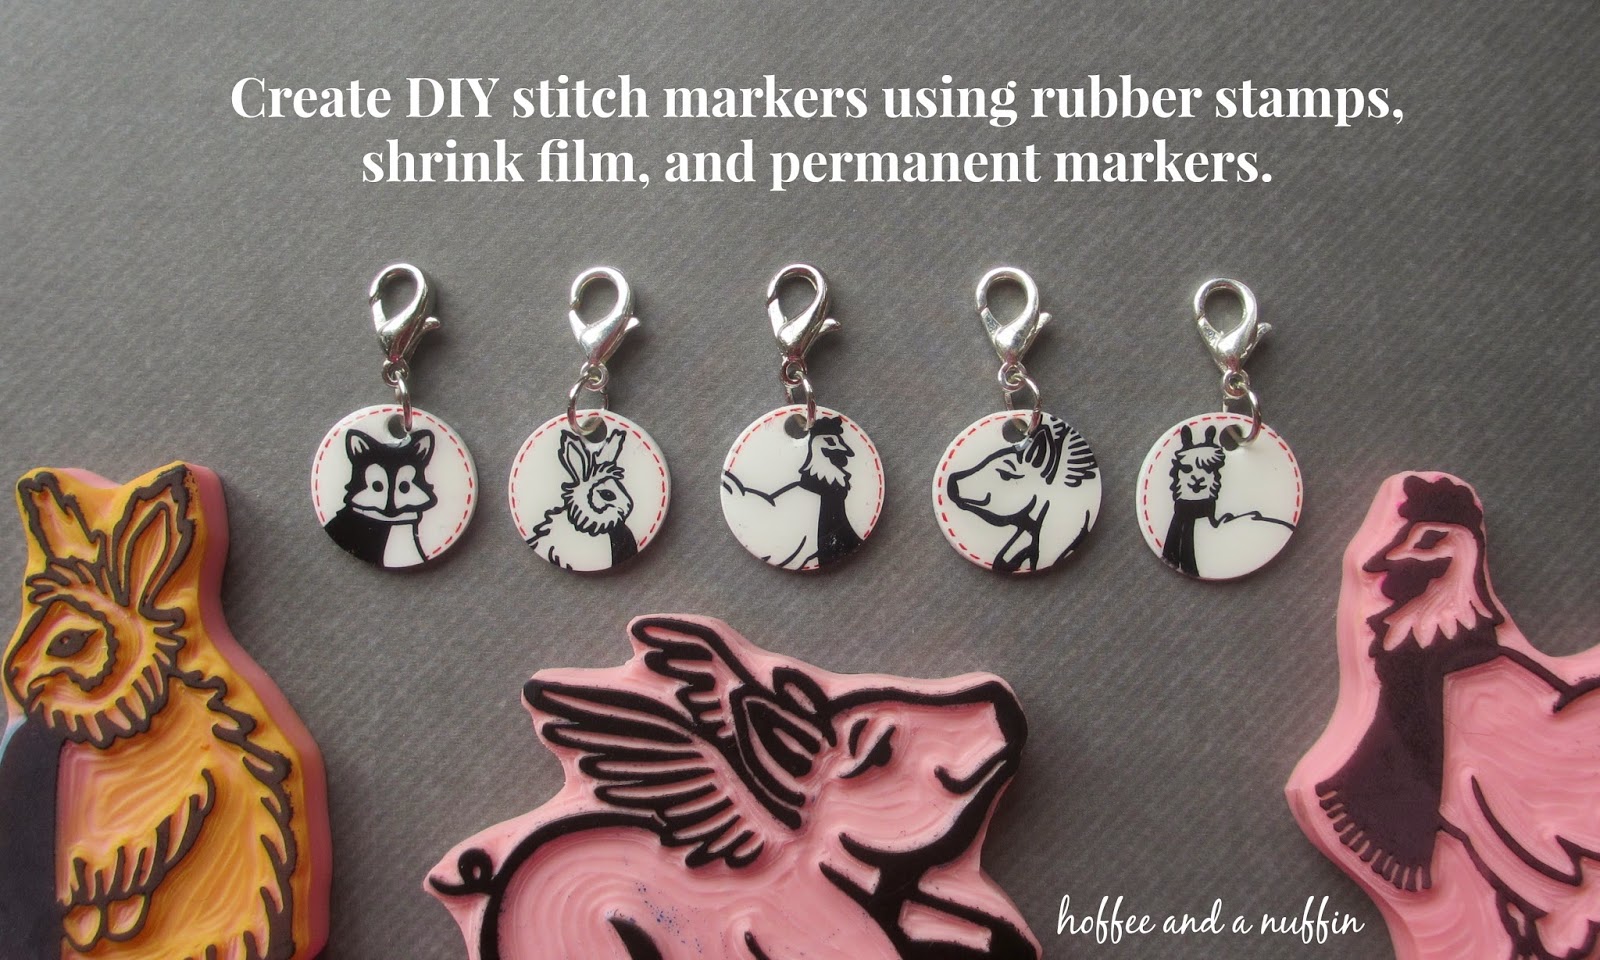
You can create your very own handmade crochet or knitting stitch markers using rubber stamps and shrink film.  There are probably a number of ways to do this.   Experiment with your supplies to see what works best for you!  I'll share with you what I did and hopefully it will inspire you to pencil in some crafting time and make a set for yourself, for a friend, or for those on your Christmas list.
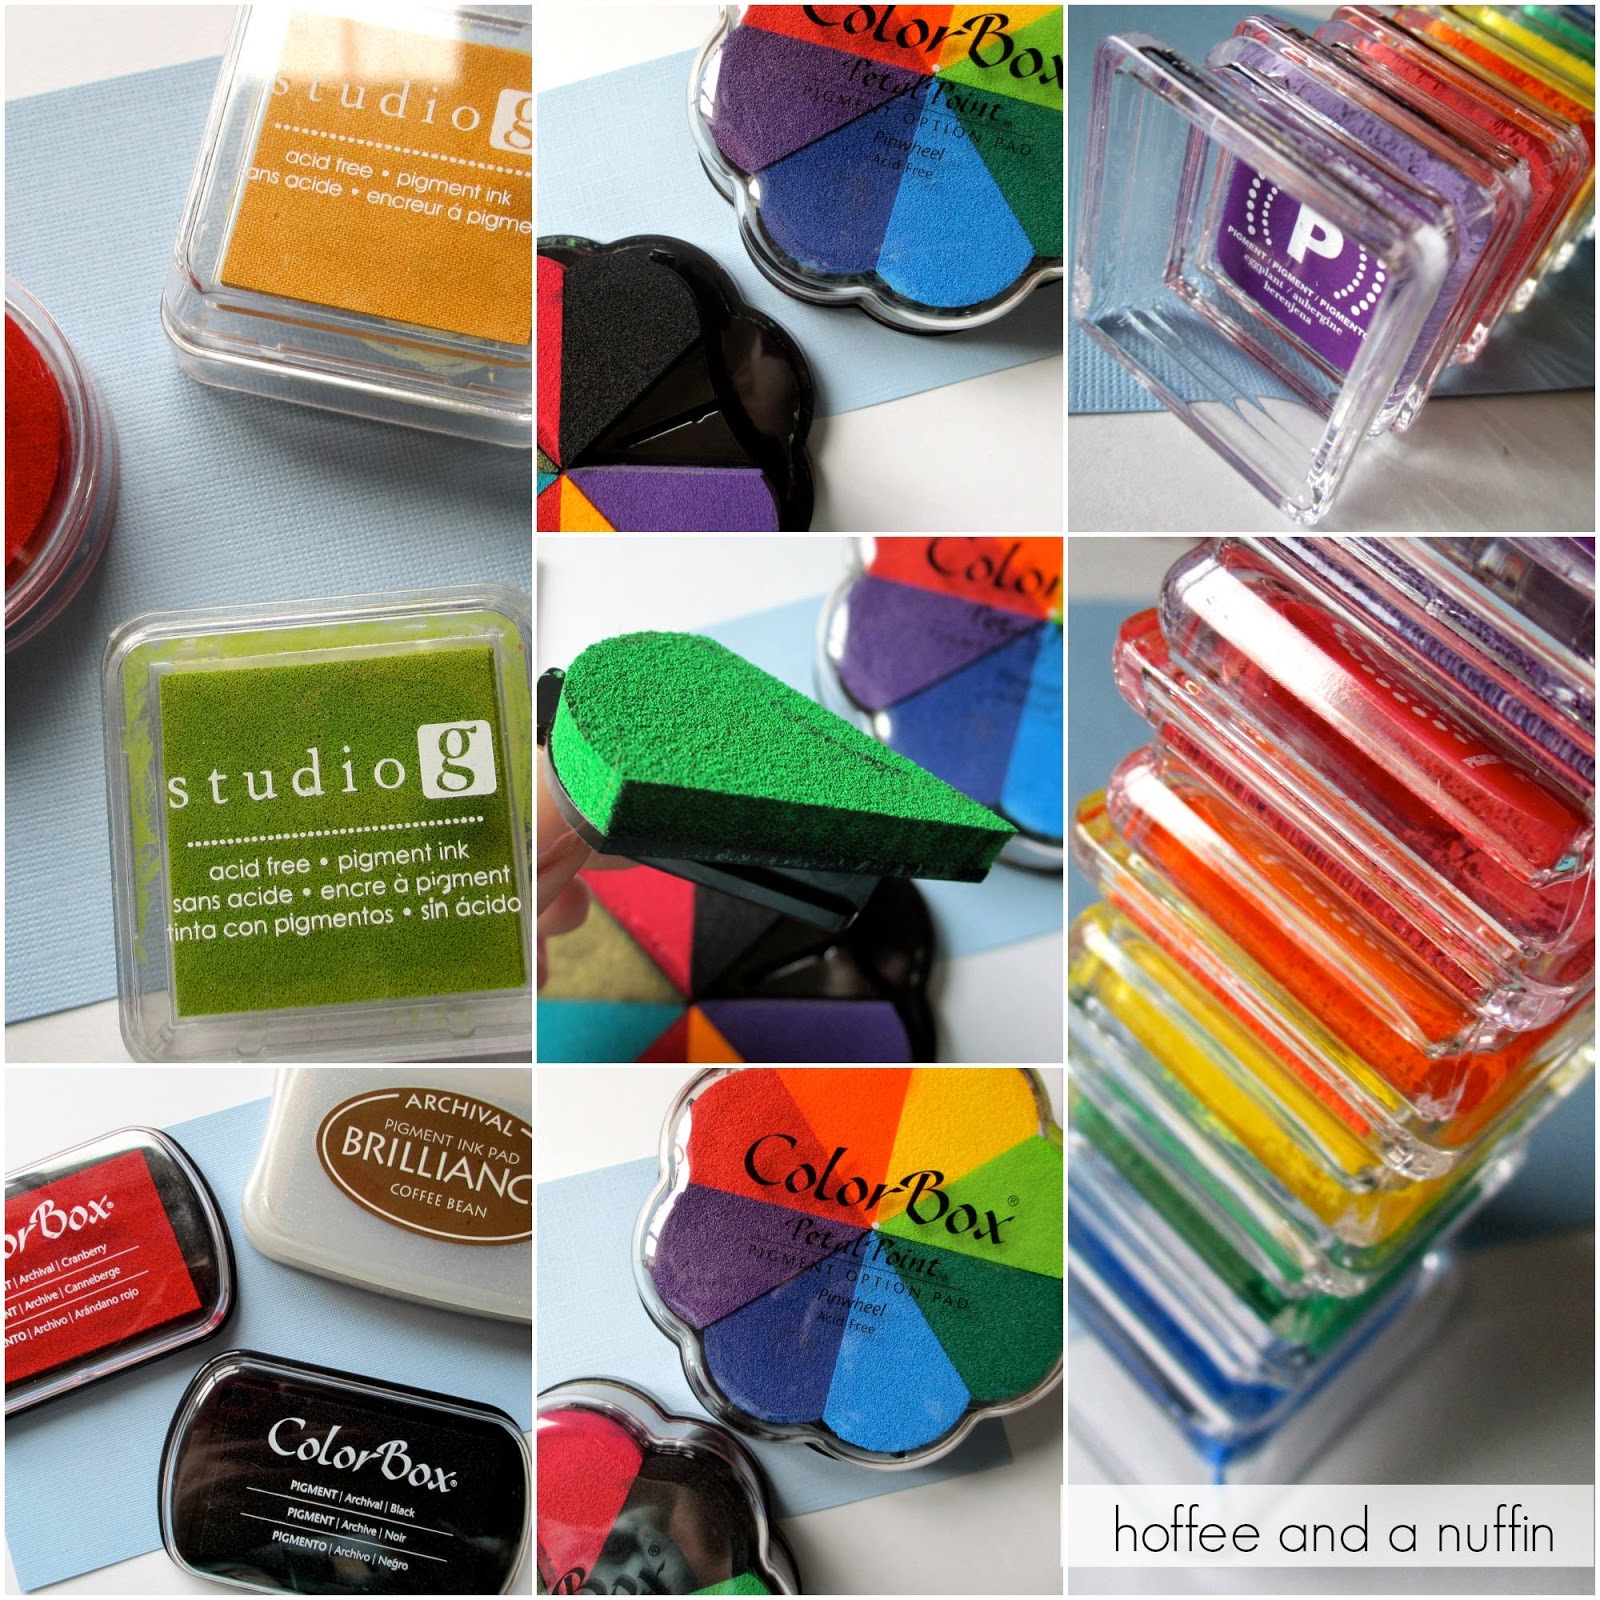
I punched white shrink film using a 1.5" circle punch, then stamped my image using StazOn ink.

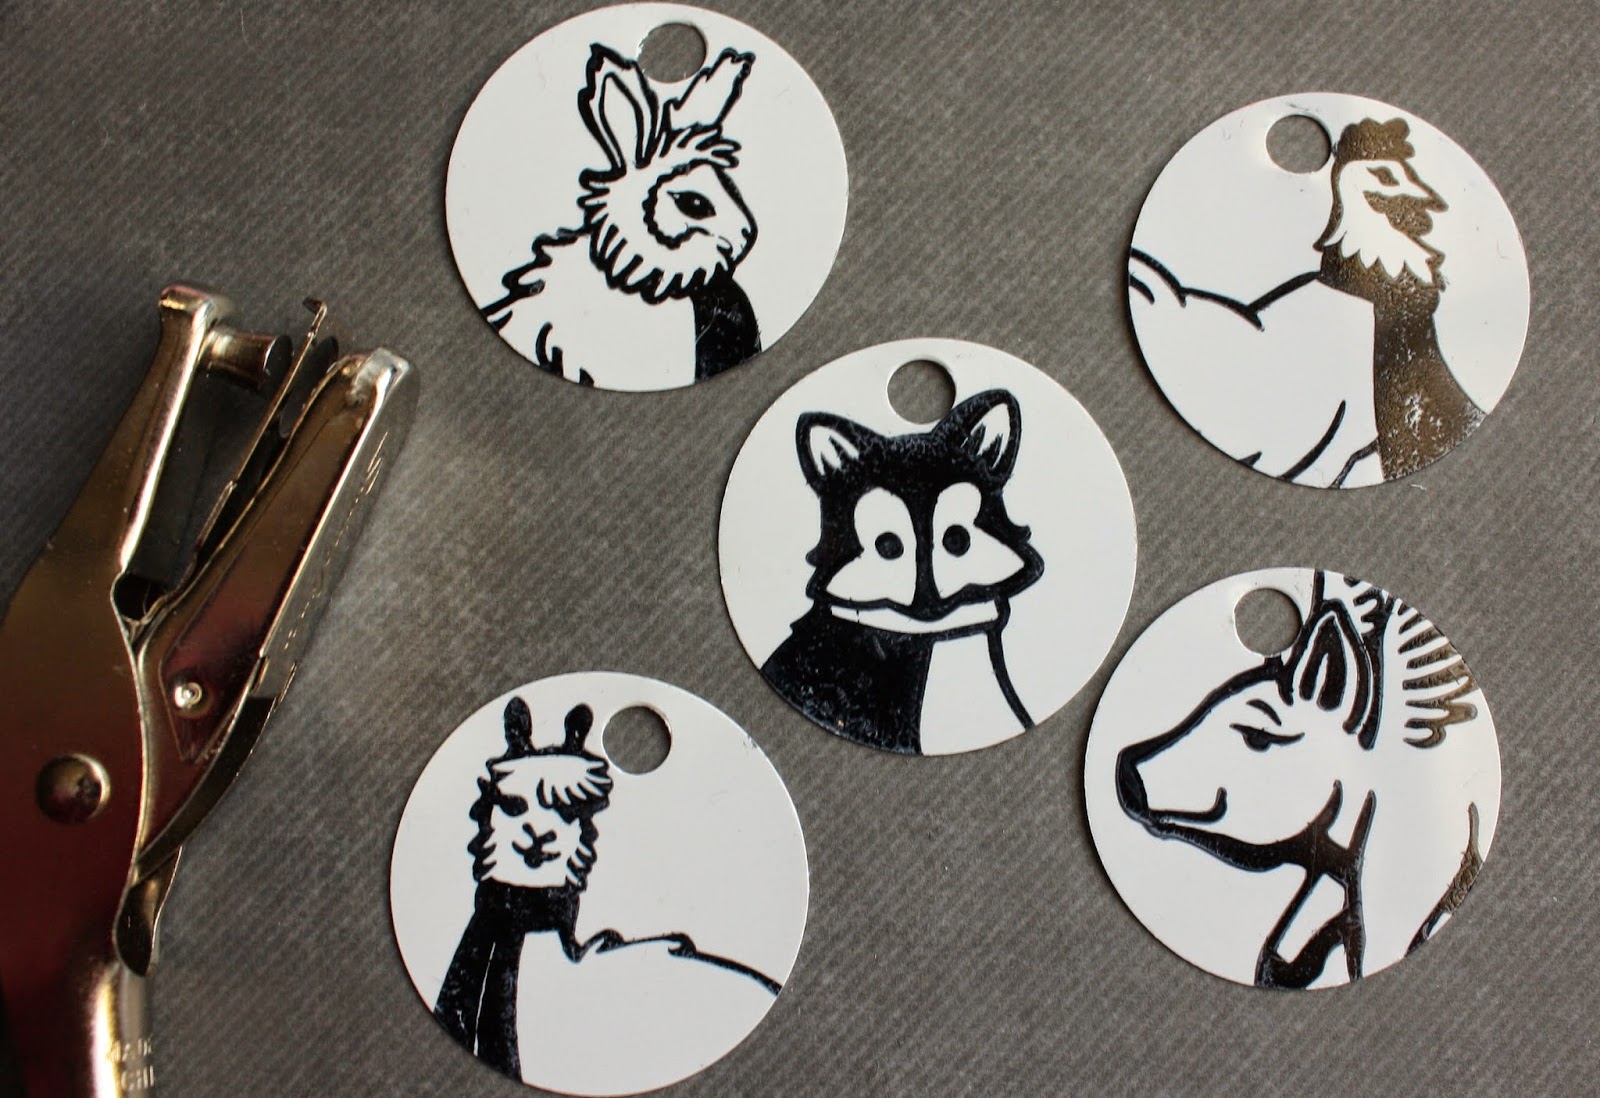
Next I punched a hole in the top of each circle with a standard hole punch.

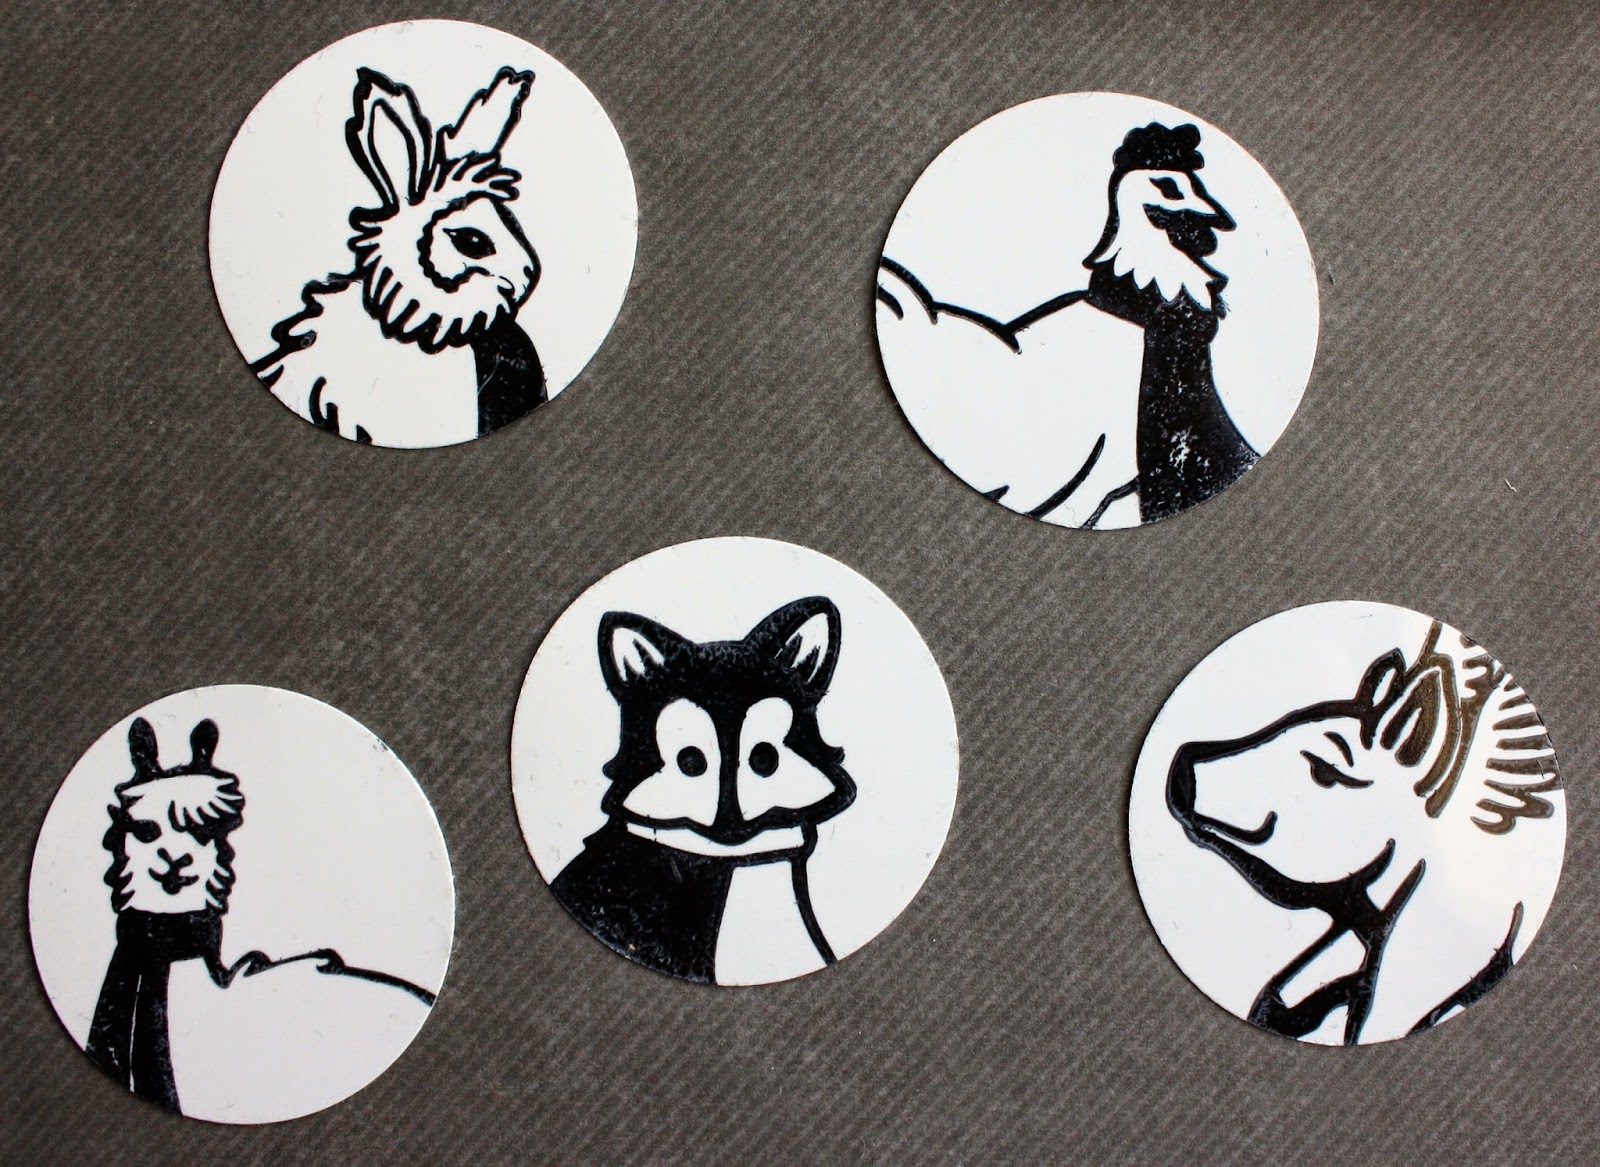
Using my favorite Sharpie marker, I drew "stitches" around the edge of each circle.

You may use your oven to shrink your film (according to package directions) but I use my embossing tool to save time and energy.

Here's what they all look like together after shrinking.  So tiny!

I use Mod Podge Dimensional Magic to add a thick gloss to my pieces to finish them.
After they're dry, use jump rings to attach the jewelry findings you like best to use for either your crochet or knitting projects.  I happened to use a lobster clasp as I had a bunch of them in my findings box.  

I will not be making stitch markers for sale, but the animal stamps you see in the photos are all available for sale in my Etsy shop along with many others.  Happy crafting!

Tuesday, October 7, 2014

Rubber Stamping Ink - My Thoughts and Recommendations

I'd like to start by saying that I am NO rubber stamp expert.  At all.  I'm just a girl who carves stamps and I happen to have a hodge podge collection of inks and pens in my crafting arsenal.  I play, experiment, and explore.  That's what you should be doing, too!  I'll share with you what I'm doing and what I'm using, but it's ultimately up to you to find what works best for YOU.

Here is an example of some of the inks I have in my collection. I prefer pigment inks for cards, tags, and embossing, that's just my preference, but I also use dye-based inks for my labels because they are quick drying. 
Experiment with different types to see what you like to use most. Different inks have different applications. There may be certain inks that work best on paper, and some that work best on other types of material depending on what you're using your stamps for. Do some research - Google is a pretty awesome (and free!) tool. I usually buy my supplies at either Jo-Ann Fabrics or Michael's. If I can't get out of town, I'll shop on Amazon, too.  If you have an exclusive rubber stamp/scrapbooking shop in your town, stop in and ask the clerk for advice. They'll surely have helpful tips for you and the supplies you need will be right there!

I recommend adding some of these nifty Marvy Le Plume II markers to your collection!
I didn't use my spiffy Marvy markers for this project, but my Color Box pigment Pinwheel instead.  I would recommend that you do to obtain the truest colors when stamping images. Sometimes I get a bit lazy and I might stamp yellow, then orange, then red, etc., before cleaning the stamp. If I'm working in the same range of colors, and working from light to dark (never the other way around!) I might skip the cleaning. But that's just me!
How many of you have used your handmade stamps to make gift wrap? Here's a project idea for you!  My son attended a birthday party for his friend this summer and we collaborated to make him something special. He got to pick two Minecraft characters for me to carve, and we hand stamped the gift wrap from them, too. 


These envelopes were colored with Tsukineko Memento Dye Based inks.  I love the rich brilliant colors and easy clean up.  These can be found online and in most craft stores in the scrapbooking section.