Monday, April 30, 2012

Reset Passport Stamp Project

I was quite surprised to receive an inquiry from my friends at Dark Horse Comics a couple of weeks ago about carving a set of rubber stamps for this year's Stumptown Comics Fest.  Writer and artist Peter Bagge was in attendance as guest of honor and the Exclusive Stumptown Comics Fest Passports were based on his comic, Reset.
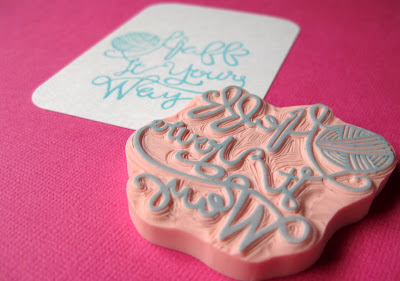
It began with a transfers of Peter's illustrations.
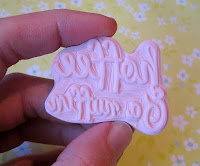
Each stamp is carefully carved and mounted to wood.
Exclusive Reset Passports from Stumptown Comics Fest 2012
(SIGNED by Peter Bagge!!!) 
It was a lot of fun for me to walk around and collect my passport stamps and see them in action.  It was an overall FUN experience and look forward to attending more comics events with my family in the future.

I am pleased to say I DID get to meet Mr. Bagge, although briefly.  He's a very busy and popular man!  I've read Reset #1 and look forward to the next issue (there are four.)  This comic is not for the kiddos... that's okay, there are PLENTY more out there for them!


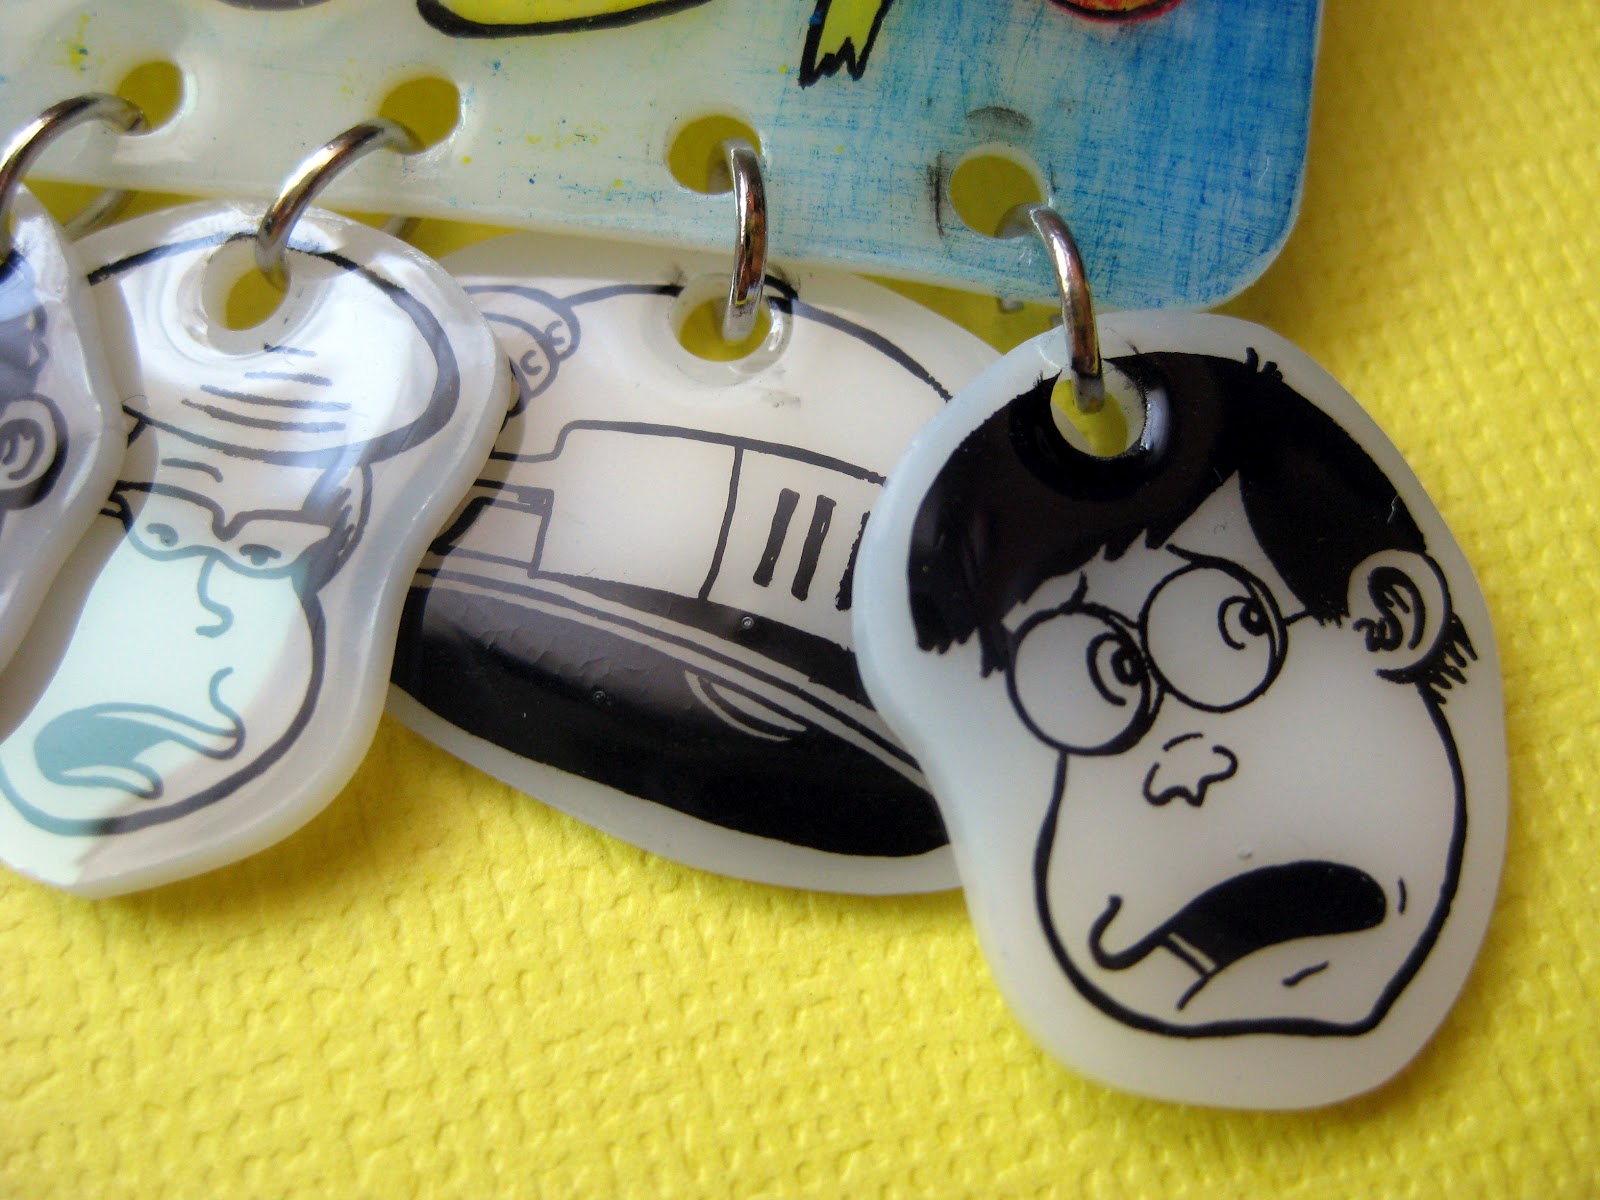
I did manage to make a little something for myself (and one for Kari, too!)  Reset brooches made from shrink film.  The color is pencil and outline is ink.  Each image was hand drawn onto plastic then shrunk, sealed, and assembled.


GRANNY SQUARE STATUS UPDATE:
I'm now up to 28 colorful squares!


Thursday, April 26, 2012

Fun With Shrink Film!

The things I do for my children!  
I've been experimenting with Grafix Shrink Film lately and this morning my Monkey #2 places a circle of film over the back of his notebook and tells me ALL about how I can color this Super Mario power and shrink it for him.

So, I did.  In the process I got to explain to him about coloring techniques: choosing and using different shades of colors, coloring from light to dark, and how to blend them together.  I hope he learned something from this morning's lesson.  I know I did!

I learned that you CAN color on shrink film with pencil if you scuff it with sandpaper first.  The color will look very pale, but becomes rather vibrant when you shrink the plastic.  The last image is our "coin" with Mod Podge Dimensional Magic to seal and protect our colored image.  The most important lesson: spending time with your child and teaching them about art is time well spent!
I love this little guy!

Tuesday, April 24, 2012

The Story Behind the Name

In the summer of 2006, our family was visiting with friends at their family's beach property on the Oregon coast.  Monkey #2 was about 4 months old and Monkey #1 had just turned 2.  I woke up early and thought I could sneak out for a walk for some coffee.  Monkey #1 woke up and thwarted my plan for a clean 'getaway'.  I whispered to him, "Do you want to go with Mommy to get coffee and a muffin?"

His reply, "Yeah, hoffee and a nuffin!"

A couple of years later I registered on Etsy needed a name.  This is where it comes from!    

Tuesday, April 17, 2012

Cutting Letters

Cutting letters for rubber stamps has been one of the most challenging tasks for me since discovering rubber stamp carving. I'm determined to gain confidence and skill through lots and LOTS of practice. Sure, I can do it. but it's not enjoyable because of the precision and lack of room for error. It's a scary thing!

My friend at Haff It Your Way was kind and patient and allowed me to practice on her. For my "guinea pig" piece, I think it turned out pretty well! We worked together and communicated through MANY messages to design this piece especially for her. I saw this as a personal challenge and opportunity for growth. I'm happy that we did this, but I'm still not comfortable to take orders on just yet.
A few other examples of letter work I've done include "Handmade with LOVE" and "h&n". My son's handwritten name has got to be my favorite! Actually, THAT one was fun, probably because it was personal and I wasn't trying to duplicate a specific font. A child's handwriting is very forgiving in carving.

"The secret of making dreams come true can be summarized in four C's.
They are Curiosity, Confidence, Courage, and Constancy;
and the greatest of these is Confidence."
- Walt Disney

Monday, April 16, 2012

Washing Wool

WASHING: If you don't want your wool items to shrink and felt, the proper way is to hand wash it in cold water. It really is very easy, quicker, and more energy efficient than using your machine. When it's time to wash my coffee sock and hand knit fingerless gloves, I do it in my kitchen sink!

Grab a large bowl, add a touch of laundry detergent, and fill it with cool water. In they go for a little swim! Use gentle movements, up and down, side to side, and alternate. When it comes time to rinse, they are rinsed under cool water. Here's what we
don't want to do: don't twist or WRING them. That can cause the item to become misshapen. Instead, we fold the item over and squeeze. Rinse, fold, squeeze. Lay them out on a towel to dry. It could take a while, but in the end you'll be satisfied in knowing you are taking care of your wool garments and will be able to enjoy them for a longer time.

FELTING: If you're wanting to shrink and felt your wool, you're going to want to do the opposite! The purple item you see is a practice swatch for a secret project I'm working on. It has been felted, meaning that the fibers have fused together to create a solid piece. To do this I filled my large bowl with HOT water, the swatch, and a touch of laundry detergent. The soap helps, but be sure to use just a little bit. Hot water and lots of agitation are the key to felting. Pick up the piece you are working with and rub it together. You'll notice it start to change. Keep rubbing and dunking and agitating until it looks about the way you want. Rinse the soap out really well. Again, do not twist or wring! Instead: rinse, fold, squeeze. Reshape the item and lay it on a towel to dry.

If there are larger pieces or multiple pieces you wish to felt, it is probably more efficient to do it in your machine. It is recommended that you add jeans to the load as the heavy garment assists with the agitation process. Once the wash cycle begins you'll want to stand by so you can peek in to observe how well your items are felting. The results can vary from wash to wash. Some may felt faster than others, and some slower. Whichever way you choose, have fun and experiment to see which methods work best for YOU!

GRANNY SQUARE STATUS UPDATE
I'm now up to 20 colorful squares!

Tuesday, April 10, 2012

A Little of This and That

I'm happy to report that since last Tuesday I now have a total of fifteen squares for my granny square afghan! I get to work on these in the evening when we're settling down and getting sleepy... I think I have MANY more nights ahead of me on this project!

I'm still having a lot of fun with the rubber stamp carving, as those of you who are following my crafting adventures on Facebook know. There's inspiration for this medium everywhere! One set I'm working on is "Celebration". This is not limited to birthdays, but can be used for any event to be celebrated. My favorite piece has got to be the ice cream cone! ...or is it the bunting?
I managed a little doodle of myself. A little "self portrait" caricature of moi. This one was just for fun (and practice!)
Speaking of practice, I've dreaded having to cut letters. They're very delicate and a LOT less forgiving than an illustration if you "fudge" one. Practice, practice, and MORE practice. I can't stress that enough! I'll say, though, that I'm pleased with the way this one turned out and look forward to using it on notes and packages. With the "Citrus Festival" stamps playing in the background, this would make some really cute note paper! hmmmm...

Tuesday, April 3, 2012

My Very Own Granny Afghan

FINALLY! I've finally started my very own afghan - something I've been wanting to do for a very long time now. I like the look of the traditional granny square and want it to be very colorful. At first I wanted it to be pink, turquoise and white. Like cherry blossoms. Maybe I'll make one of those another time. For now, this one will be random and the monkeys will help me pick the colors in each square.

My evenings are for making a square, or two, or three... until I have the (MANY) number of squares needed to make an afghan to fit a queen sized bed.
So far I have six. That's okay... that's six more than NONE!