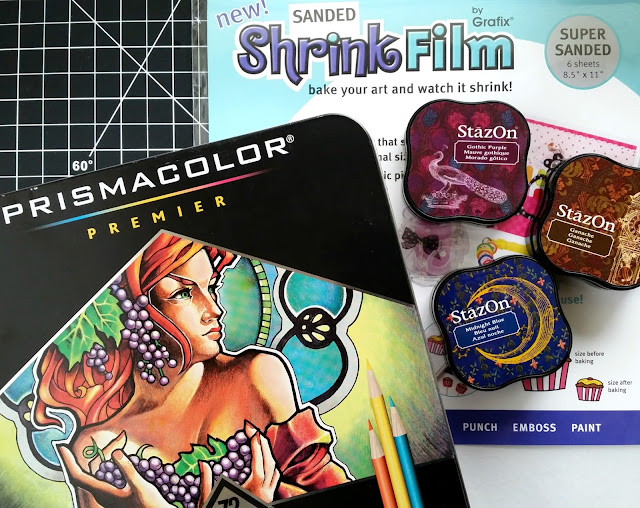
For those of you that follow me on Facebook and Instagram: THANK YOU! I try to share my project progress to show a little bit of what happens "behind the scenes" and where my inspiration comes from. As promised, here is a step-by-step photo tutorial showing how I made shrink film geodes.

To begin, first gather your supplies:
Colored Pencils
Scissors
Standard Hole Punch
Oven, Cookie Sheet, and Parchment Paper
Mod Podge Dimensional Magic or Comparable Dimensional Sealer
Glitter (optional, but recommended)
Small Paint Brush (optional, but recommended)
Jump Rings, Jewelry Hardware, and Pliers
Step 1: Use StazOn ink on a Geode Rubber Stamp to stamp images onto the sanded surface of the shrink film. Leave a little bit of room between images.
Step 2: Using craft scissors, cut images apart.
Step 3: Using a variety of colored pencils, color your geodes. Search the internet for color inspiration and reference. TIP: Use a white or lighter colored pencil to blend colors.
Step 4: If a hole is desired, it is important to punch a hole BEFORE shrinking the film. Punch a single hole on either side of the geode for making charms or stitch markers. Don't punch a hole if you would prefer to keep a solid shape.
Step 5: Bake your geodes according to package directions. TIP: I use parchment paper on a cookie sheet with a second piece of parchment paper over the top to prevent curling.
The geodes shrink to about HALF of their original size!
Step 6: Put a drop of Dimensional Magic on your craft sheet (in my case, it is the parchment paper from the oven.) Use a small paintbrush to brush the Dimensional Magic onto the center of your geodes. Dust the geodes with glitter. TIP: Using the parchment paper as a craft sheet will allow you to return the unused glitter to the original container. Set aside to dry.
Step 7: Seal your geodes with a layer of Mod Podge Dimensional Magic for a thick gloss finish. TIP: Keep a pin on the table to pop any bubbles that may appear. Set aside to dry according to package directions. I usually leave mine for about 24 hours before attaching any hardware.
Now you have a collection of unique charms to use to create a variety of projects. Some suggestions are: stitch markers, earrings, necklace charms, lapel pins, rings, decorative accent buttons, wine glass charms, card embellishments... and I'm sure you can think of lots of other ideas, too!
I hope you have found this tutorial to be helpful. If you like the geode rubber stamp and want to see more original hand carved rubber stamps, I invite you to visit my Etsy shop. If you've found this tutorial to be informative and know someone who may benefit from it, please share it with your friends. Happy crafting!


