I've been playing with rubber stamps on shrink film lately and as I promised, I'm sharing my findings with you. As always, I'm not going to tell you what to do (believe me, I'm no expert!) but I'll show you what I did, what I used, and what works for me. Take this information and use it as a platform to launch your own experiments with different techniques for your rubber stamp projects.
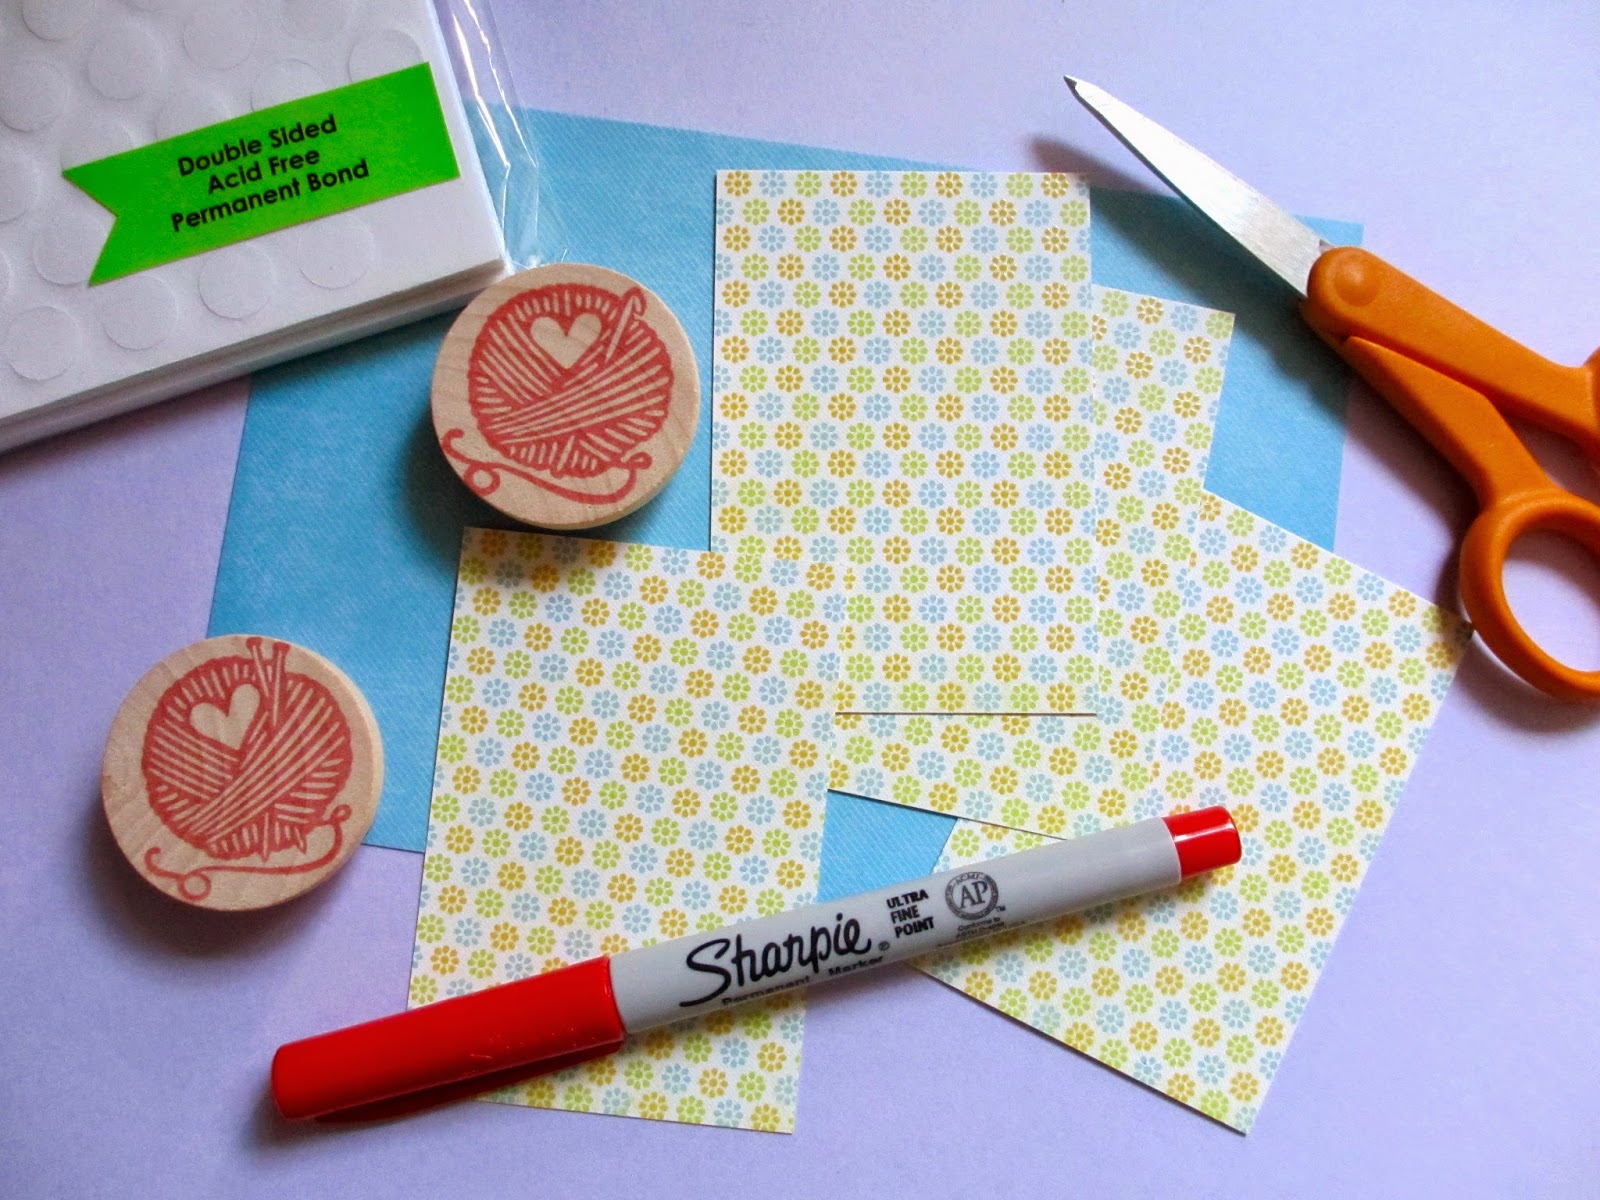
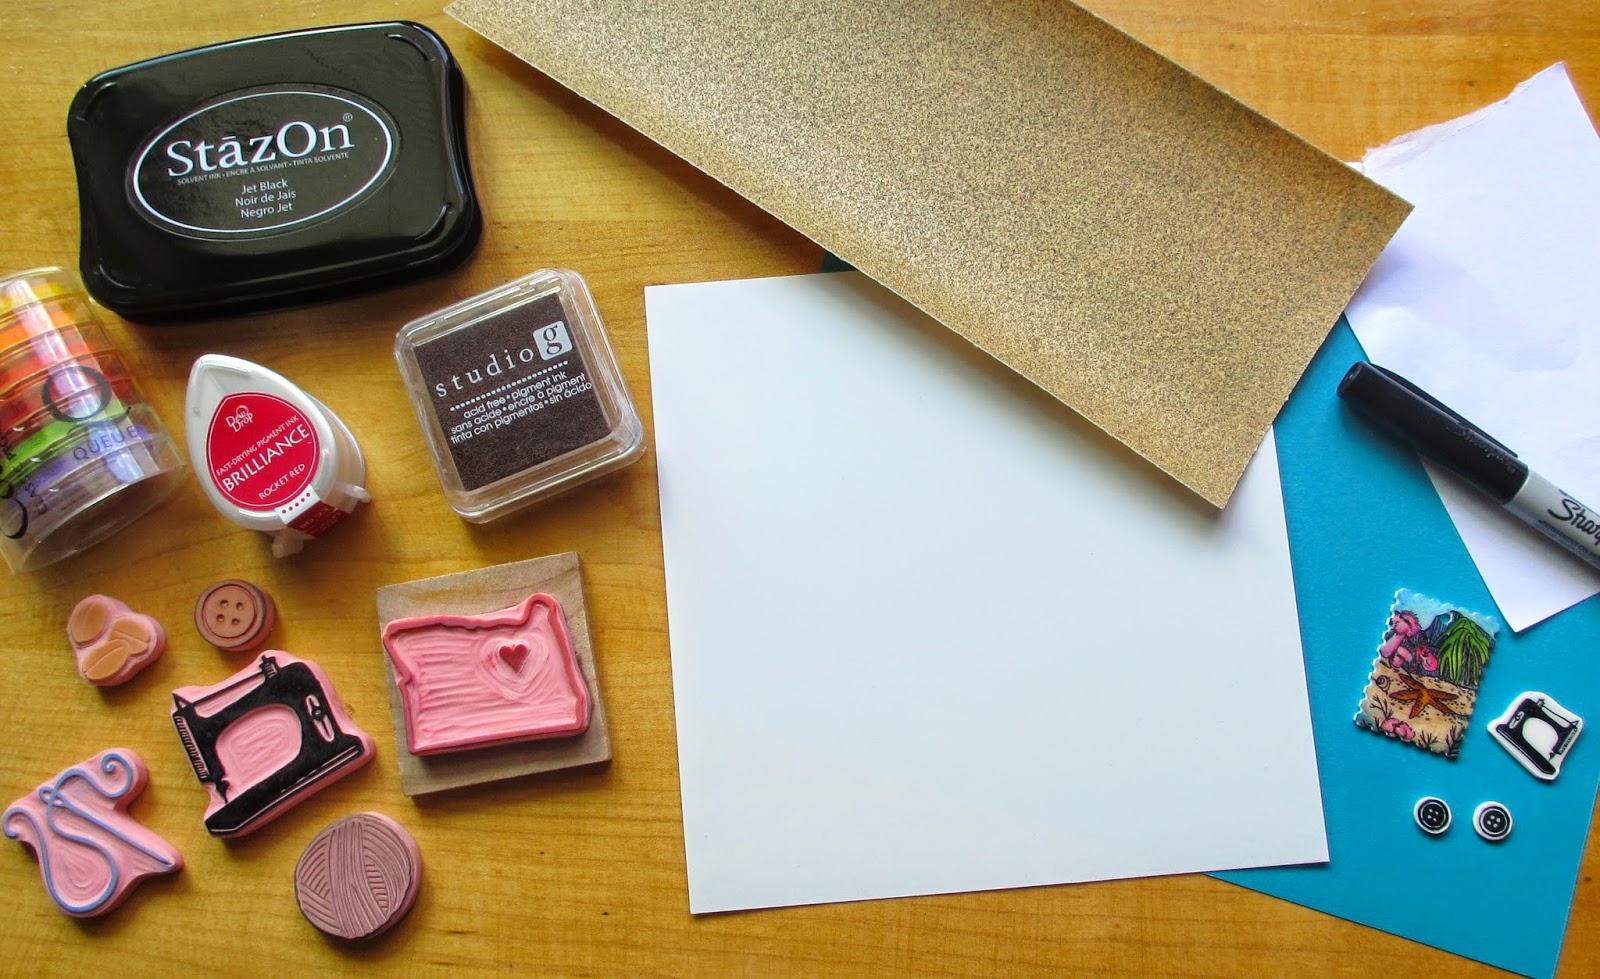
Get your supplies ready! What you'll need:
shrink film
rubber stamps
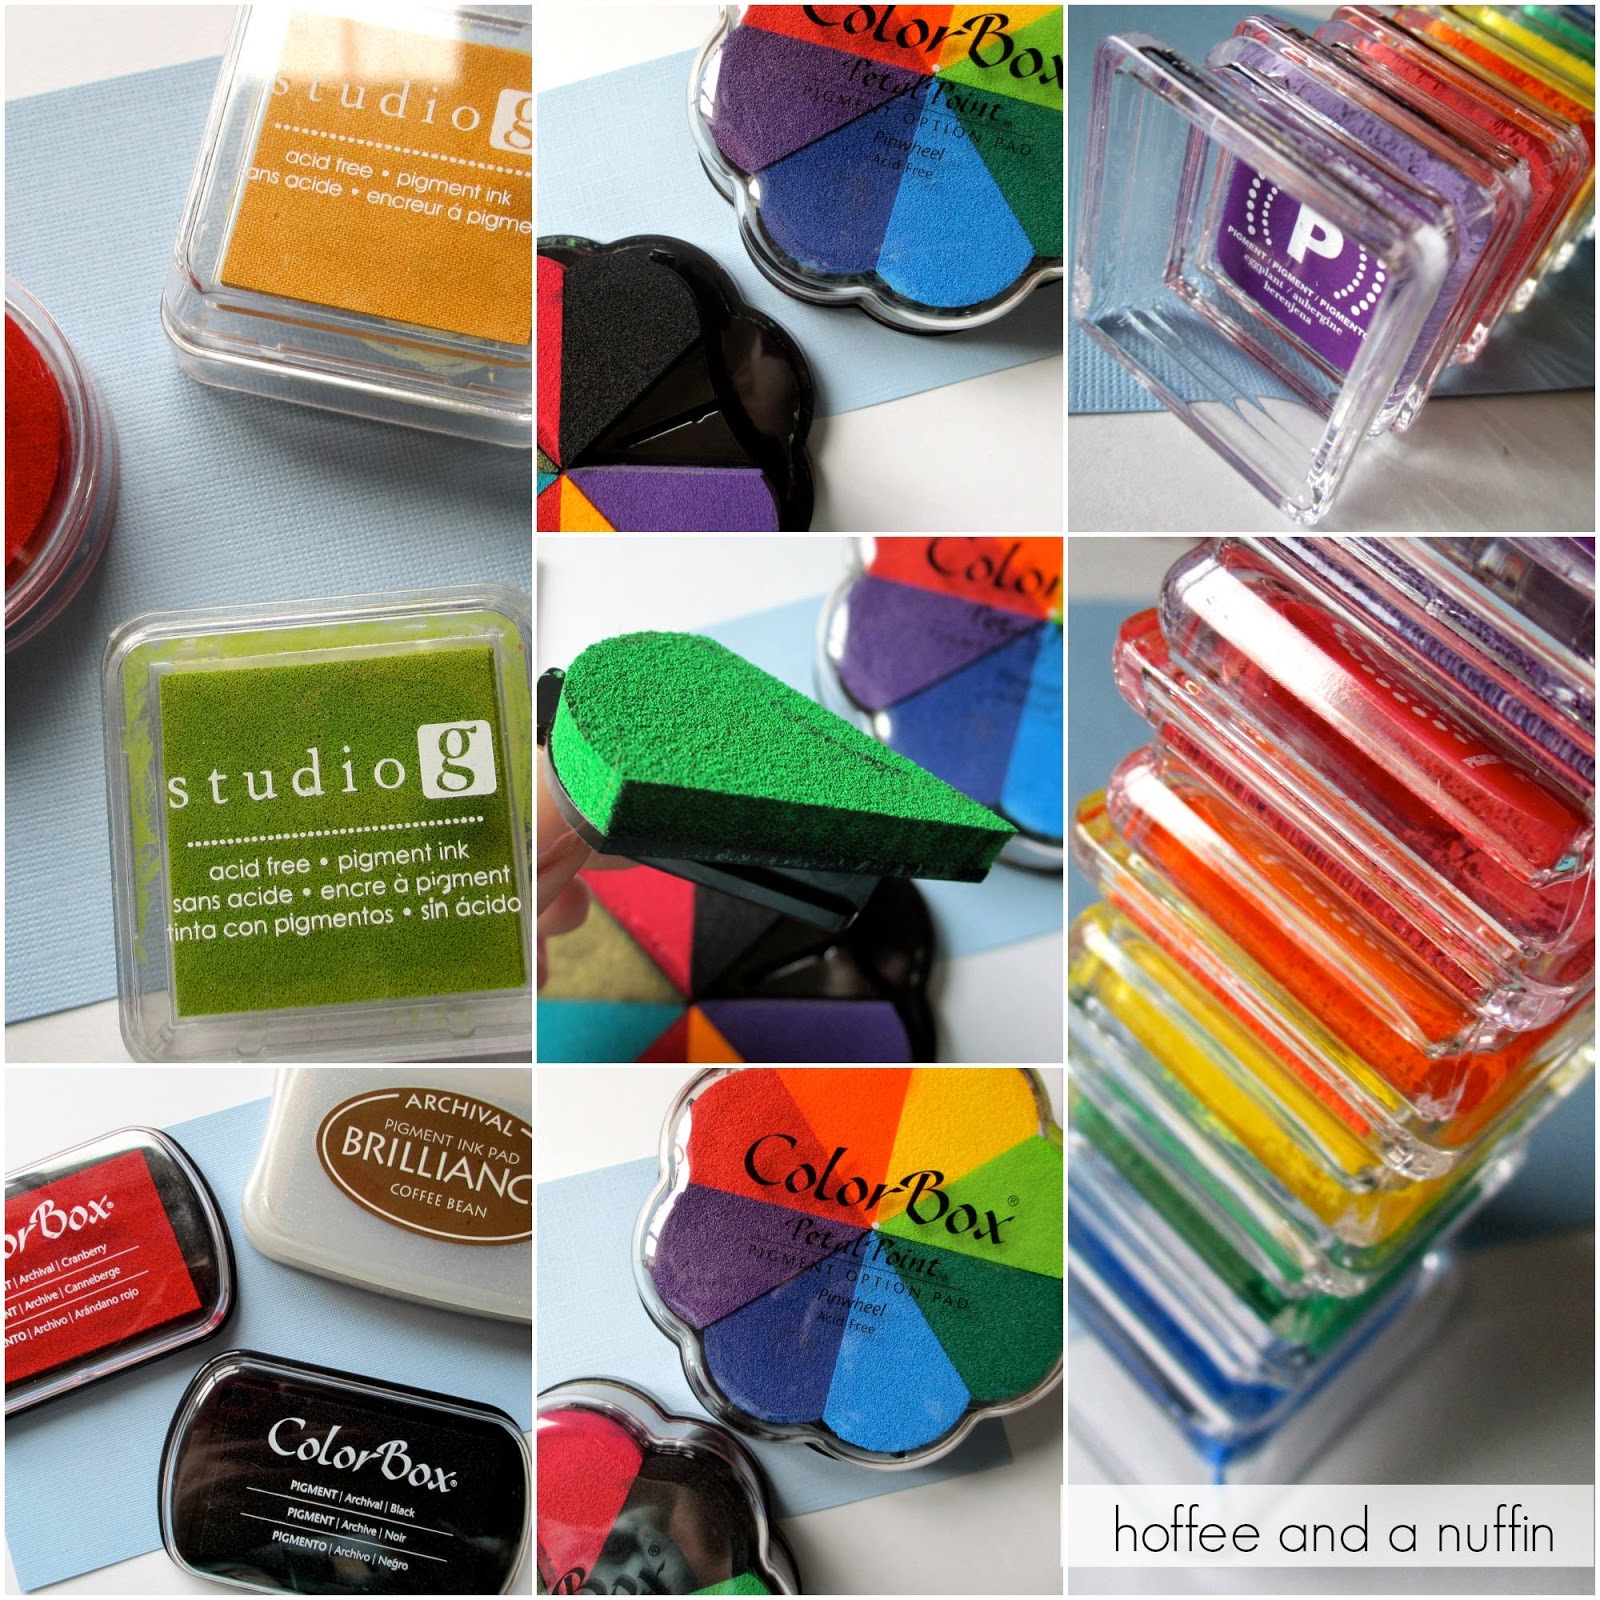
StazOn ink
fine grit sand paper (if adding color)
permanent marker (optional)
colored pencils or permanent marker (optional)
Mod Podge Dimensional Magic (optional, but recommended)
scissors
hole punch (optional)
heat source (oven or embossing tool)
PLEASE READ THE PACKAGE DIRECTIONS BEFORE GETTING STARTED.
I've used the clear Shrink Film by Grafix in the past, but I've been wanting to try white for a while now. I was very excited the other day to receive my first shipment. I'm having so much fun with it that I'm sure I'll be placing another order again soon.
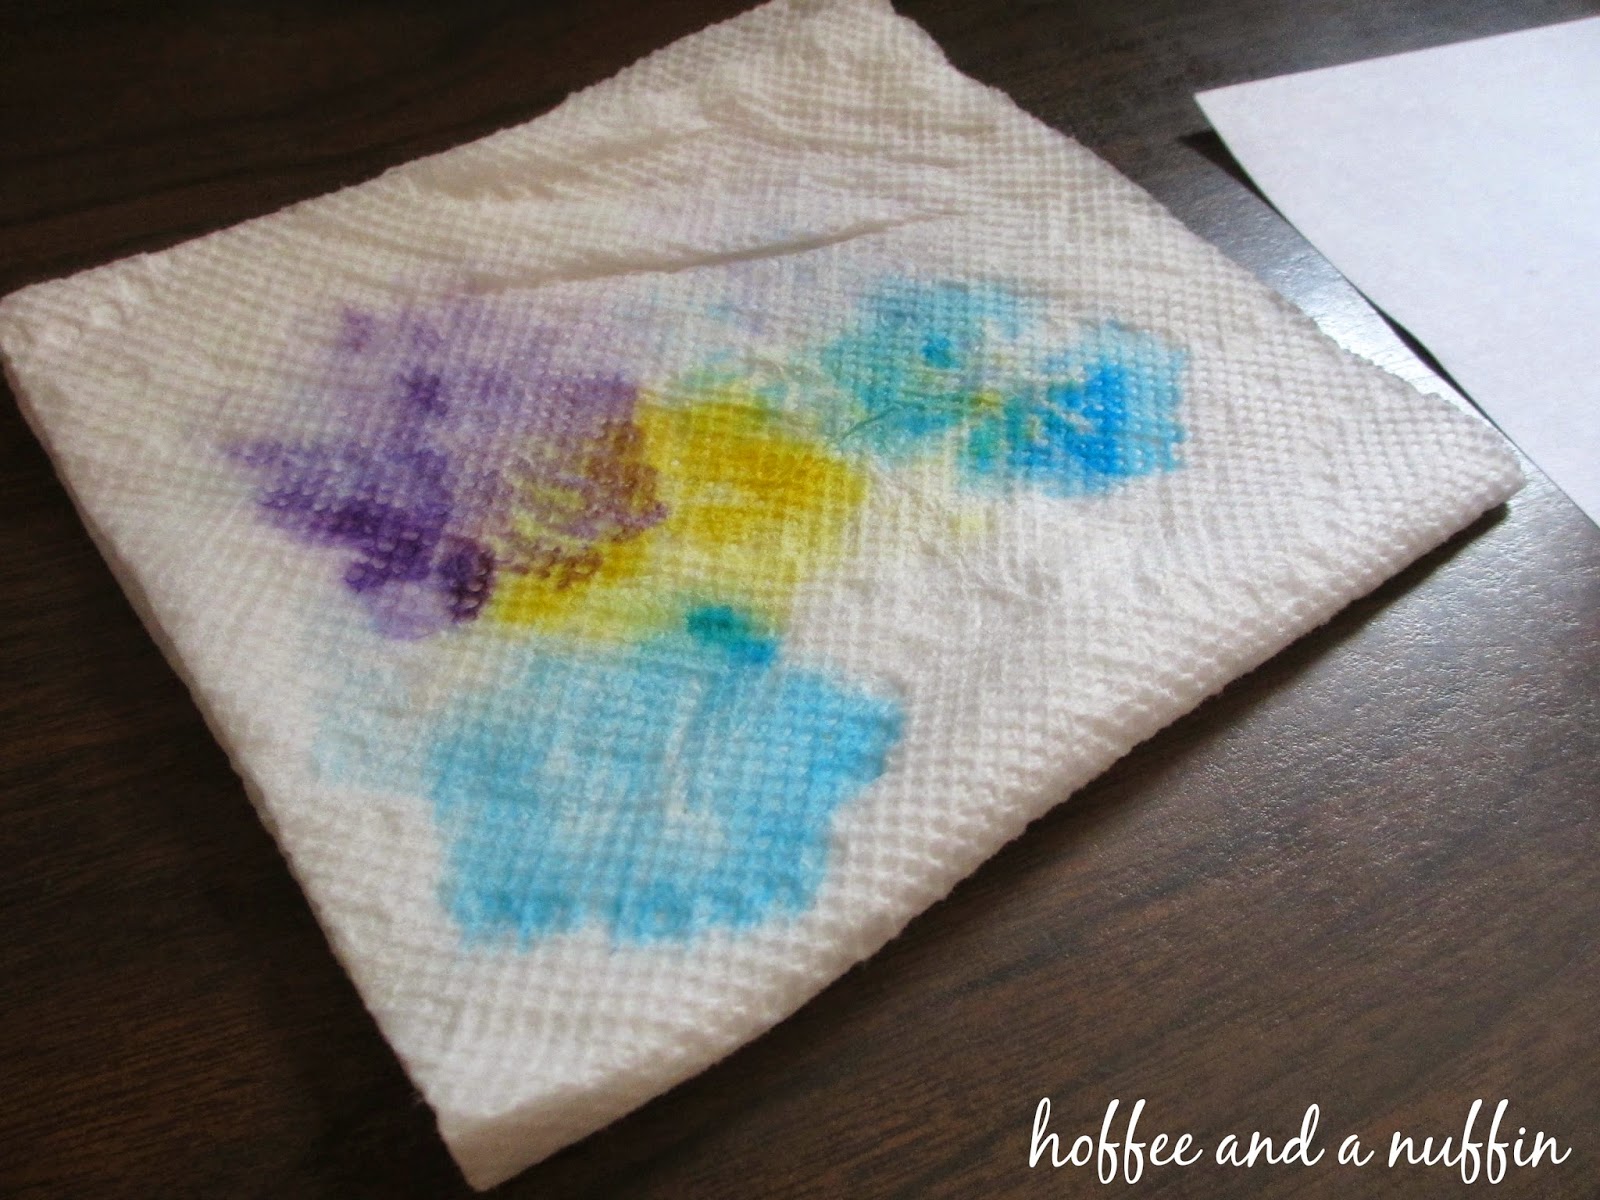
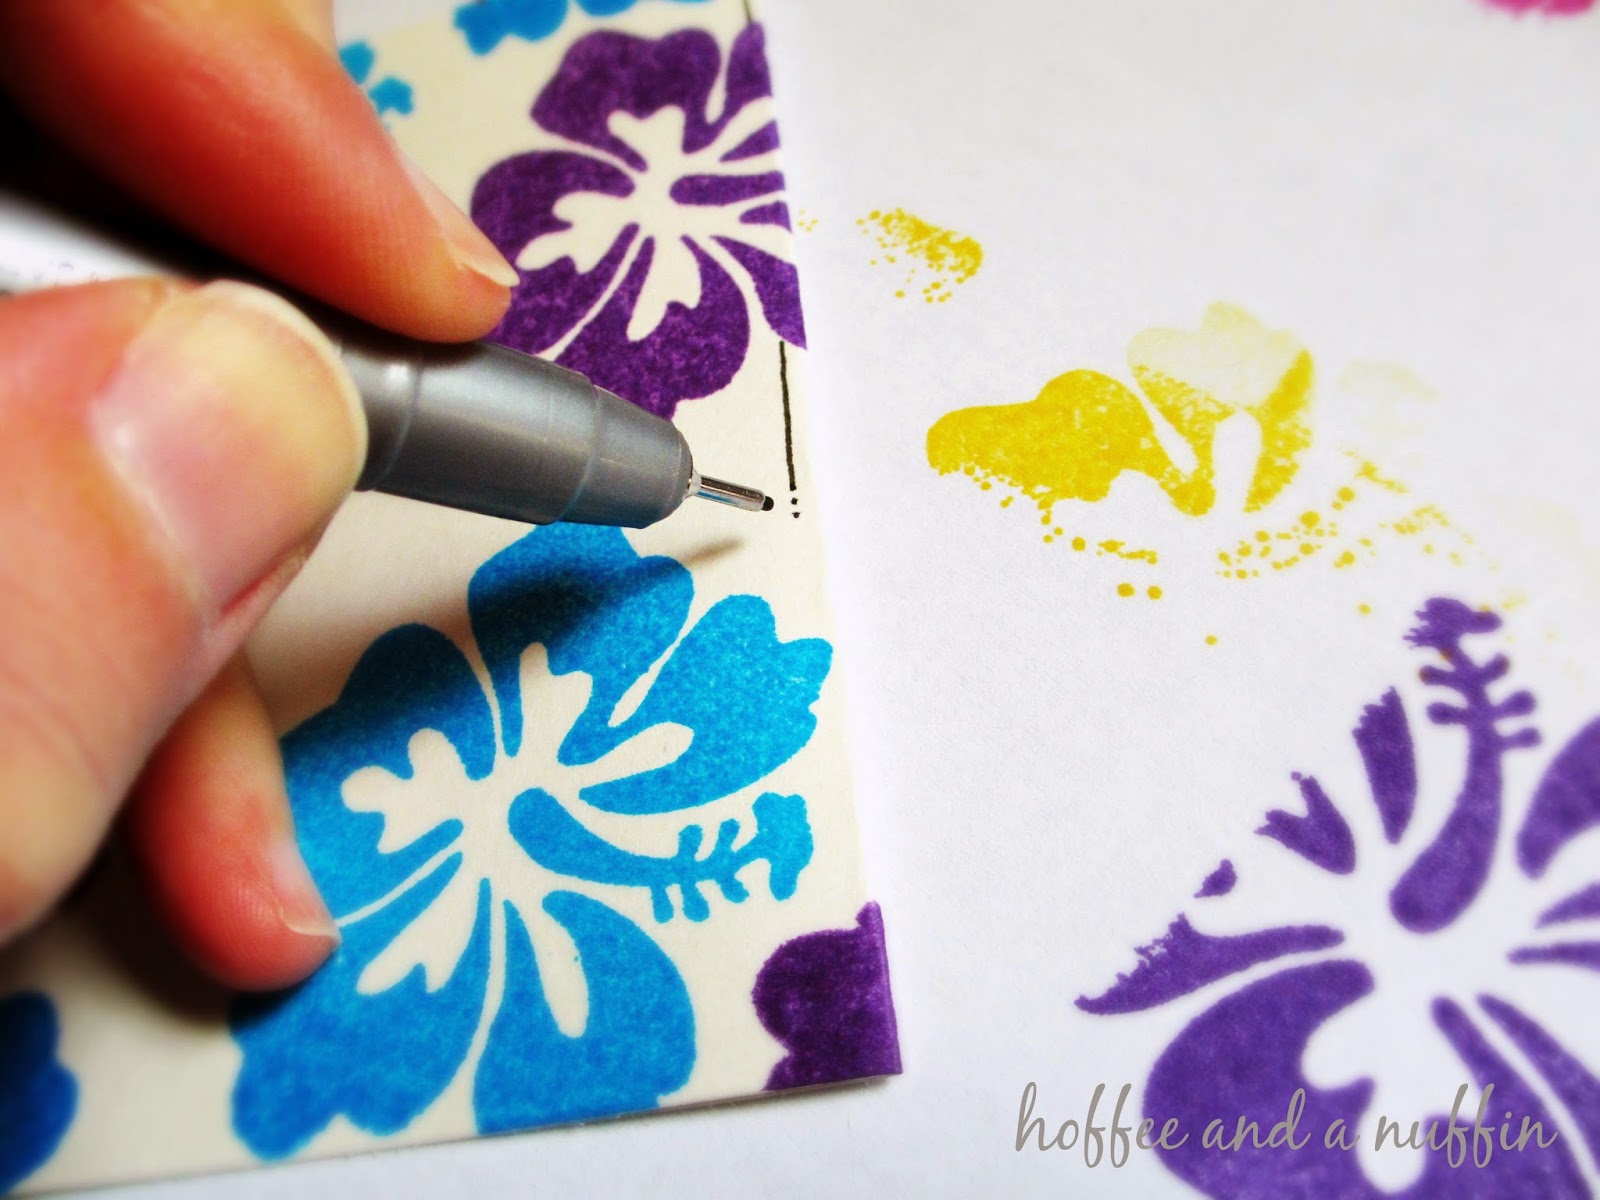
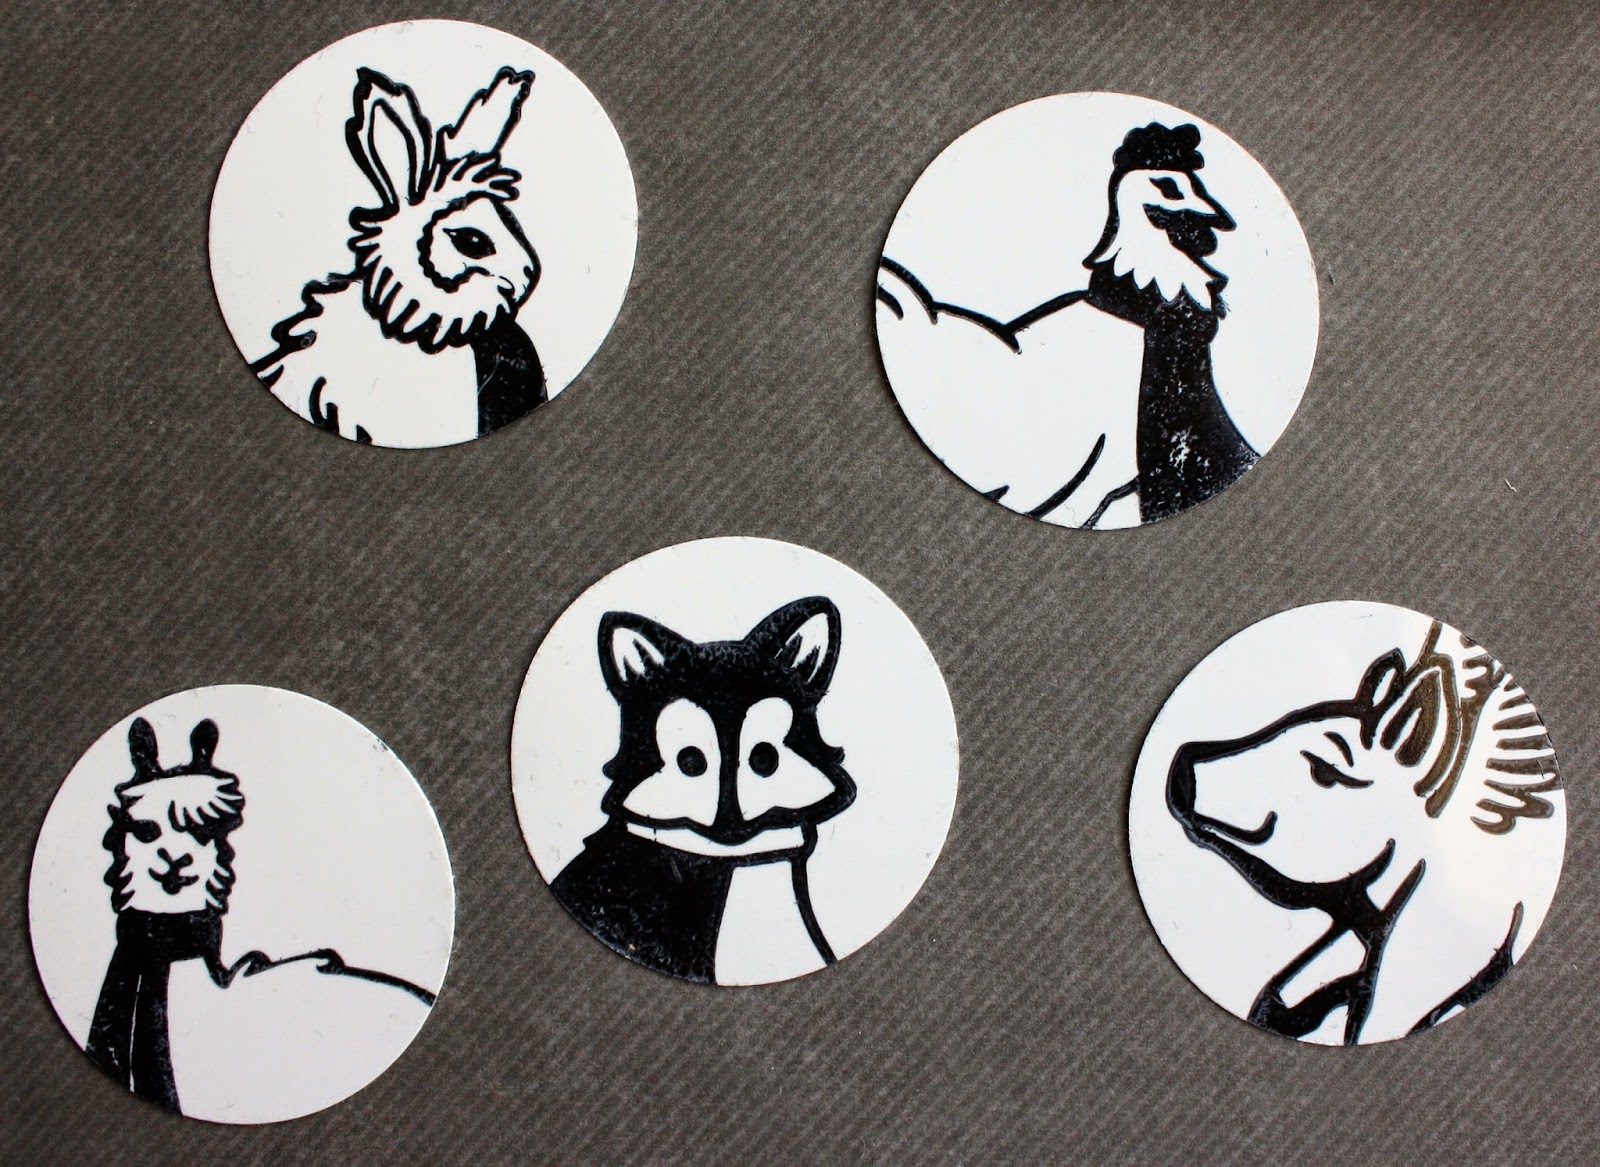
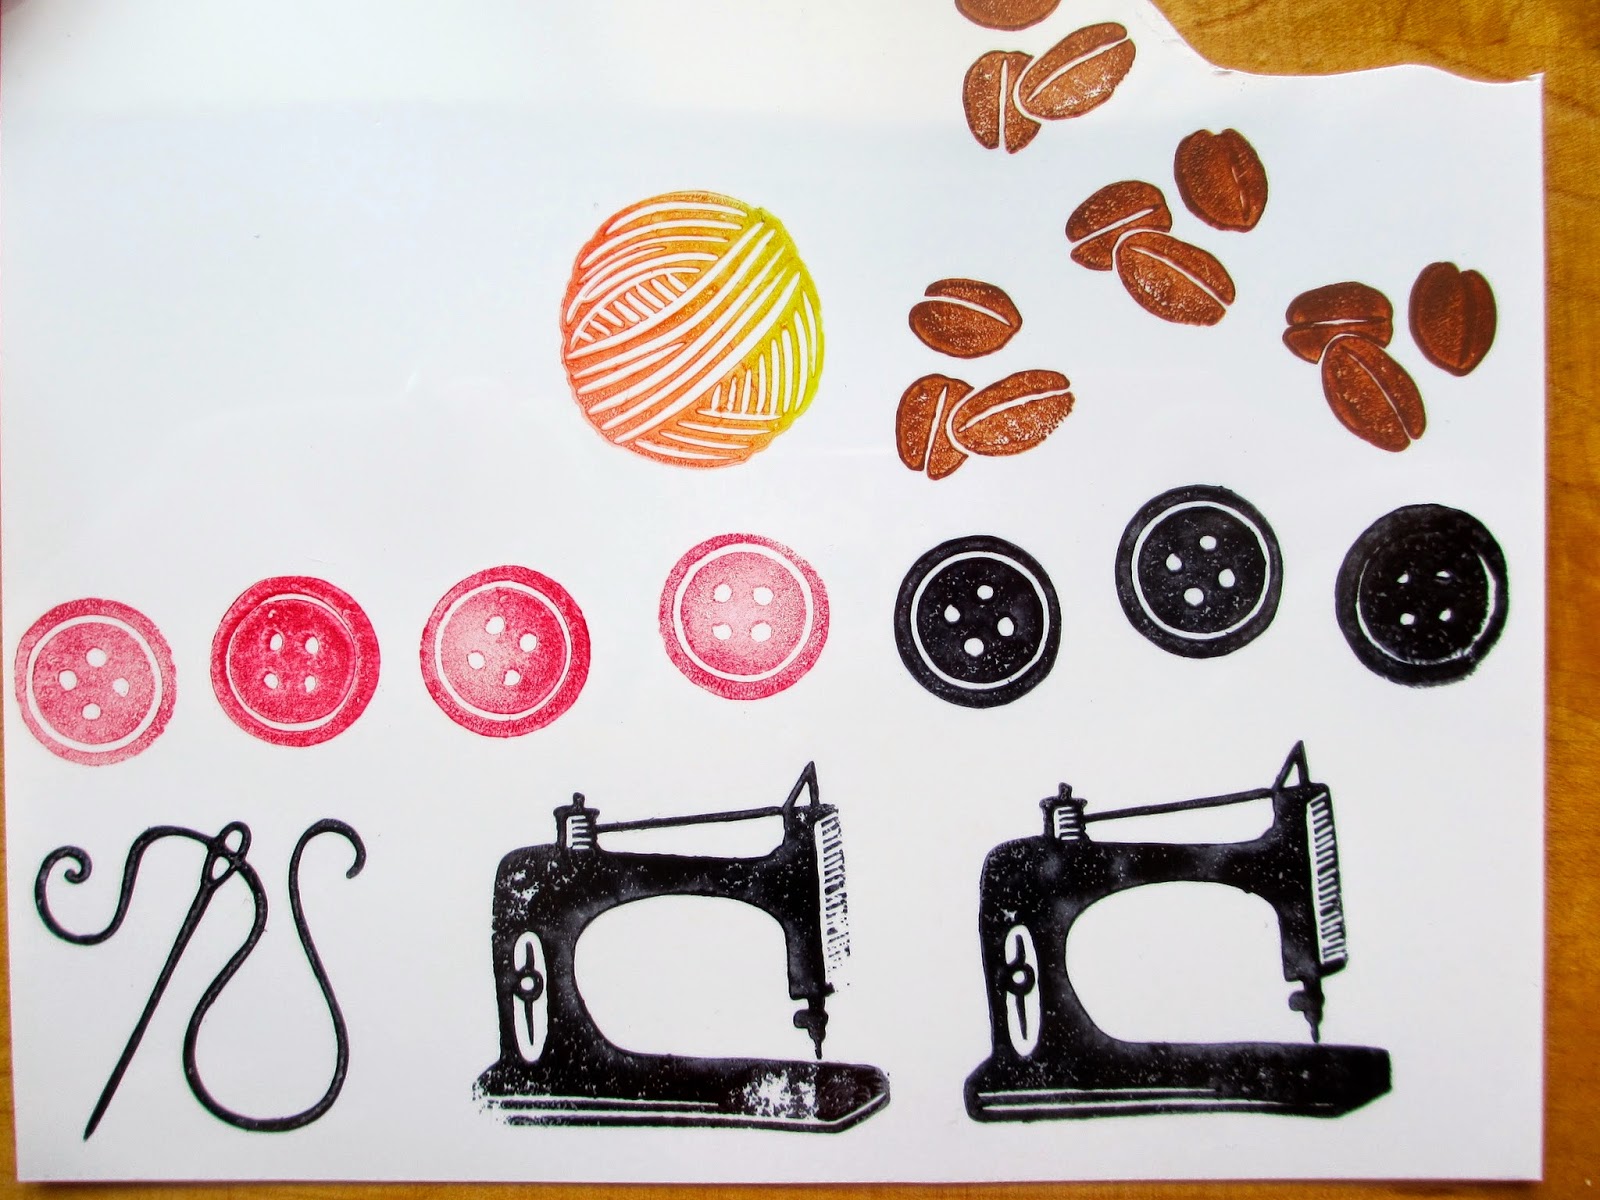
I started by stamping some images onto a bit of film I had left over from Friday's projects. The black ink is the StazOn, which I highly recommend for this project. I was curious to see if it would be possible to use pigment inks; if it would dry on the film, and if it would become permanent on the surface without smudging or smearing. I'll have to get back to you on that as it doesn't dry quickly and has been set aside to give it some time to completely dry. If I discover that he pigment inks don't work well on shrink film, I'll be adding additional colors to my StazOn shopping list!
NOTE: This ink is VERY WET and smudges easily if too much pressure is applied. See the last button? The first sewing machine is an example of not applying enough pressure. It's okay to make mistakes. It's how we learn!
If you're planning to add color with pencil, it is recommended to rough up the surface of the film with fine grit sand paper. When using colored pencils, know that a little goes a long way. Colors get deeper and more vibrant when the film shrinks.
(Yes, I borrowed my childrens' art supplies. They were so busy with Minecraft, they didn't even notice!)
I used my
From Oregon, With Love stamp and inked the outline only, then colored the design with colored pencil. It looks REALLY rough! I liked how my tide pool postage stamp style design turned out the other day so I cut this image the same way using a pair of decorative edged scissors.
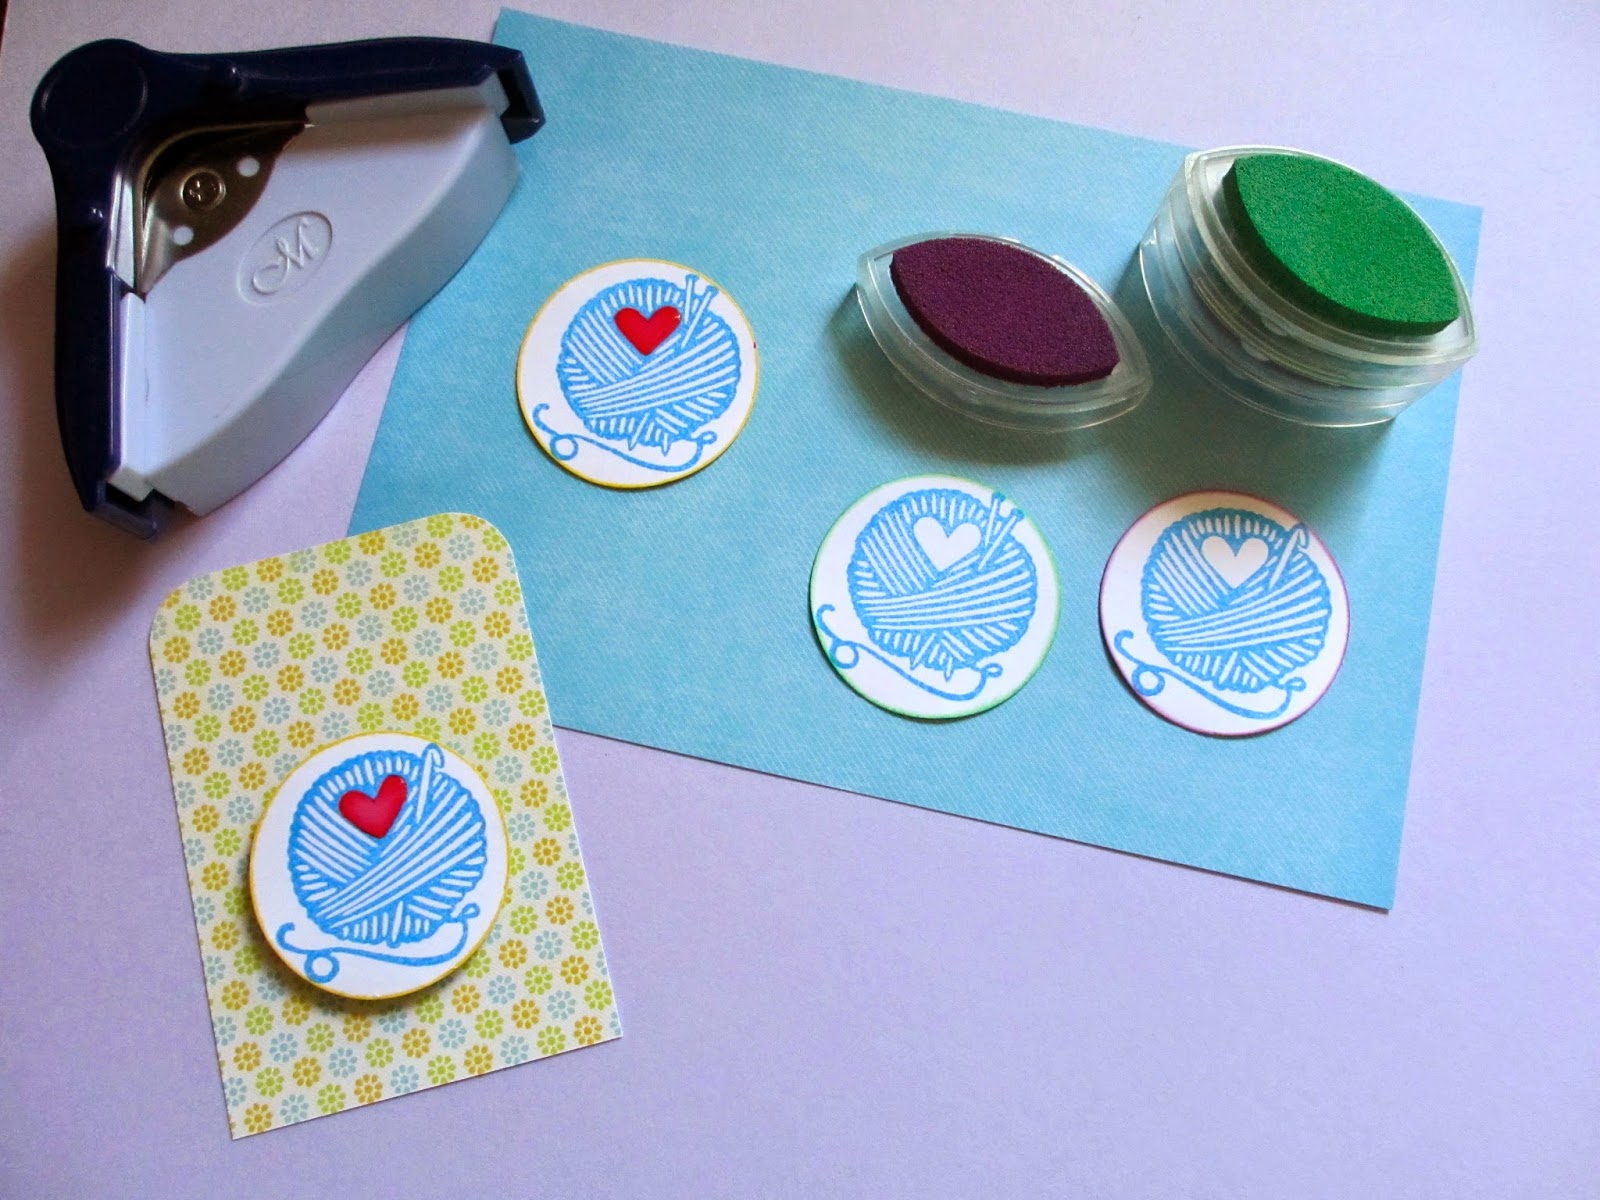
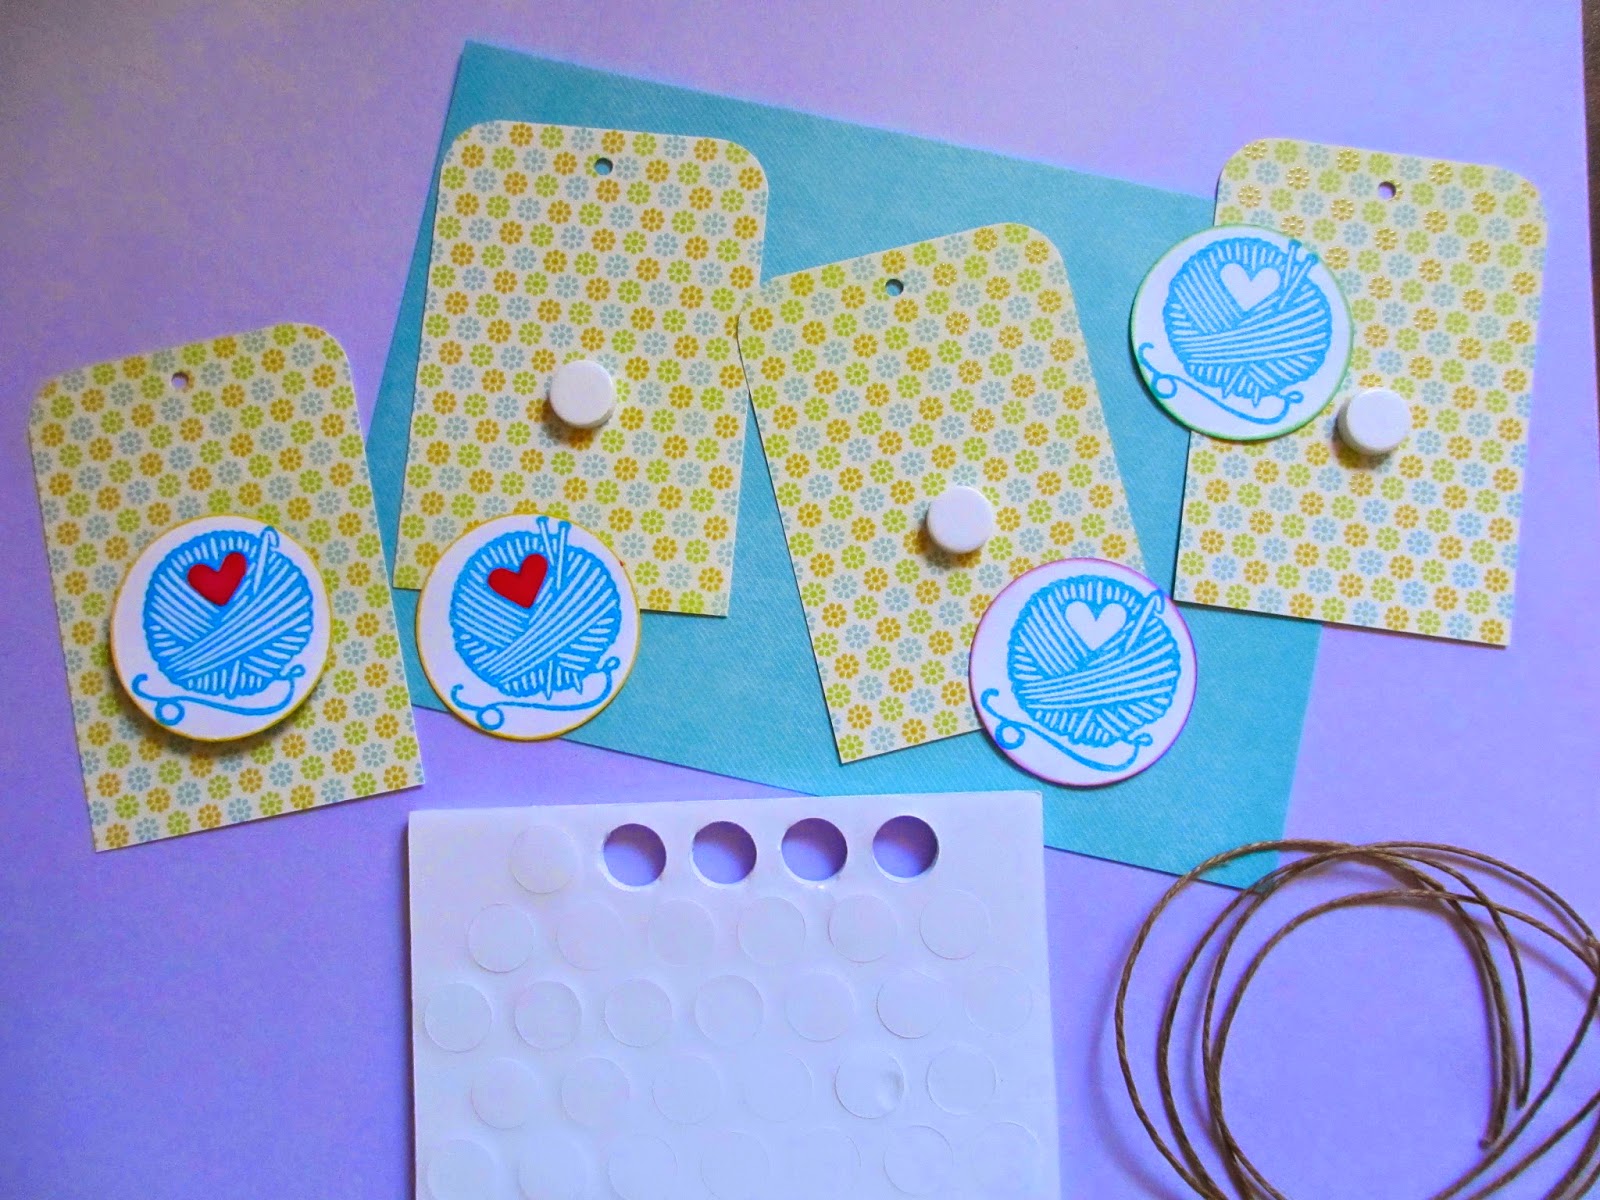
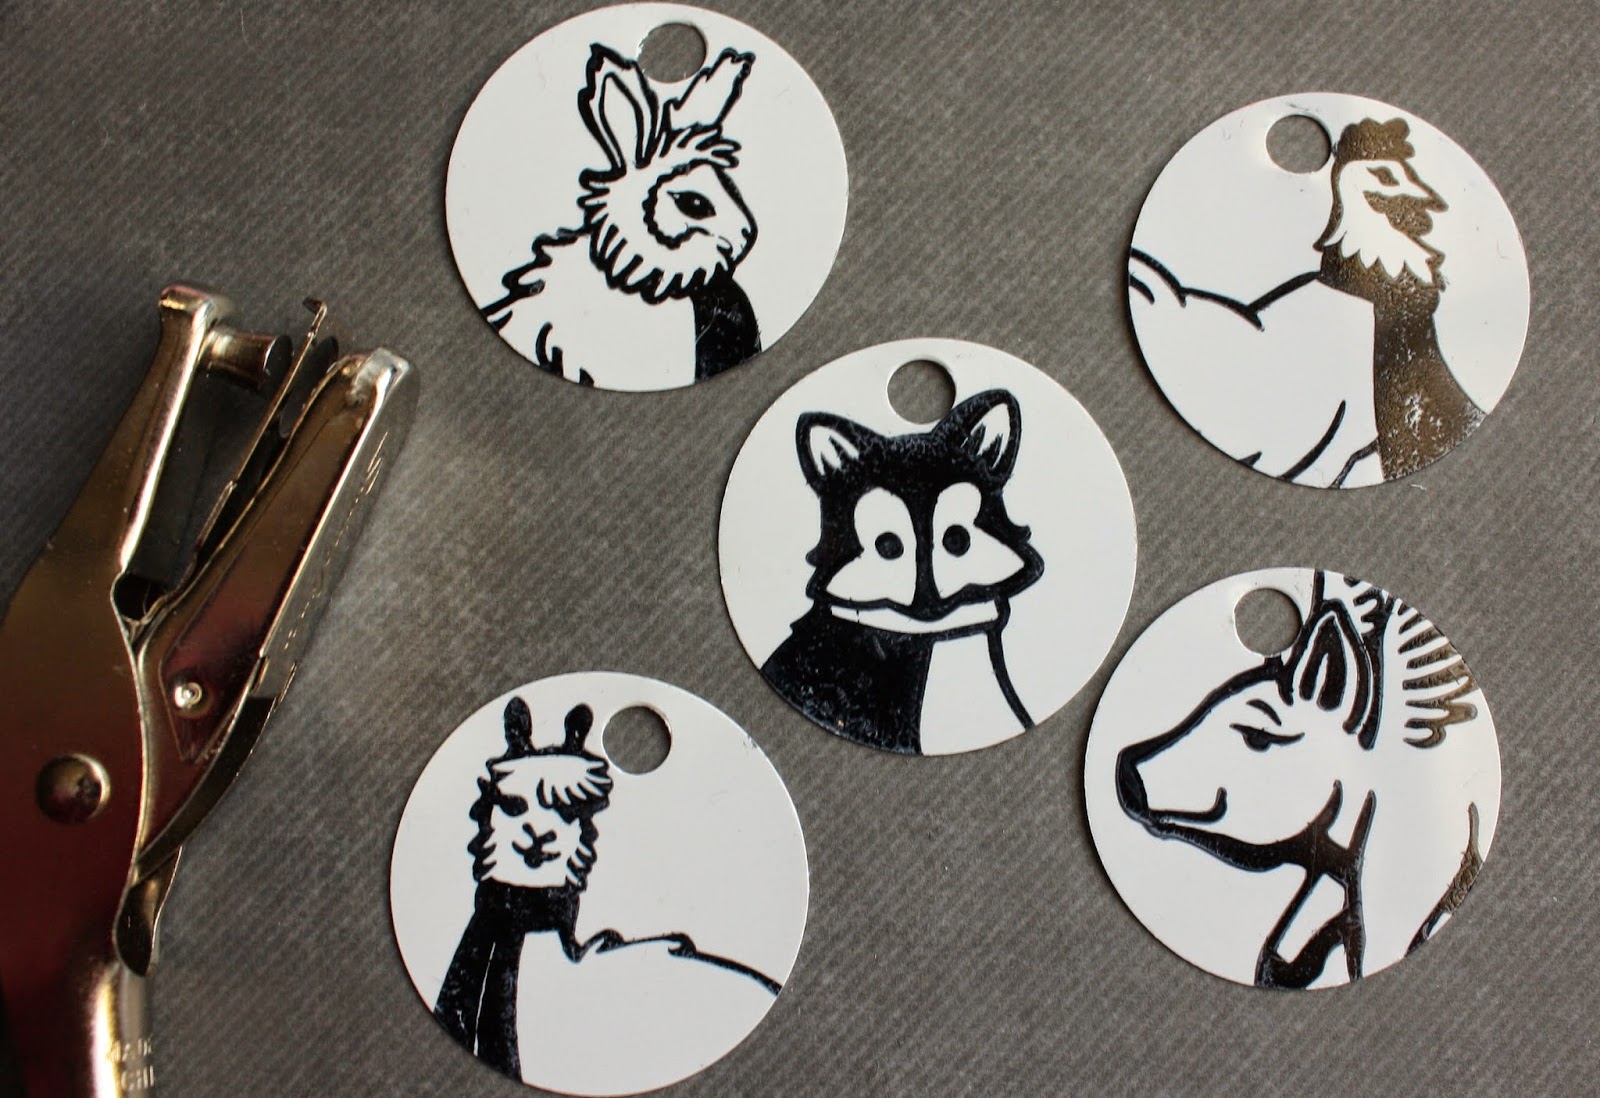
When you're finished stamping and coloring, use a pair of scissors to cut out your images. If you're wanting to punch a hole in your piece, I recommend using a standard sized hole punch or larger.
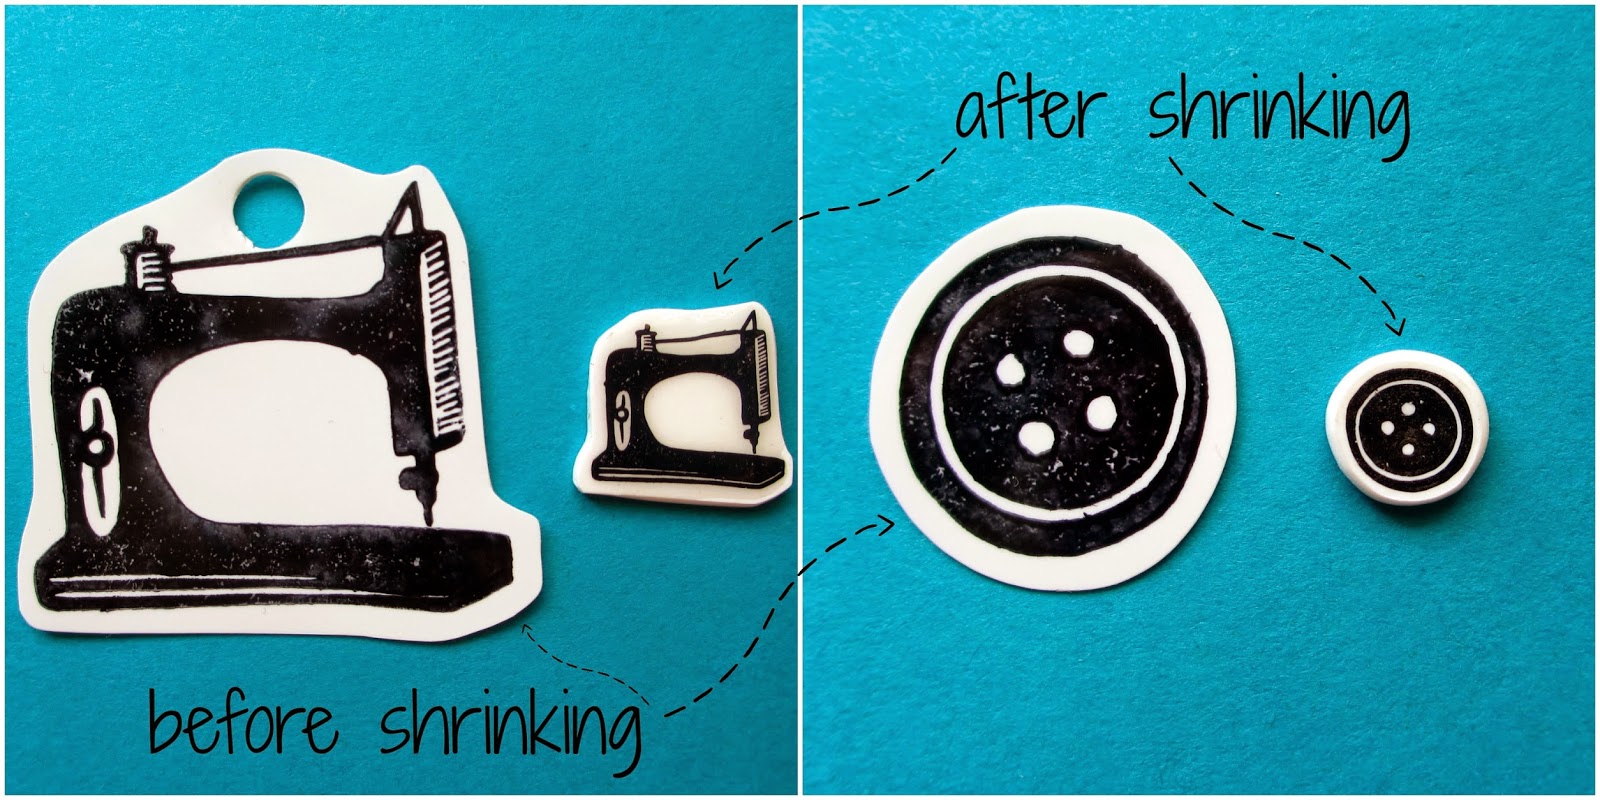
When all of the pieces are stamped, drawn, colored, and cut, it's time to shrink the film. I used an embossing gun, but you may also use an oven or toaster oven (refer to package directions for heating instructions.)
Look at how much much smaller these get!
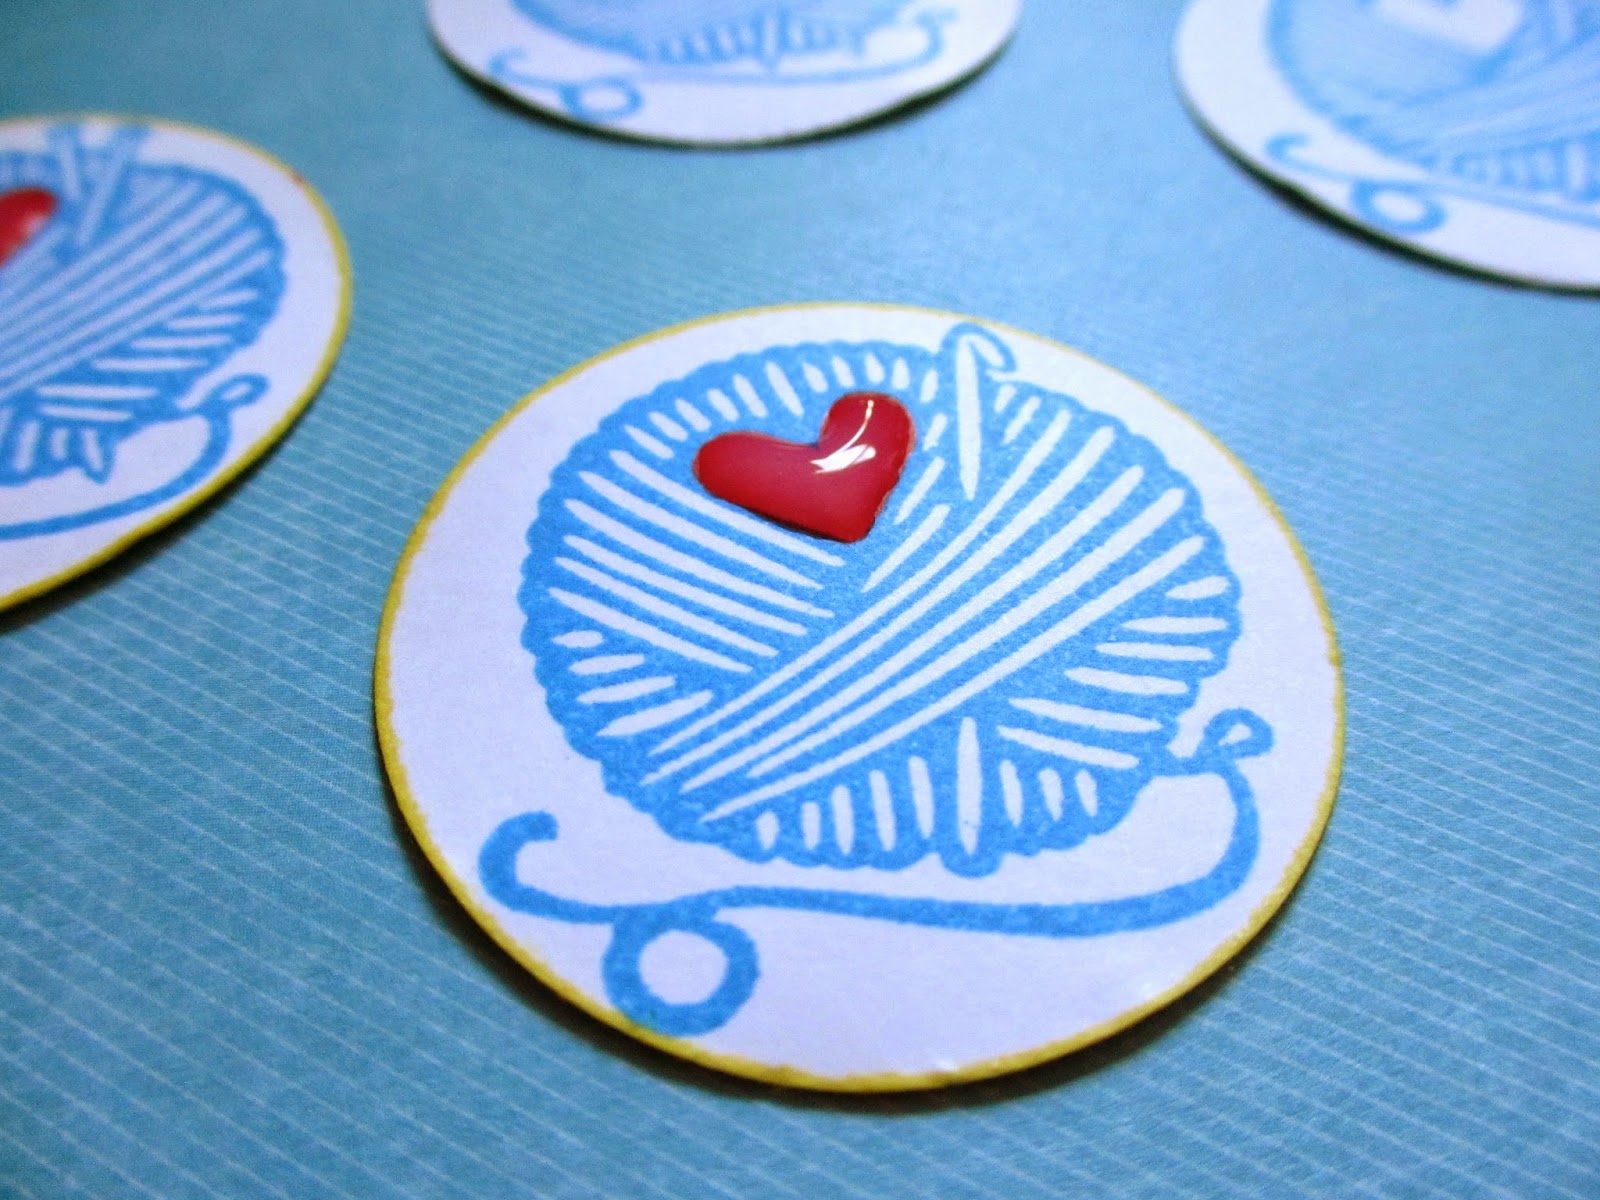
It's up to you if you want to seal your finished pieces or not. Sealing them with any clear acrylic sealer would work just fine. I like the extra glossy finish of Mod Podge Dimensional Magic. It really makes the artwork *POP*.
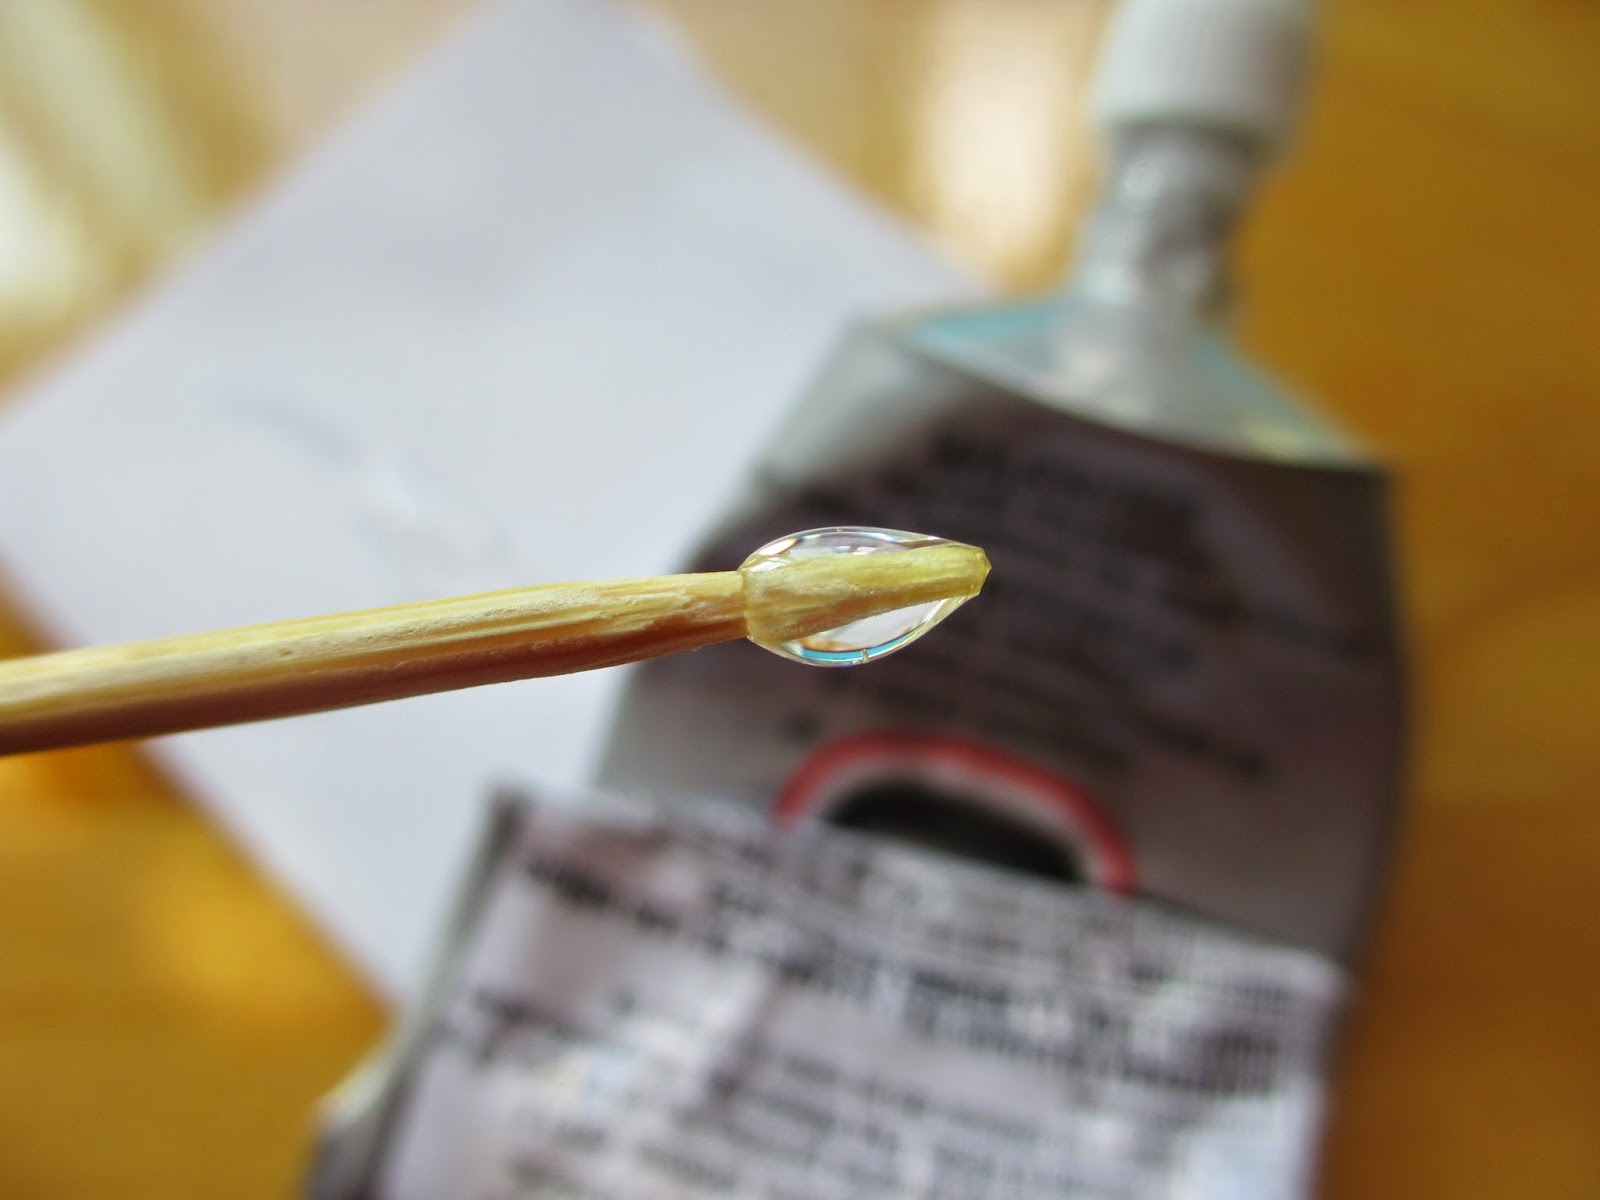
I use E-6000 to attach findings to my pieces. I squeeze a bit out onto a piece of scrap paper and apply it with a bamboo skewer or toothpick.
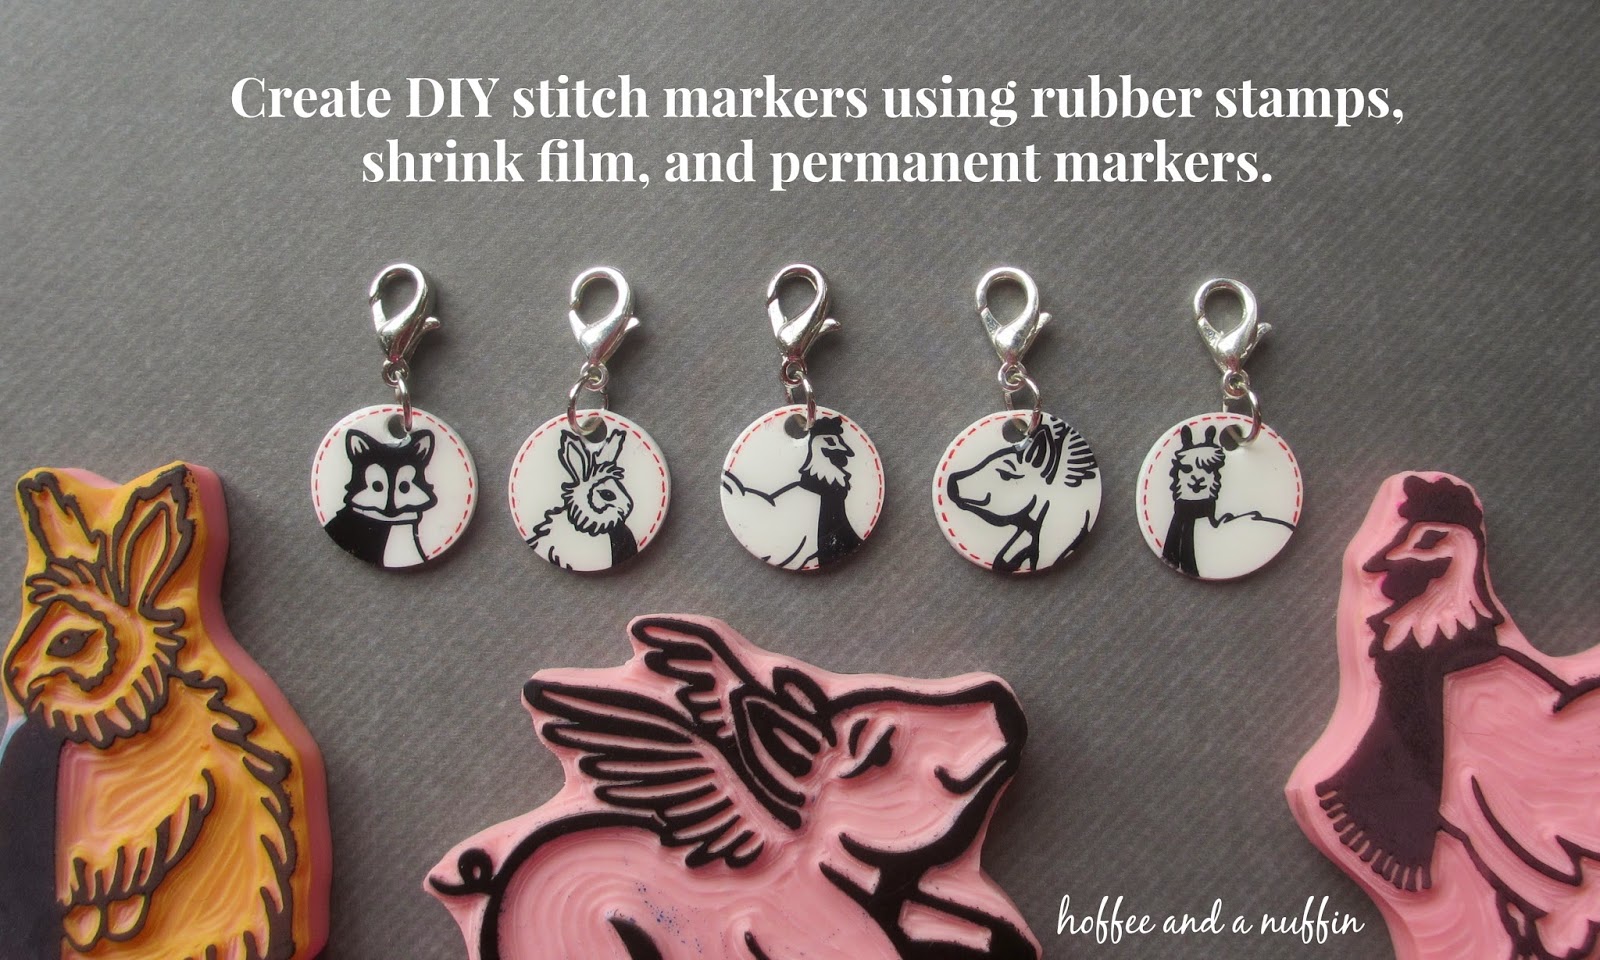
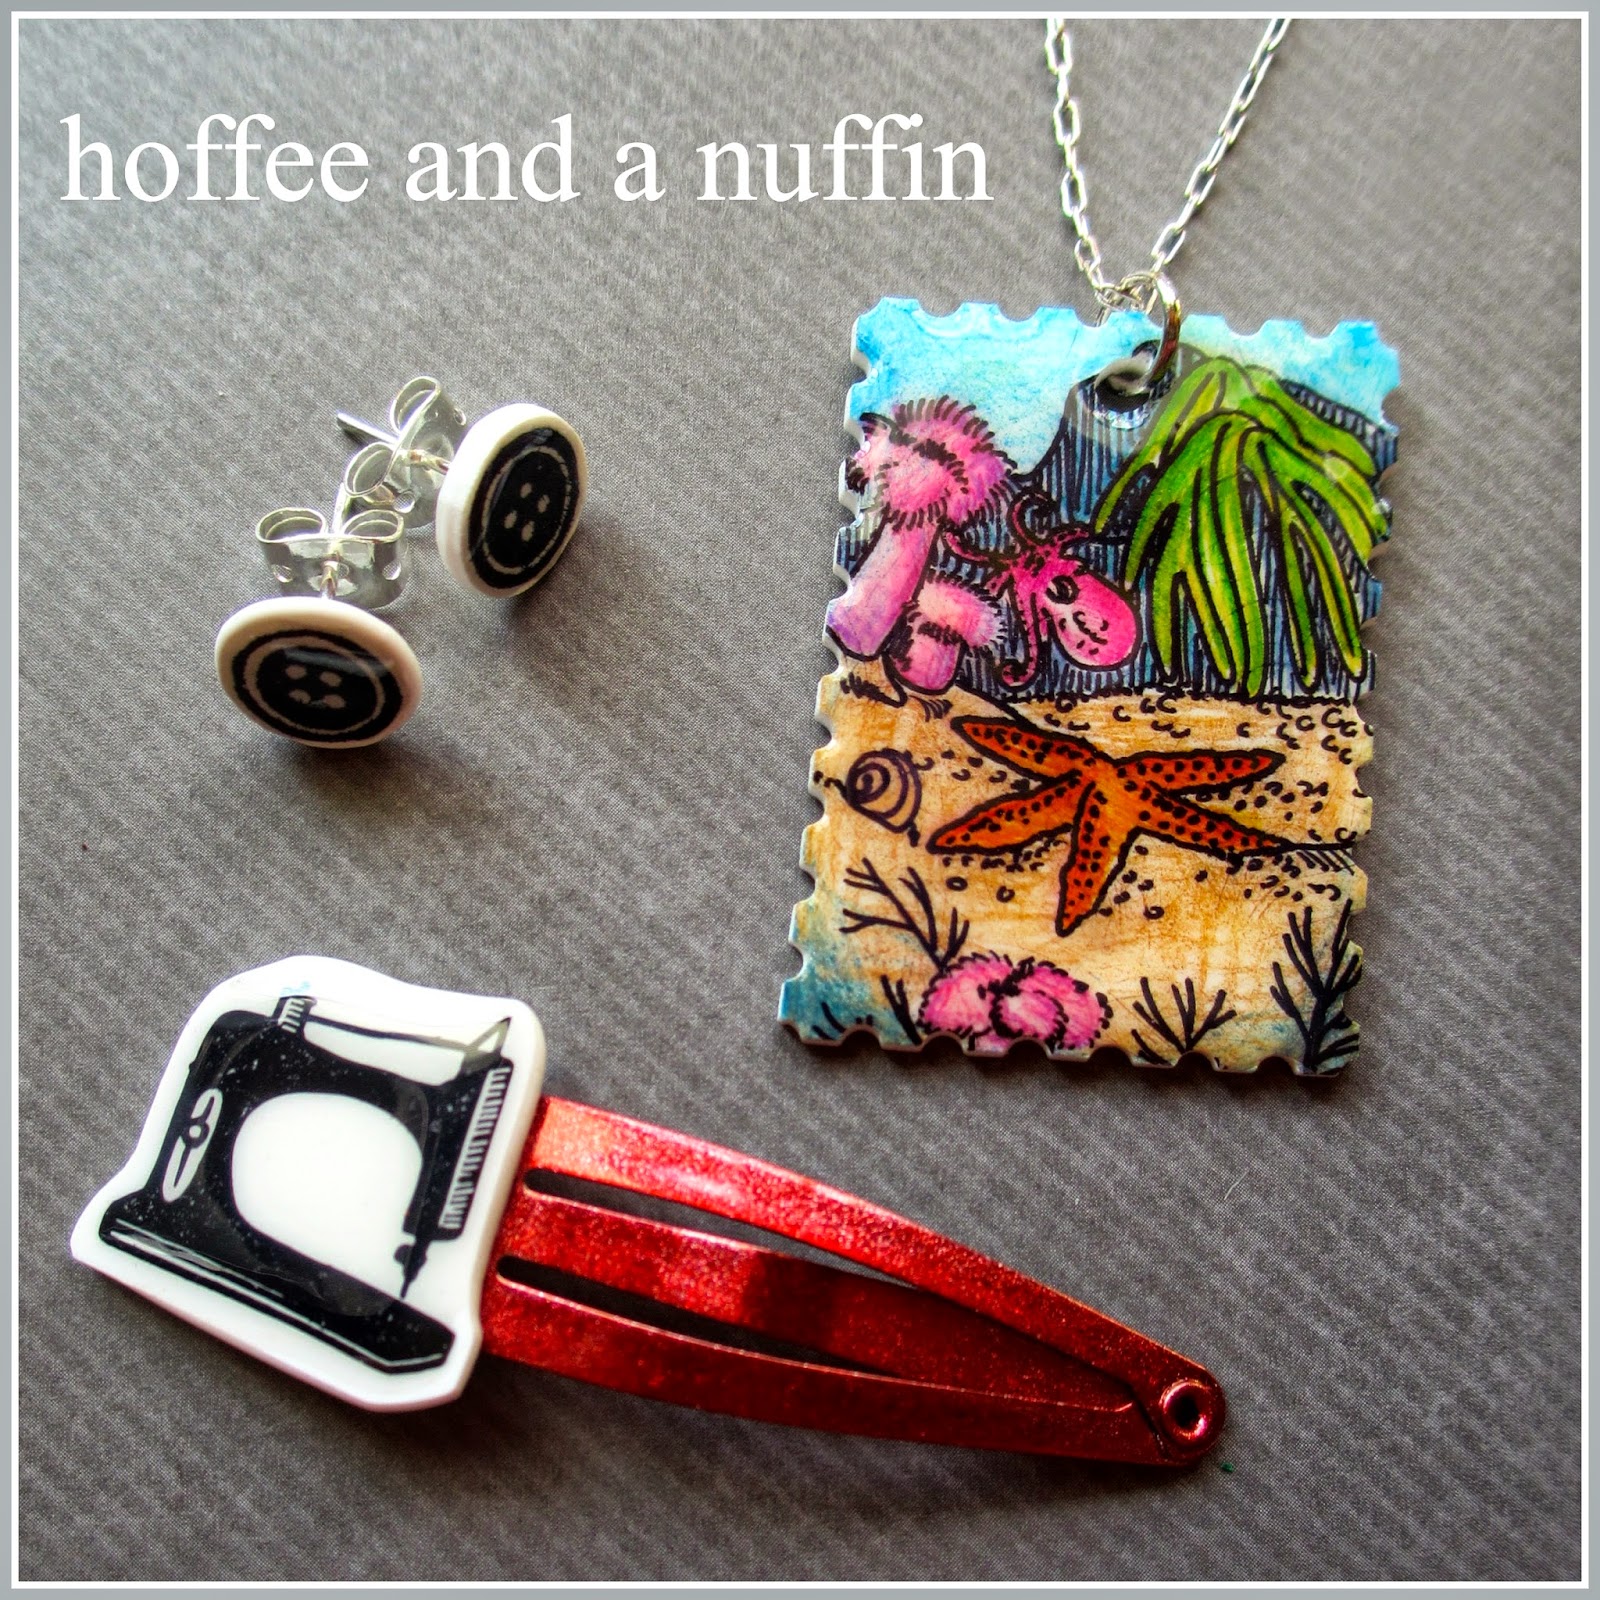
I had forgotten that I had this box of treasures. Check out this loot! I imagine I just might be making some earrings, hair clips, and brooches for the bazaar I'll be vending at in November. Are you inspired yet?
And here they are! A few of my finished pieces. The drawing of the tide pool was inspired by a coloring page for the boys' starfish dissection prep work. It was made by drawing on roughed-up film with black Sharpie marker and colored with pencil. I knew that the
buttons would be earrings and thought the
sewing machine would be a small brooch... until I found those hair clips! Guess what I'm wearing in my hair tomorrow?
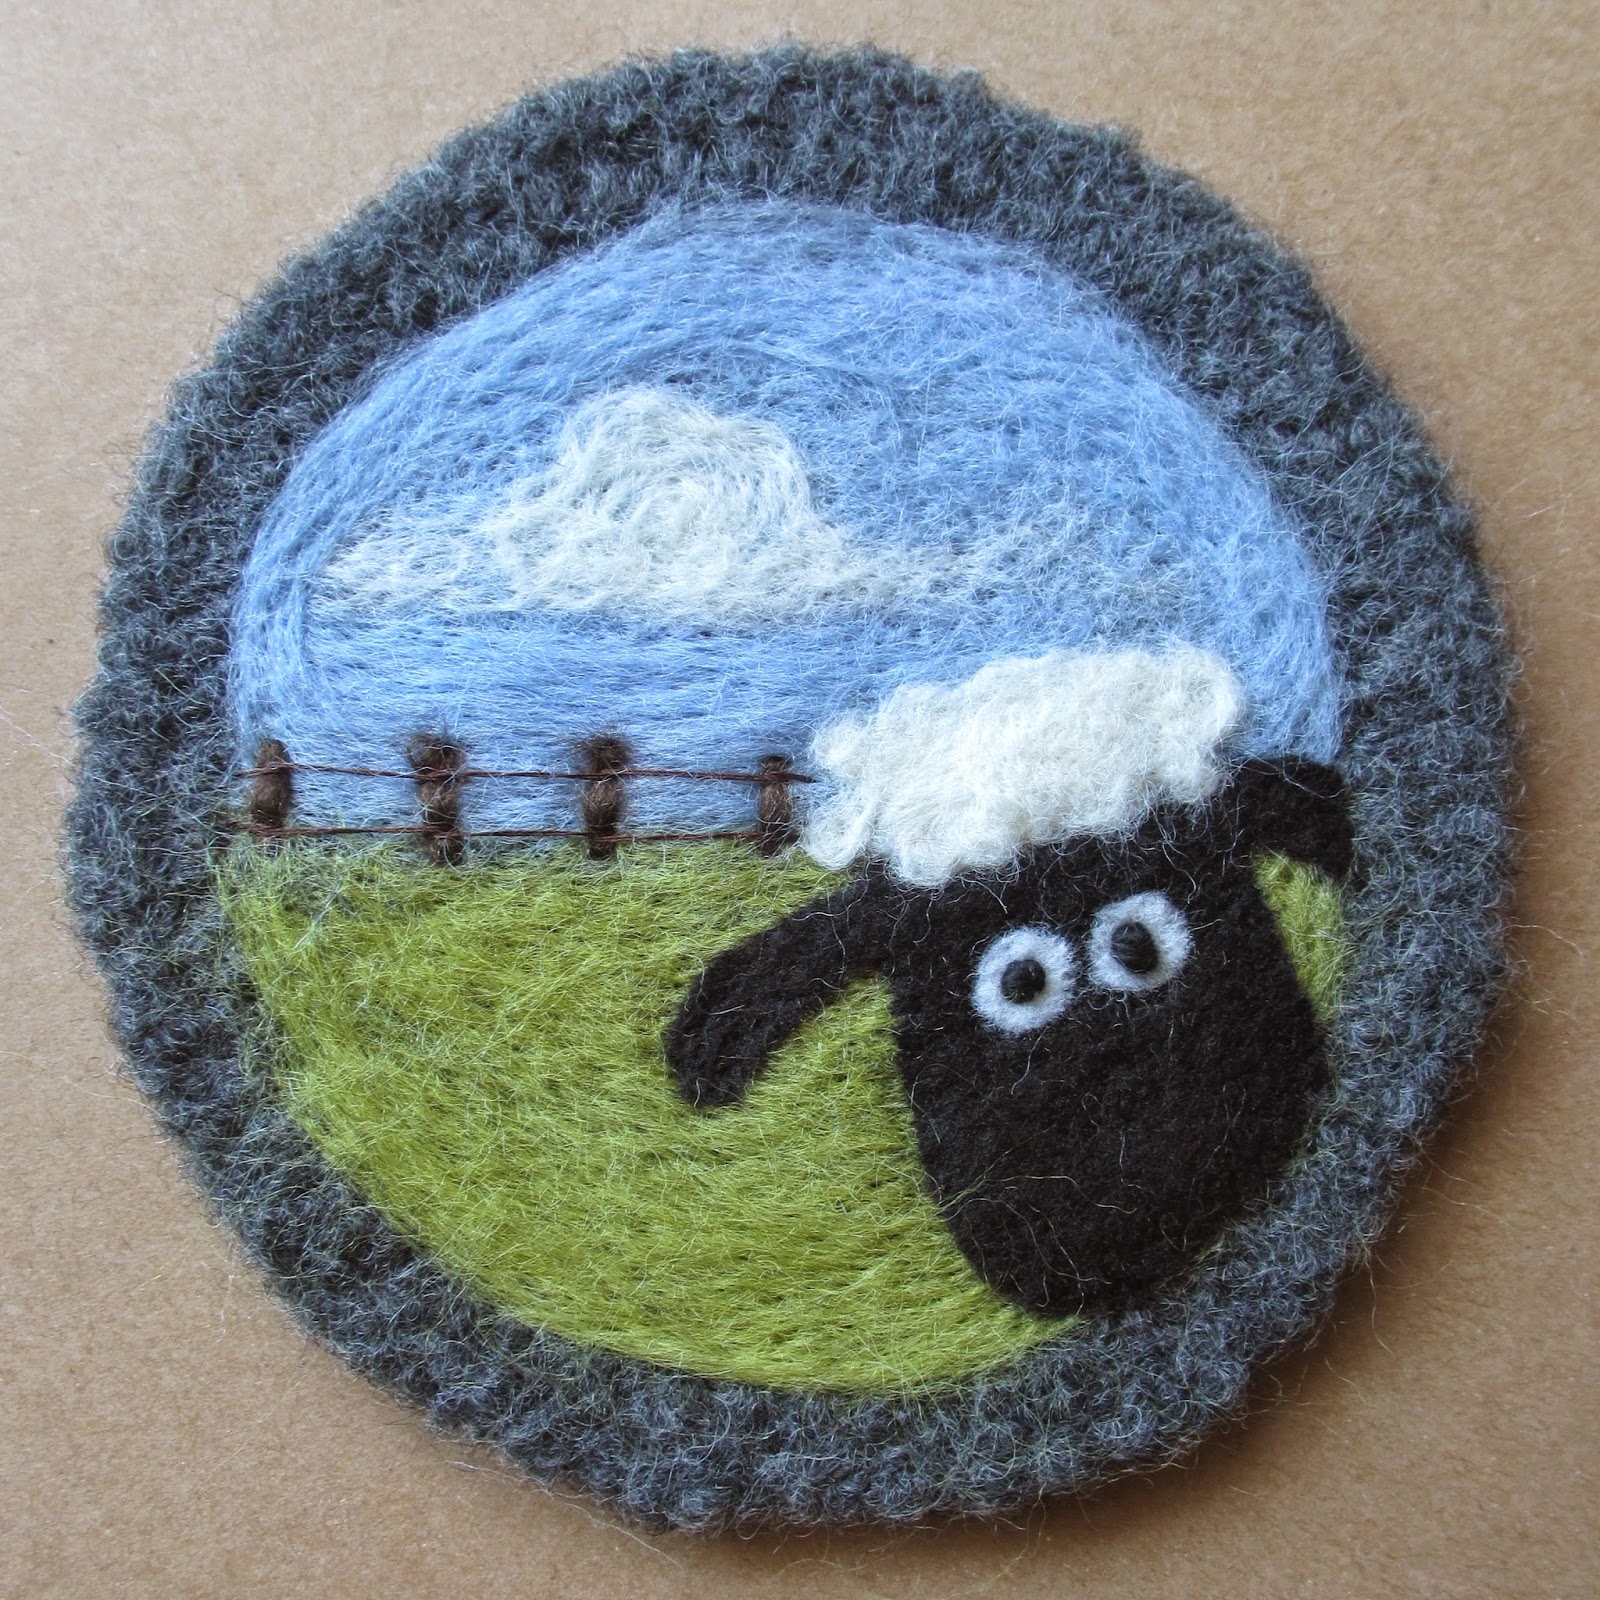
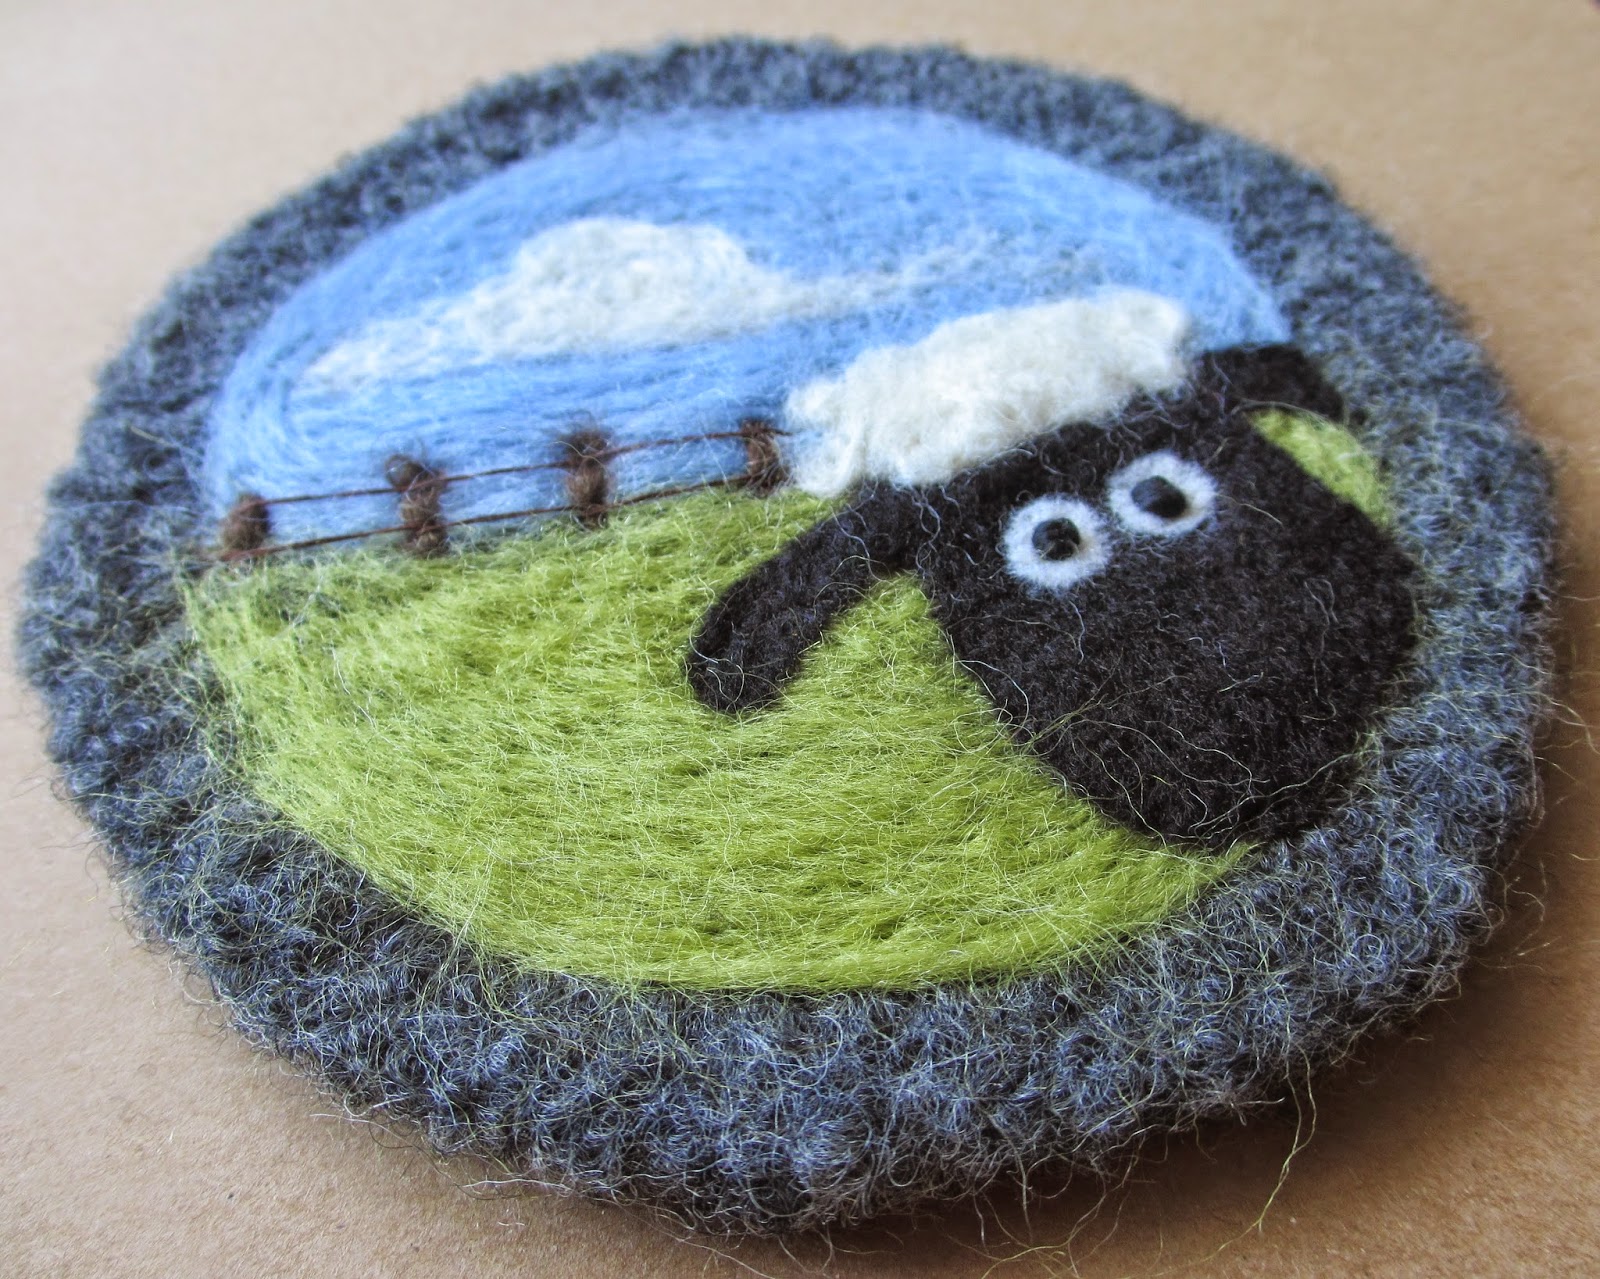
(The sewing machine, button, and state of Oregon hand carved rubber stamps can be found in my
Etsy shop. You may notice that the sewing machine is "backwards" according to the listing on Etsy. This is because I used my master stamp to create my shrink film design. I mention this
just in case anybody might have noticed and would have thought to ask.)