
Often, when I'm testing out a new rubber stamp design, I'll stamp the image repeatedly over a sheet of cardstock, then splash a bit of watercolor on it. (If you follow my adventures on Instagram you've probably seen the timelapse videos showing the process.) It's simple and so much FUN! Then I have a handmade, hand stamped sheet that I can cut down to make note cards. You can make your cards in any dimension that you'd like, with any medium and supplies you have on hand, but I'll include notes below for how I made mine.

Supplies needed:
printed paper (hand stamped, hand painted is what I used)
paper cutter
scoring mat and bone folder (optional)
pigment ink (permanent, optional)
glue
For every one 8 1/2" x 11" sheet of printed cardstock, I will need two sheets of blank cardstock for the card bases. I cut the printed paper down to 4" wide by 2 1/4" high (giving me 8 cards,) then I cut the other two blank sheets down to 4 1/4" wide by 5" high (giving me 8 card bases.)

I use a scoring mat and bone folder to score the card base at 2 1/2" so that my finished card measures 4 1/4" wide by 2 1/2" high.

Since I like to use my note cards as Thank You cards, and because I just LOVE this chunky "Thank You" stamp by Inkadinkado, this is my go-to for these types of cards. Any sentiment stamp will work. Or, you don't have to use any type of sentiment stamp at all. It's up to you! I happened to have this Ranger archival ink pad out, and because it has permanent, waterproof ink, this is what I used on my cards.

Be sure to have a scrap piece of paper behind your work for this step, otherwise you may have an inky mess on your work surface!

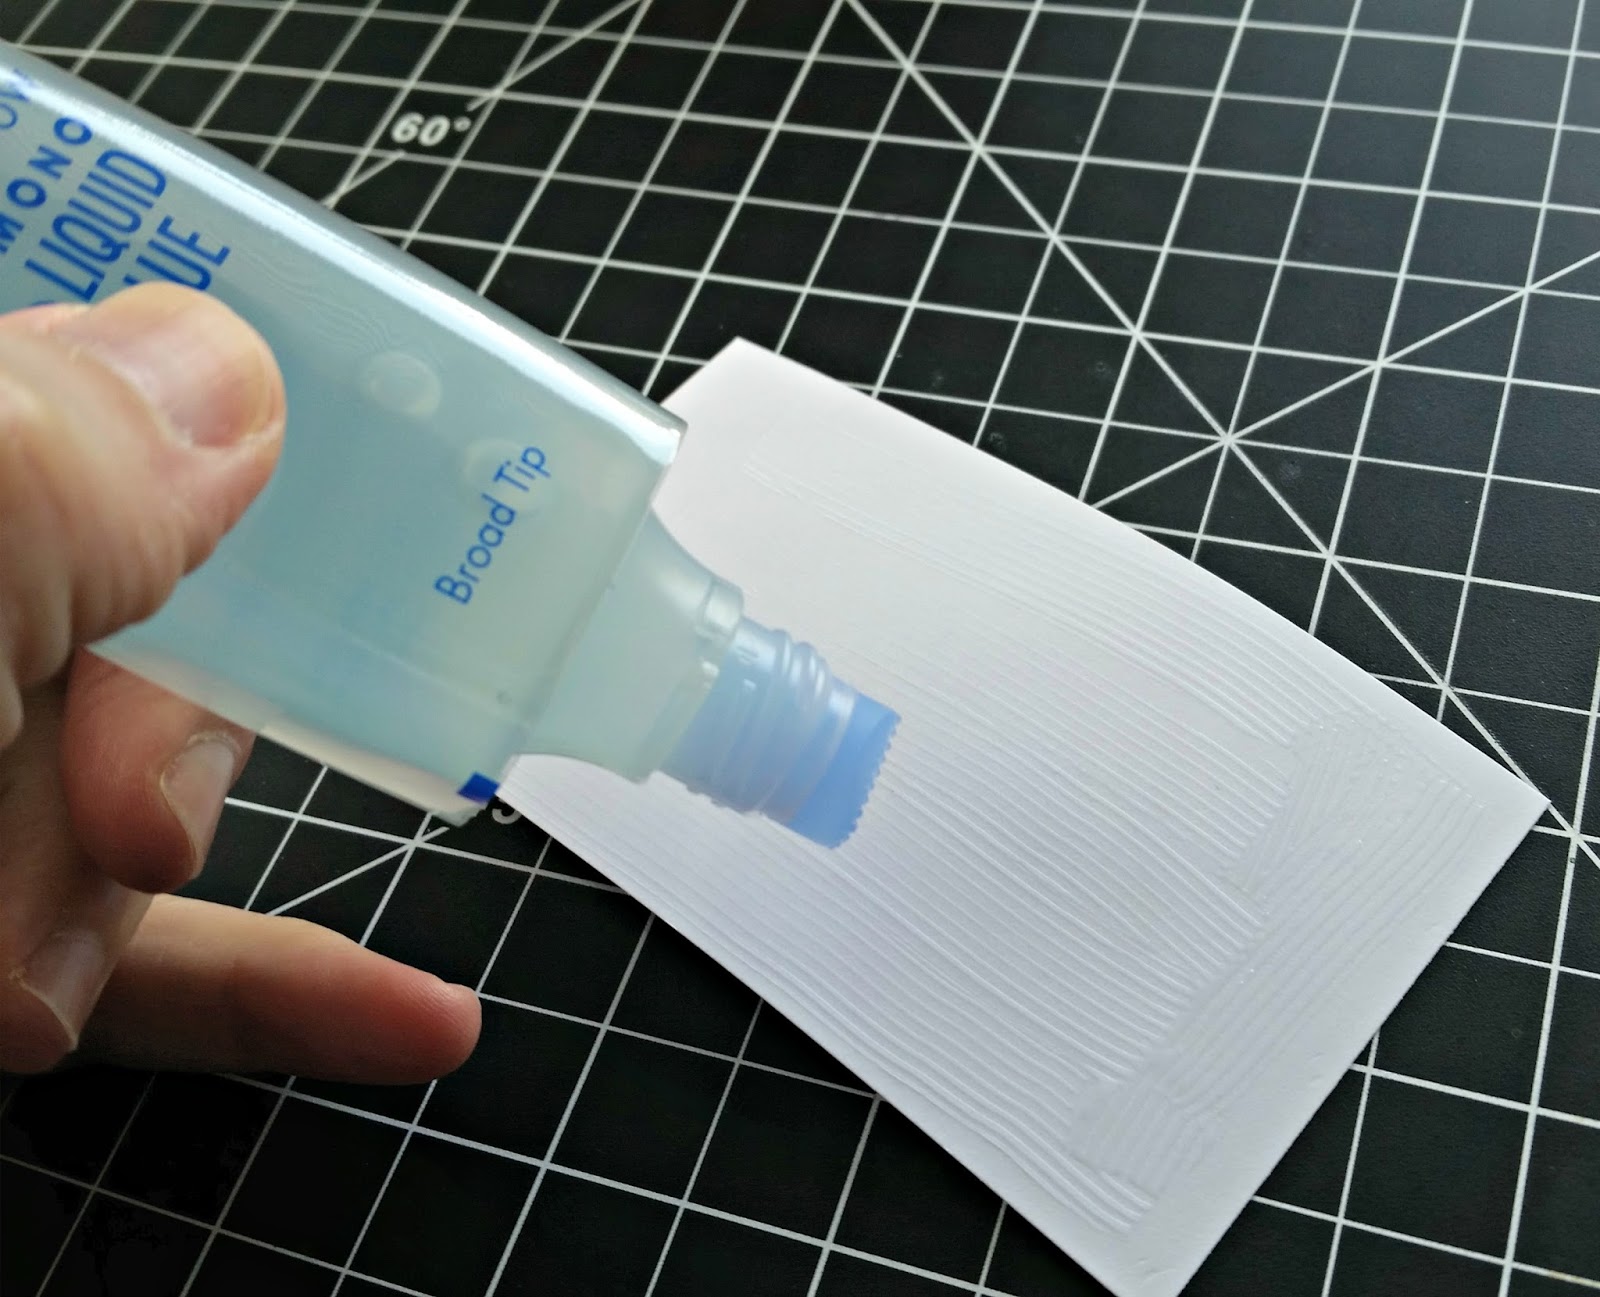
Now that my stamping is finished, it's time to attach the cards to the card bases. Tombow Mono Liquid Glue is one of my very favorite adhesives to use. (My kid's too. I know because he's ALWAYS stealing mine to use on his art projects. I've since learned to buy them two at a time.) That's just me. Use your favorite adhesive or tape runner to attach your cards to their bases.

Really, that's it! You can modify this technique to create any size card that you need. For example: quarter the sheet (4 1/4" x 5 1/2") and you've got four A2 size cards. That may be useful when mass-producing holiday cards!

For unique hand carved rubber stamps, I invite you to visit my Etsy shop.
Happy Crafting! And as always, THANK YOU for following along on my handmade journey.