My goodness it's been a while since I've been around these parts! I'm kept very busy between homeschooling the monkeys, cooking, baking, and carving. Most of you know because you have a peek into my life on Facebook or Instagram, or both. I appreciate that you are following along on my handmade journey. I feel that I'm in good company.
We've talked a bit about rubber stamps and which ink pads to use, but today I'm going to share with you how it is that I have been making my bookmarks. Just because I make mine this way, doesn't mean that this is how you have to make yours. Know that there is no right or wrong way of doing this. We will each have our own techniques, making our finished items unique. This is the exciting part of HANDMADE!
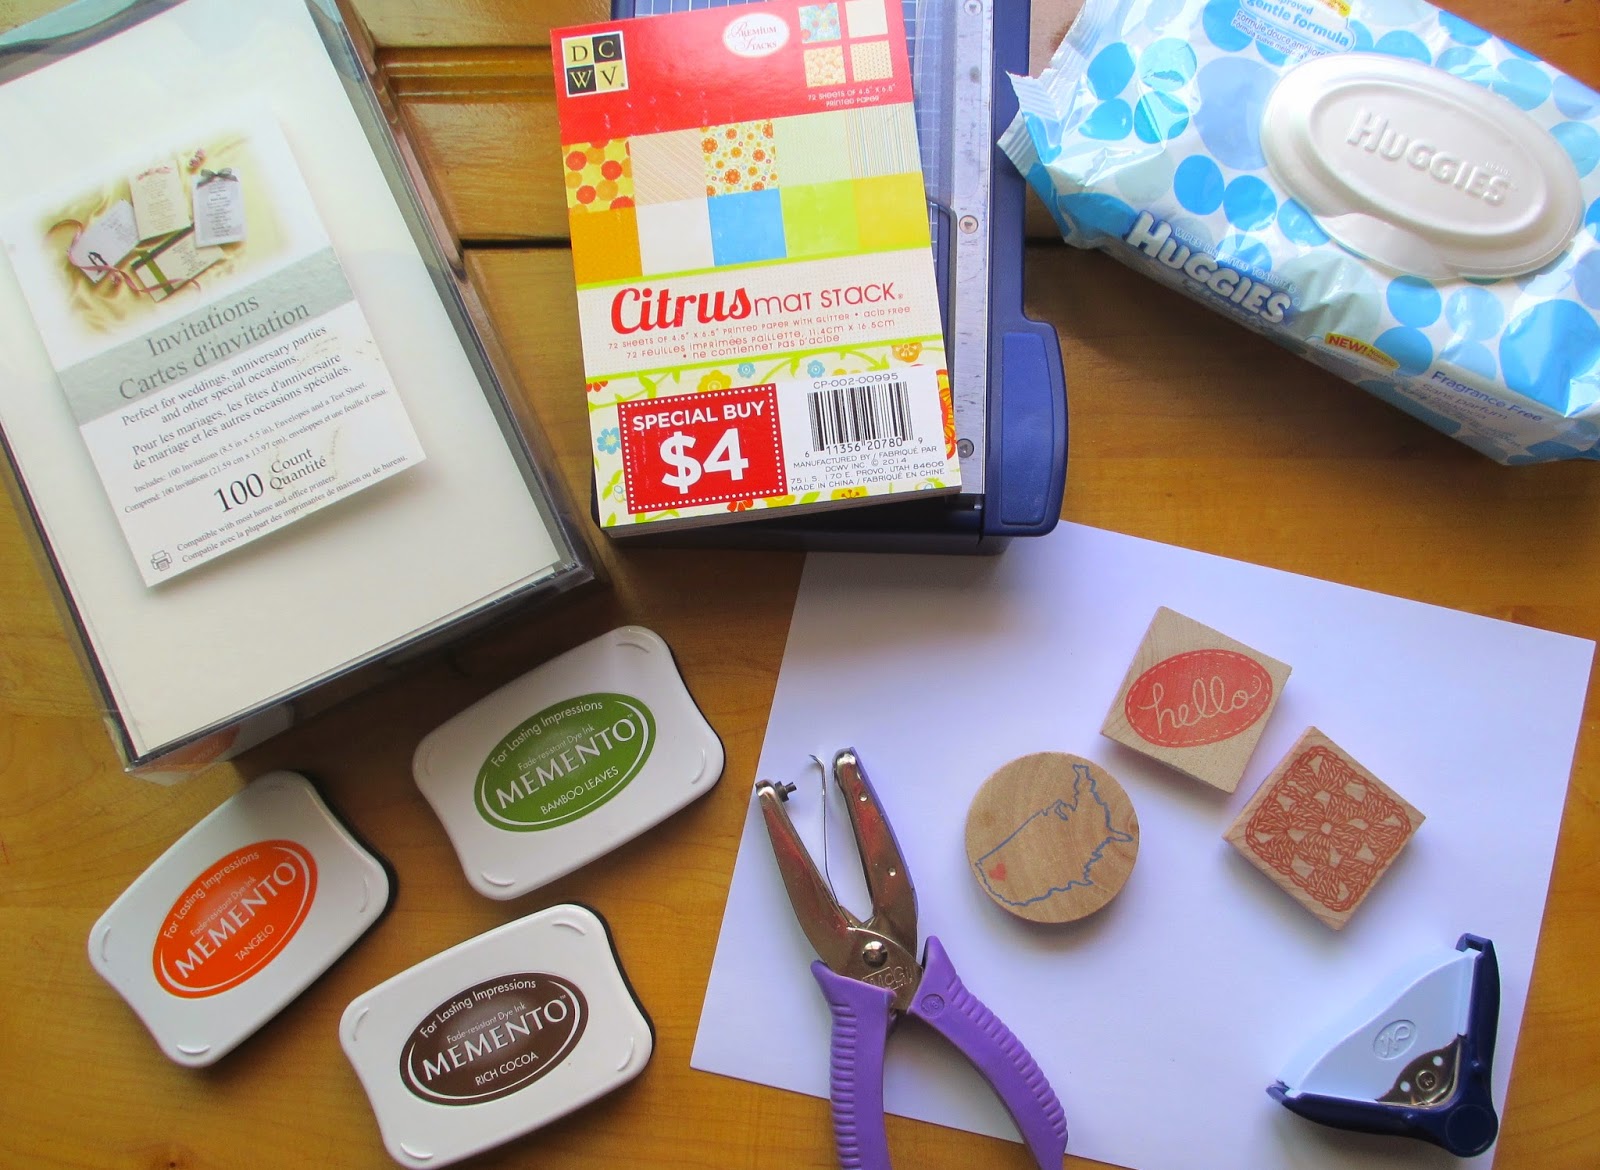
Here are my supplies. You should gather:
cardstock
ink
rubber stamps
cleaning wipes
corner rounder (optional)
hole punch
yarn or thread (optional)
I like to leave my paper whole (uncut) and cover the entire surface with stamped images. When making the granny square pattern, I like to start from the bottom and work my way up because I can easily see the underside of the rubber stamp above the previous stamped square.
I kept repeating the pattern until the entire paper was covered.
We should keep our rubber stamps cleaned after use. Using cleaning wipes (Huggies baby wipes, for example) makes easy work of that.

When one side of the cardstock has been completely covered, I turned it over and covered the other side.


I stamped the backside of the floral paper in a random pattern.

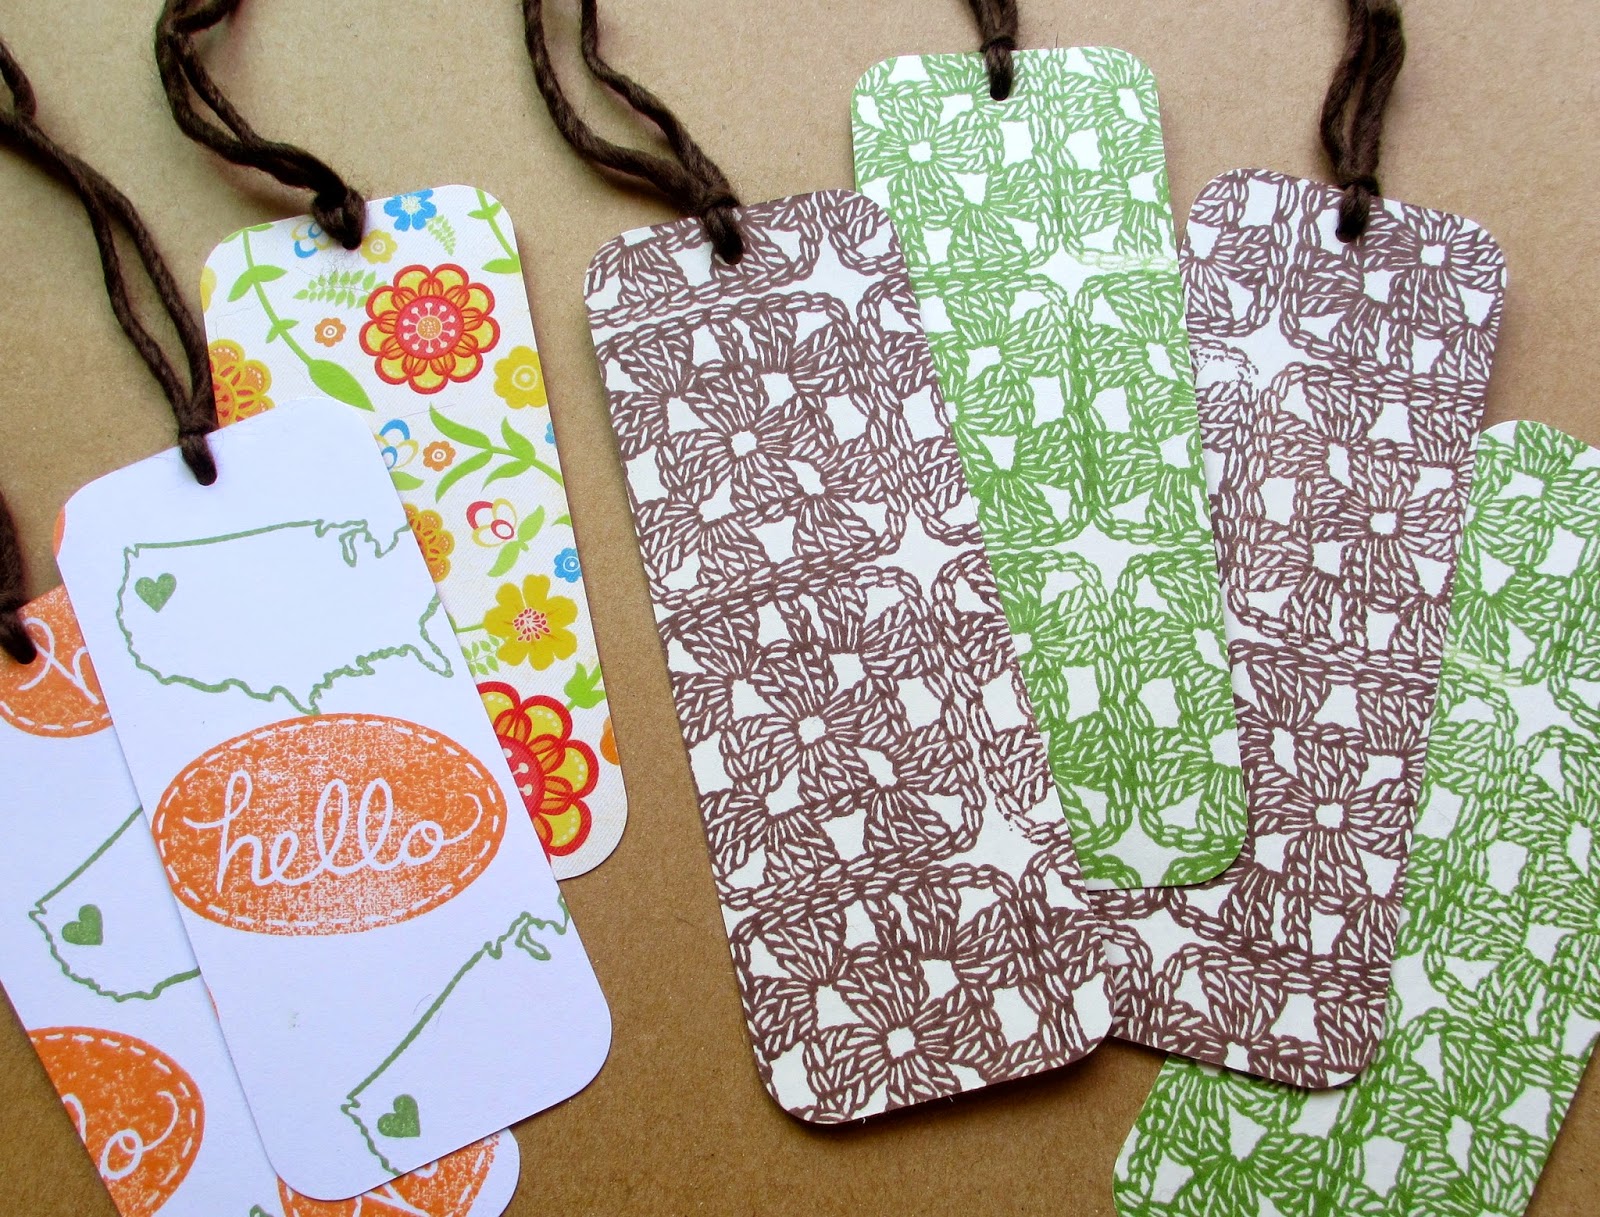
Here we have them! These papers are ready to be cut.
Although my two papers are a different length, I still cut them at 2 inches wide. You may do what makes you happy!

They can be left with squared corners are they are seen here...

...or as I prefer, the corners can be rounded with a corner punch.
Don't forget to add a hole at the top! (I think this punch makes a 1/4" hole.)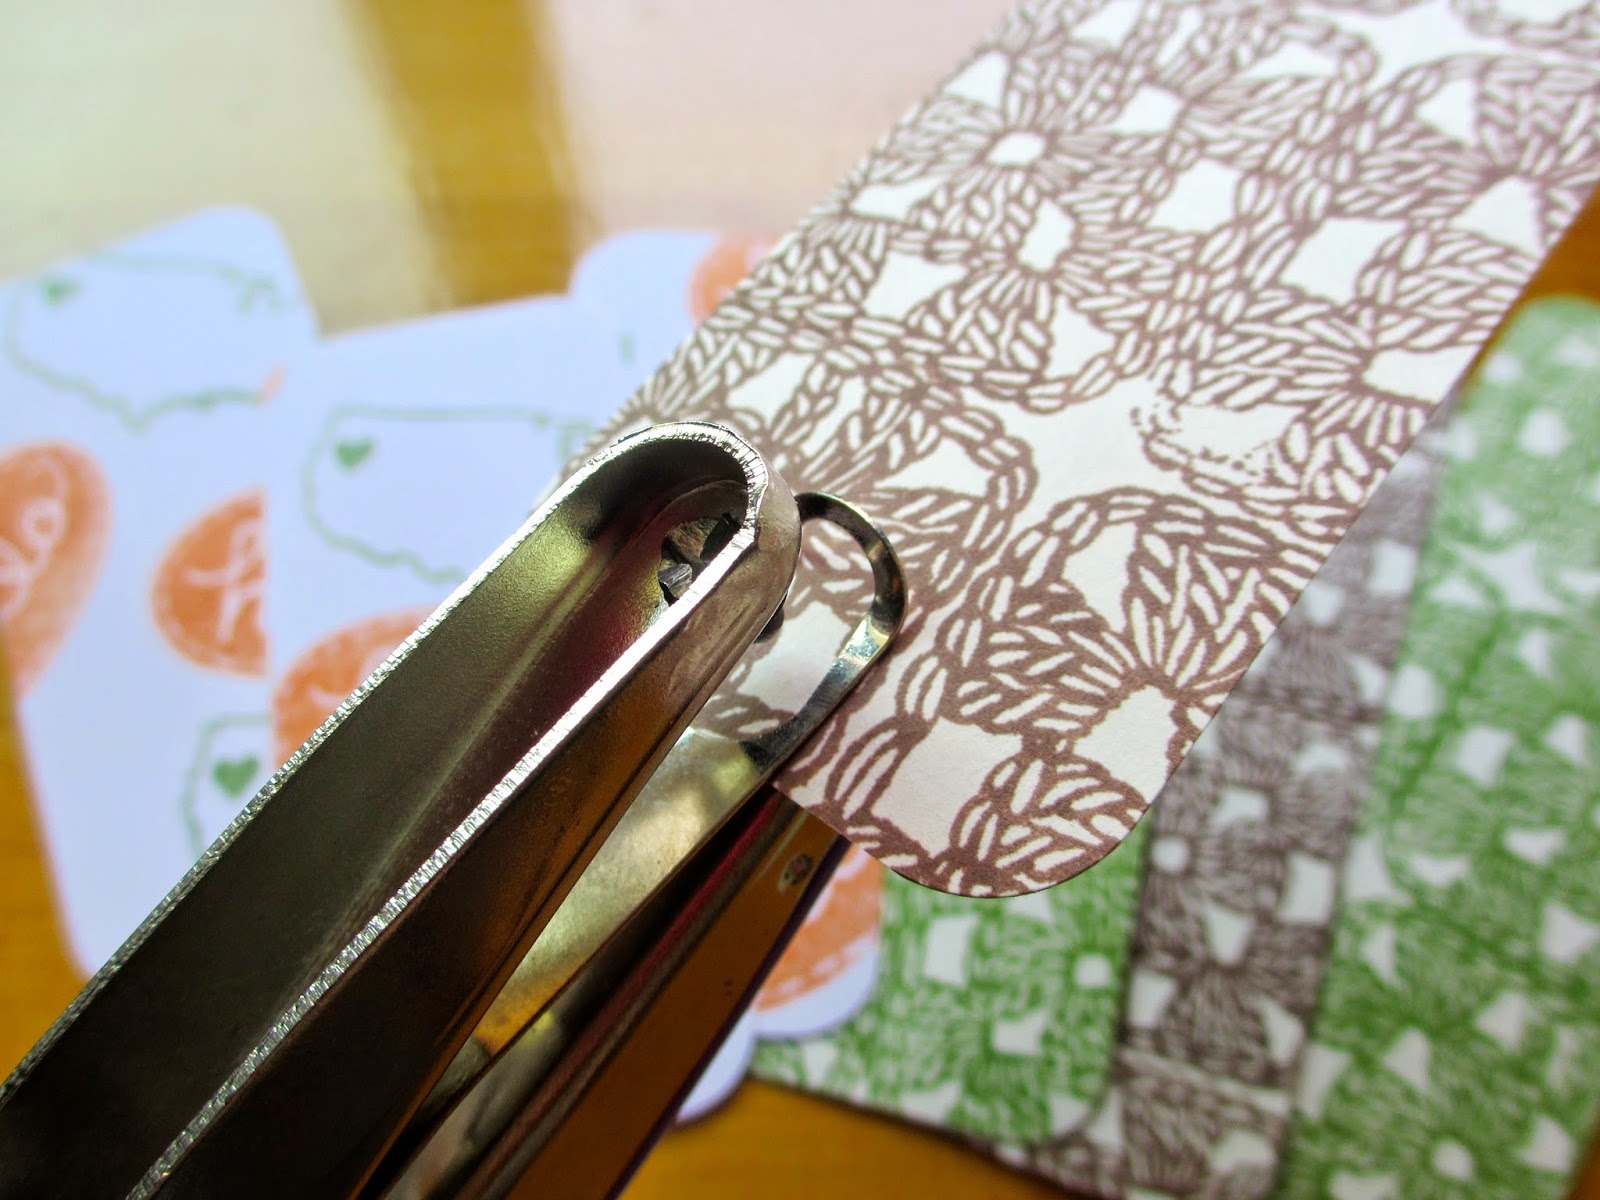
My yarn was cut approximately 12" long. I folded a piece in half, threaded the fold through the hole and secured it with a larks head knot.


I hope you found this tutorial to be helpful. Be sure to follow me on Facebook or Instagram for frequent updates, products, and tips! Happy crafting!

No comments:
Post a Comment