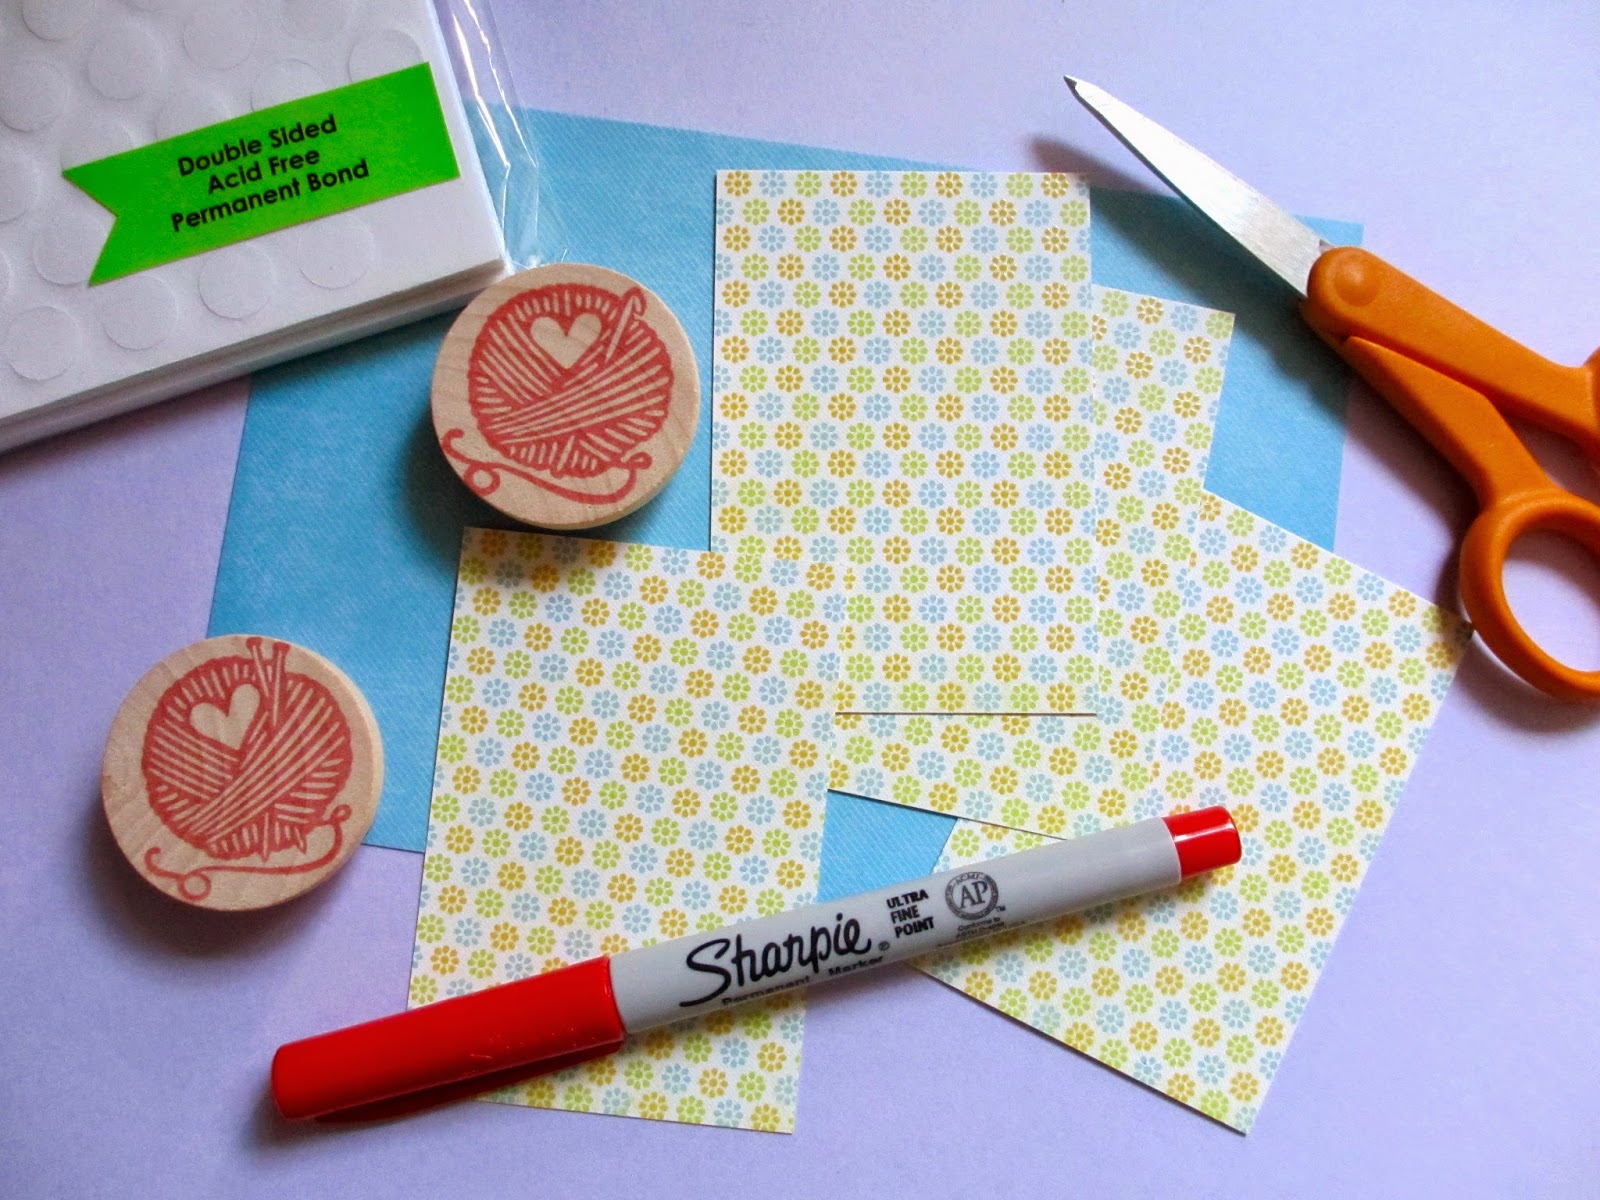
I just added these two lovely little stamps to my Etsy shop and was inspired to make a few tags with them. To make these tags you'll need just a few basic supplies.
Card stock (I cut mine into 2.25" x 3.25" rectangles)
Rubber stamps
Ink for your stamps
Scissors or paper cutter
Circle punch (1.25", or size desired)
Double adhesive foam dots
Marker (Sharpie rocks!)
Corner punch
Hole punch
Mod Podge Dimensional Magic
String, yarn, or thread
Chalk ink (optional)

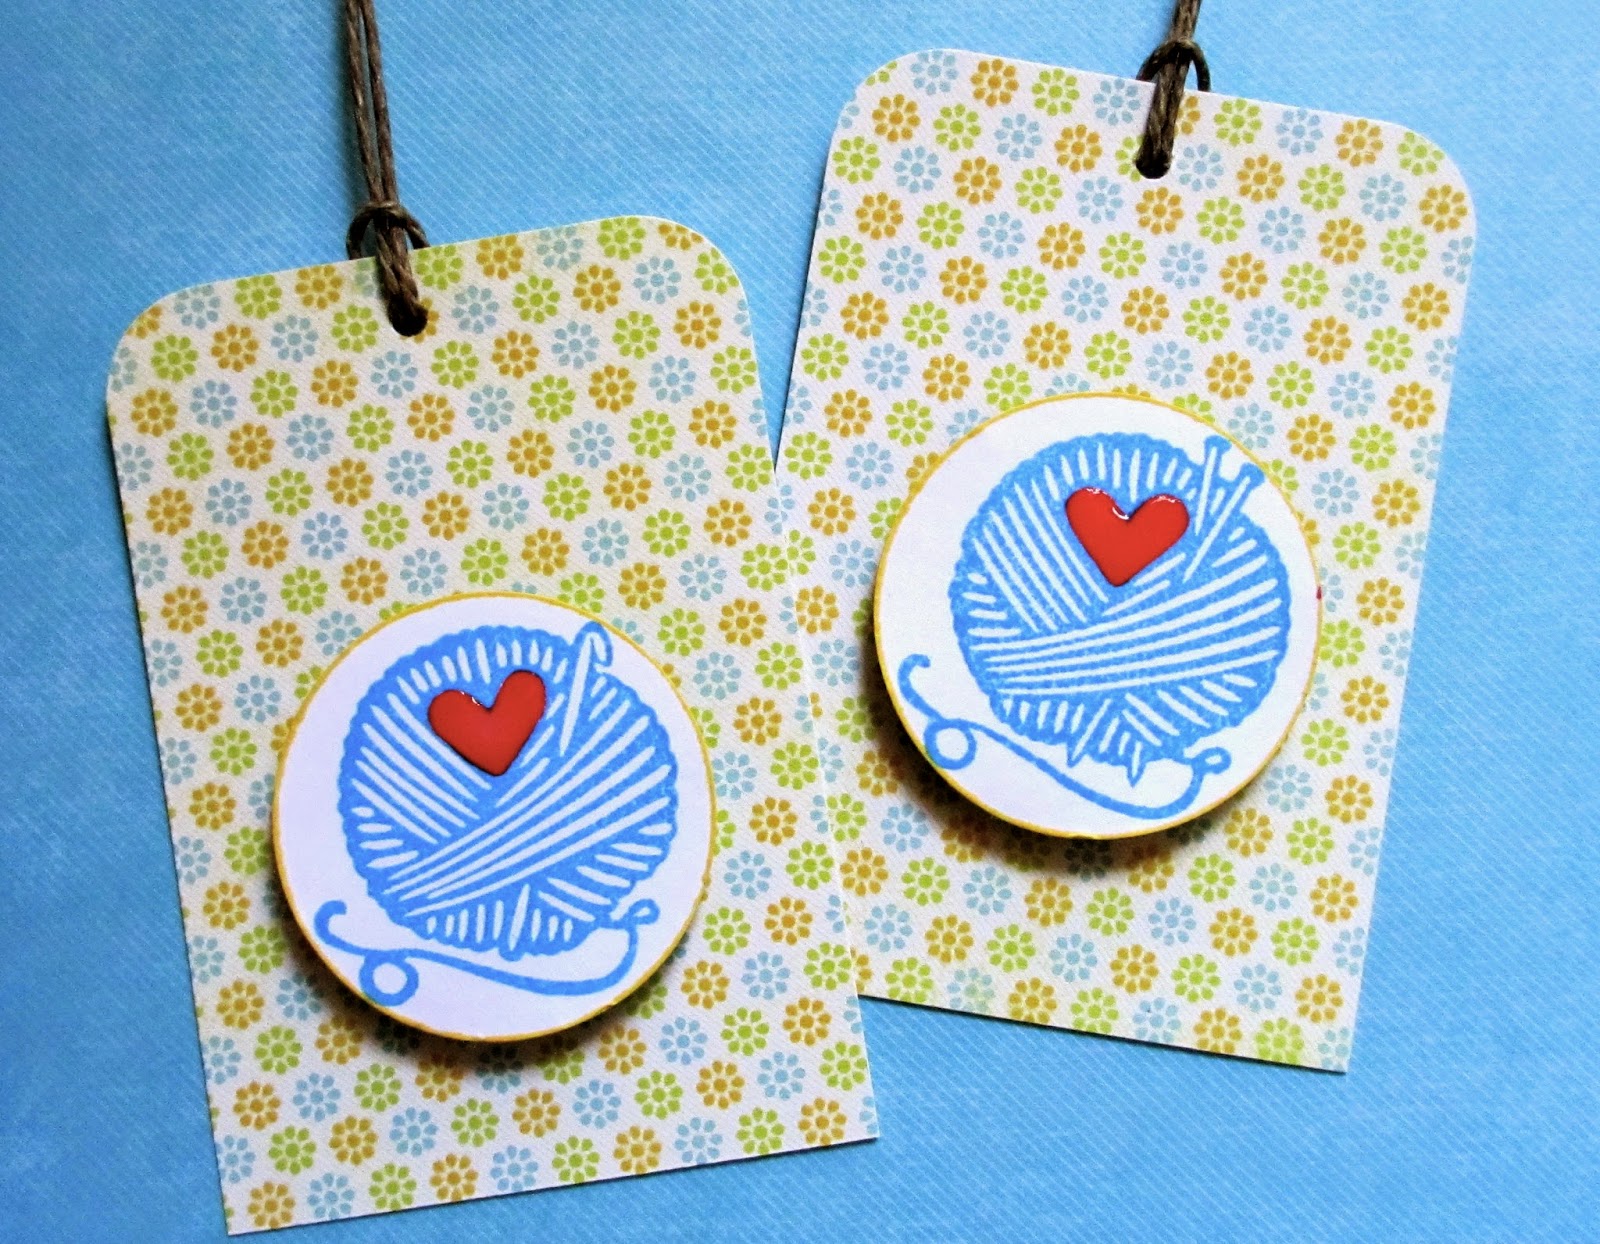
I happened to have four images stamped onto scrap card and I just hate throwing things away. I knew that I had a punch that I could use to salvage the images. (This is where you will use your favorite stamp(s) on card stock. Let it dry, then punch them out.) I used my favorite red Sharpie to color in the hearts on two of the yarn stamps, then I applied Mod Podge Dimensional Magic over the surface of the hearts.
Set those aside so they don't get smudged.
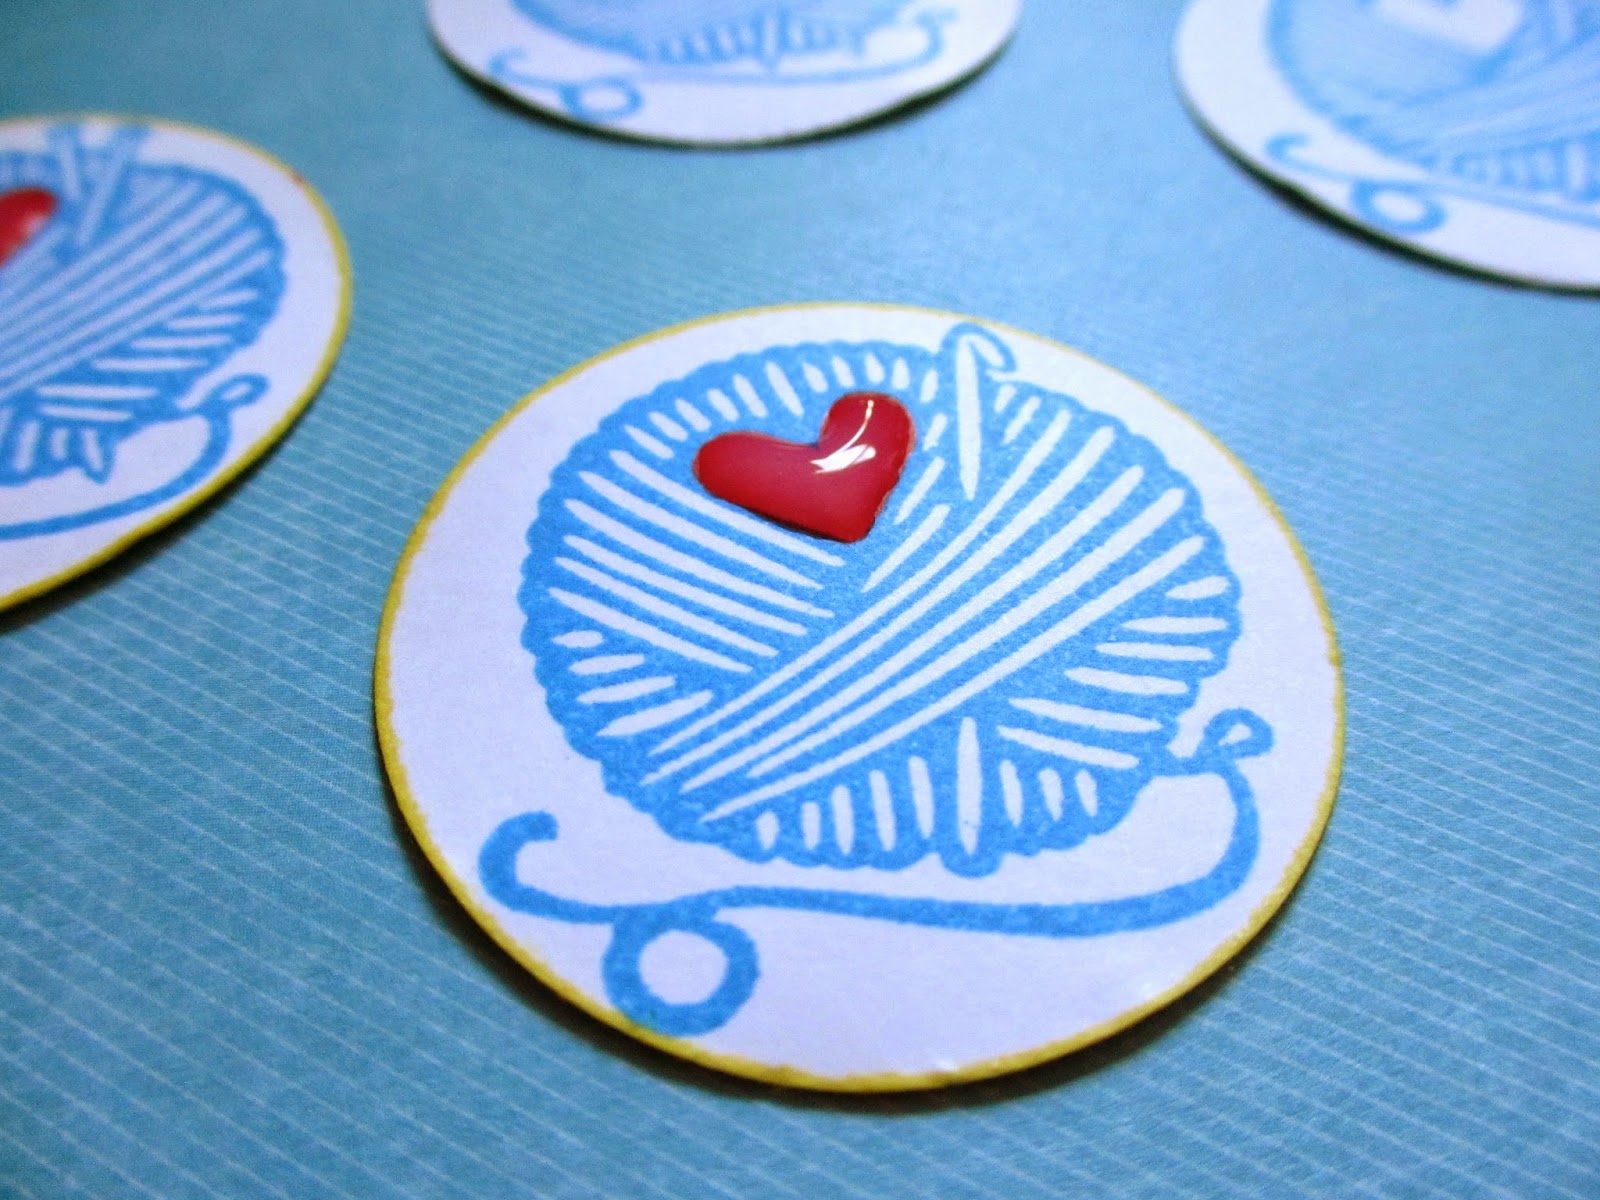
It's so pretty!
For the other two stamps I used chalk ink to rub over the edges of the circles to add a bit of color and dimension to the tag. Just so you know, you don't HAVE to use chalk ink. I happened to use dye based ink on the images with the embossed hearts. The ink you use really depends on the effect you're trying to achieve. Experiment and try all possible ways! You may just discover what YOU like best.
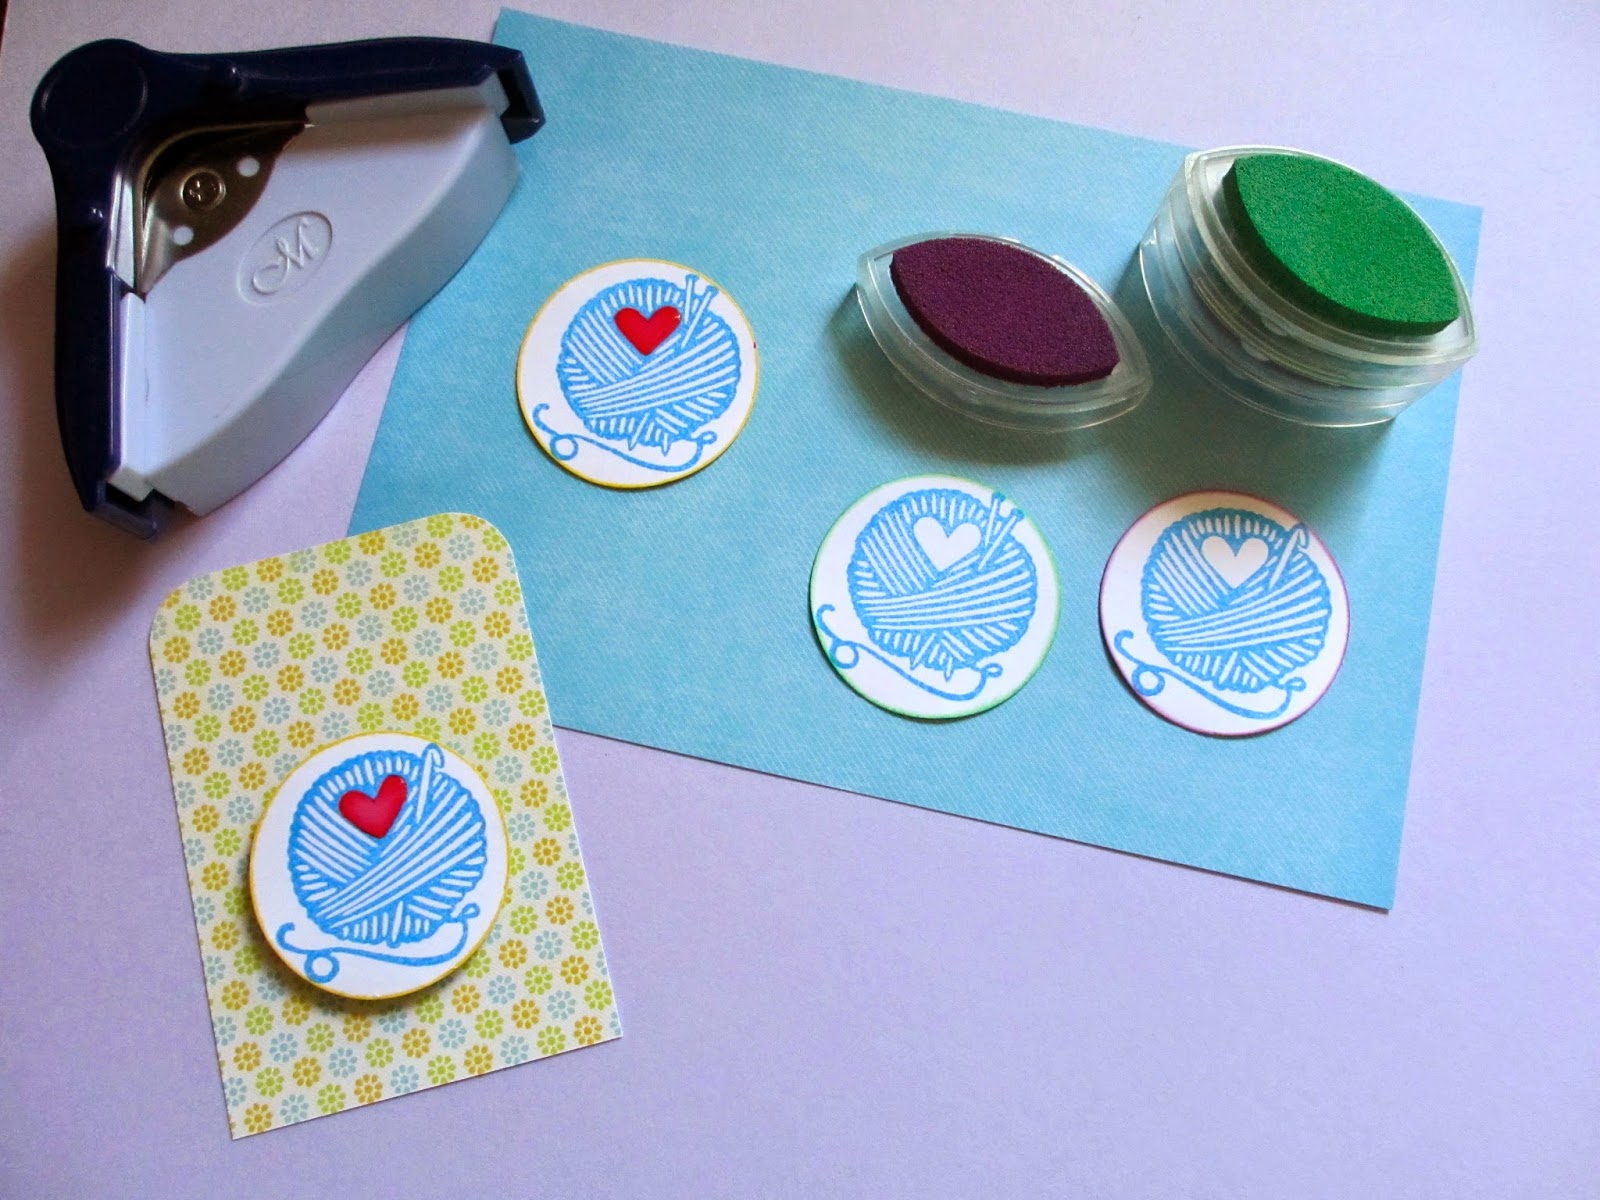
Use a corner punch to cut the top corners off. I liked the way it looked with the bottom corners left as they were.
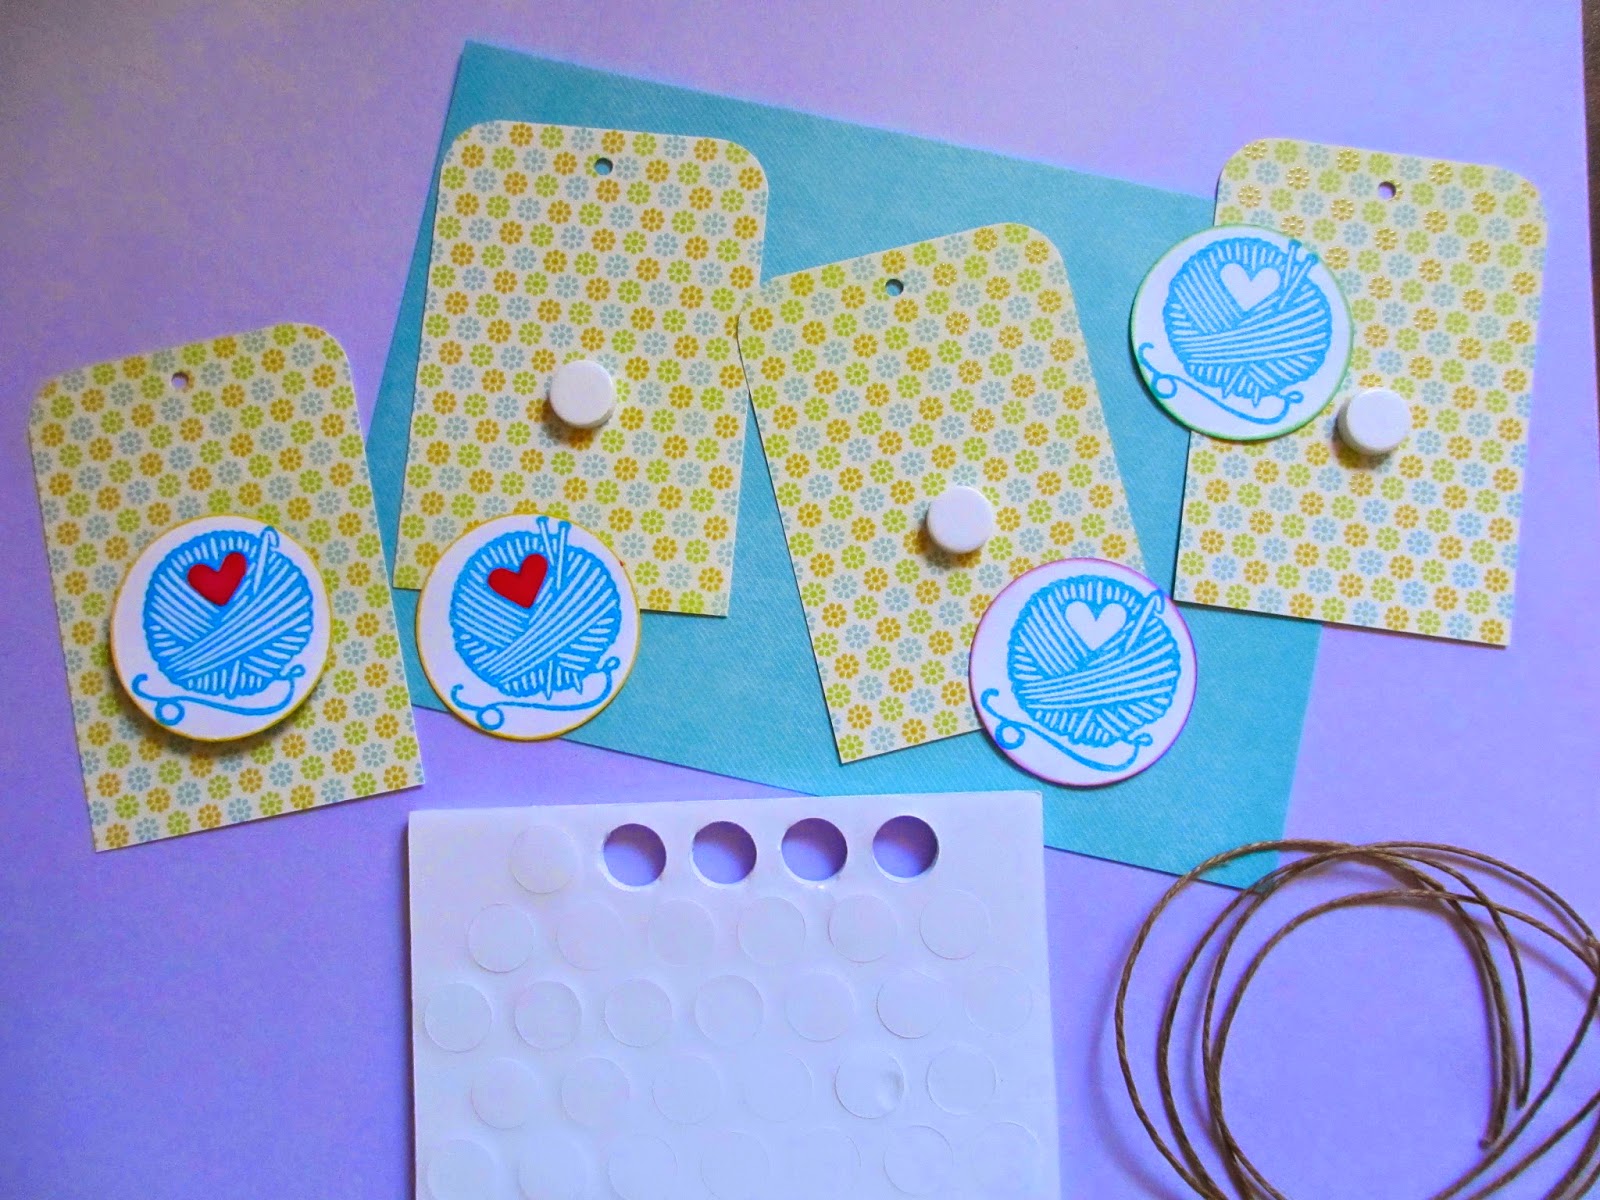
Punch the hole at the top where you'll thread your string, attach the adhesive dots, and attach your punched circles to the top of the dots.

And that's it!

1 comment:
Great job! Nice post and keep sharing.....
Post a Comment