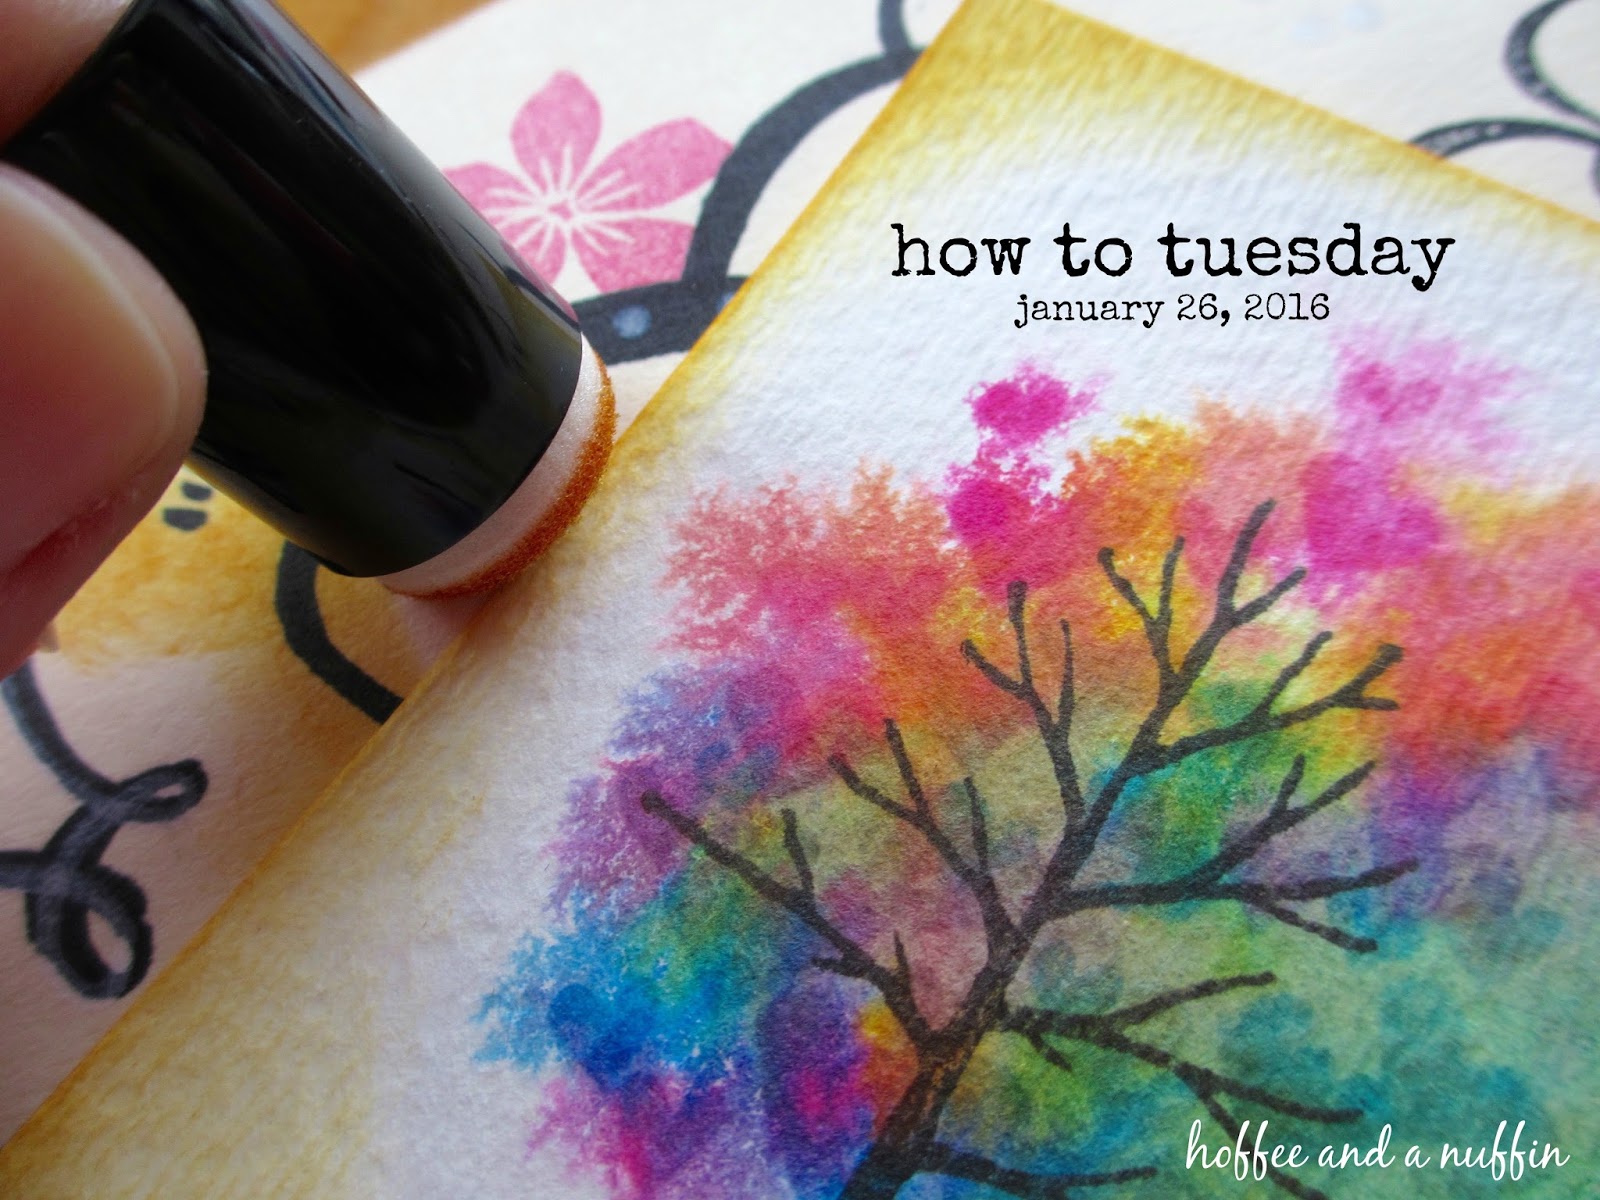
As you know I've recently discovered Tim Holtz Distress Inks and have been experimenting with them and learning how they work. One of my favorite things to make lately is the Rainbow Tree. I love layering and blending colors, and this is a fun (beginner/great-for-kids, too!) project to use techniques that allow colors to play with each other. I also wanted to compare creating trees with distress inks to creating trees with watercolor paints.
What you'll need:
Tree (With Endless Possibilities) Hand Carved Rubber Stamp
What you'll need:
Tree (With Endless Possibilities) Hand Carved Rubber Stamp
Three Tiny Hearts Hand Carved Rubber Stamp
(okay, those stamps are completely optional, but I do recommend them!)
Watercolor Paper
Distress Ink
Water
Watercolor Paintbrush
Distress Ink
Water
Watercolor Paintbrush
Paper Towels
A Sense Of Adventure
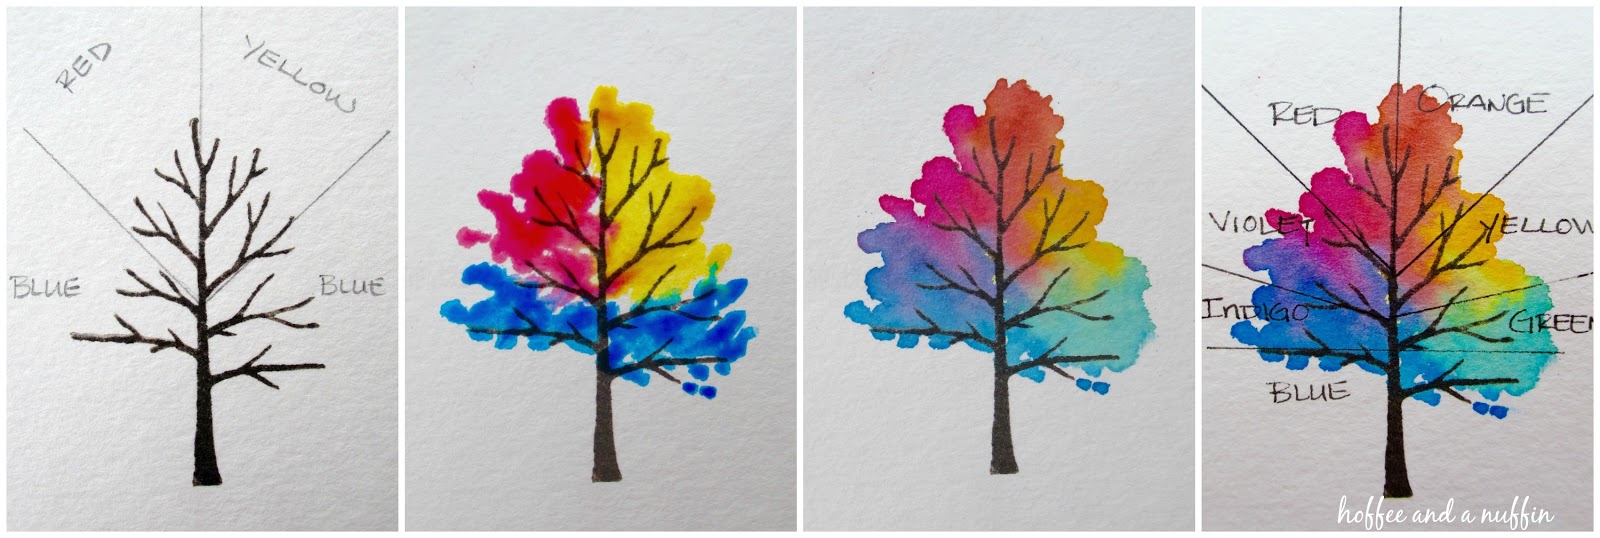
When I was shopping for distress inks, I deliberately purchased only three colors to see if I would even like using them. I knew that as long as I had "red", "blue", and "yellow", I could create a "rainbow" of colors to use. This is how the Rainbow Tree came to be. Take yourself back to elementary school, to a time when you were learning about the rainbow, primary colors, and secondary colors. This diagram shows the placement of color to create the "rainbow" effect on my tree. A little bit of water and a few brush strokes between those primary colors blends to create secondary colors, and ultimately the "rainbow". (I should note that this diagram was actually created with watercolors, NOT distress inks... but you get the point.)
Here's another example using distress inks. This time I added a few layers of color to really build up the pigment. I do love the look of layers of distress ink, especially when water is added to the distress ink after it has dried. Notice the trees in the center, and center left. When droplets of water are added to the ink, it "lifts" the ink, and can be blotted away with a dry paper towel, creating a sort of bleached effect. It almost reminds me of lens flare. It's really pretty!

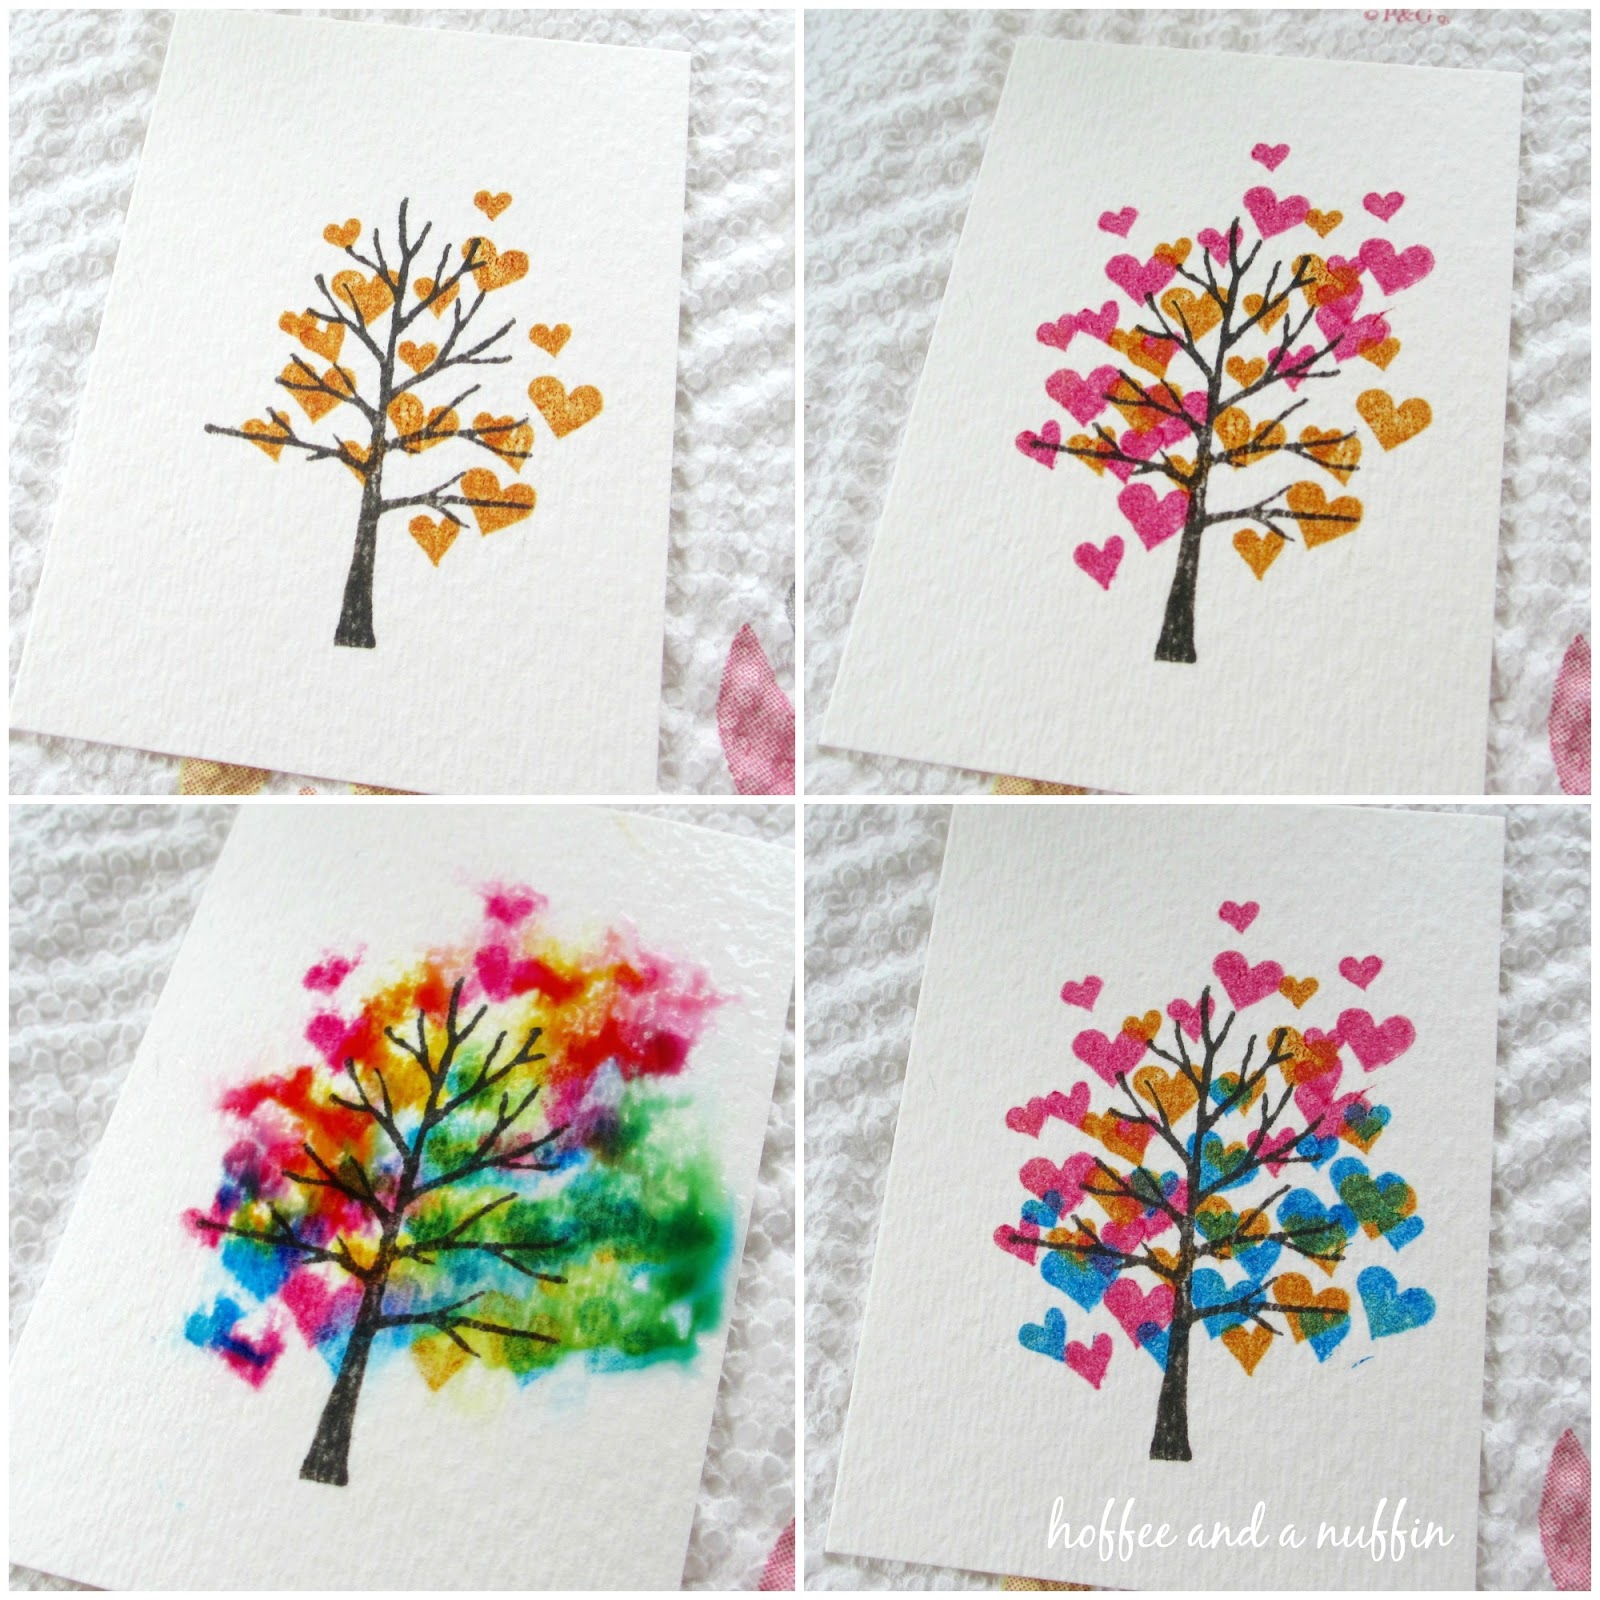
Another option is to add color with another rubber stamp. In this example, I used my Three Tiny Hearts rubber stamp, but any little stamp can be used. I first discovered this technique for my tree when I used a pencil eraser to add R, Y, B ink to my tree, then sprayed water on it to activate the ink and get it moving around on the paper. Later I discovered blowing on the wet ink with a straw to push it out toward the edges of the paper, as if the tree were stretching outward. That was kind of fun, too. (Kids will LOVE that!)
Next is a tree I made with watercolor paints. I have been using the distress inks as watercolor so much that it sort of became a "default" technique for adding wet color to my projects. (How do you use distress ink at a "wet" color? See last week's How To Tuesday for that demonstration.) In my opinion, both techniques work really well and I don't think I prefer one over the other. They're just different. I do feel like I had more control and richer pigment with my watercolors. I love the layering I can achieve with the distress ink, PLUS the advantage of "bleaching" the color with the addition of water. (That's so much fun!) They're both great.

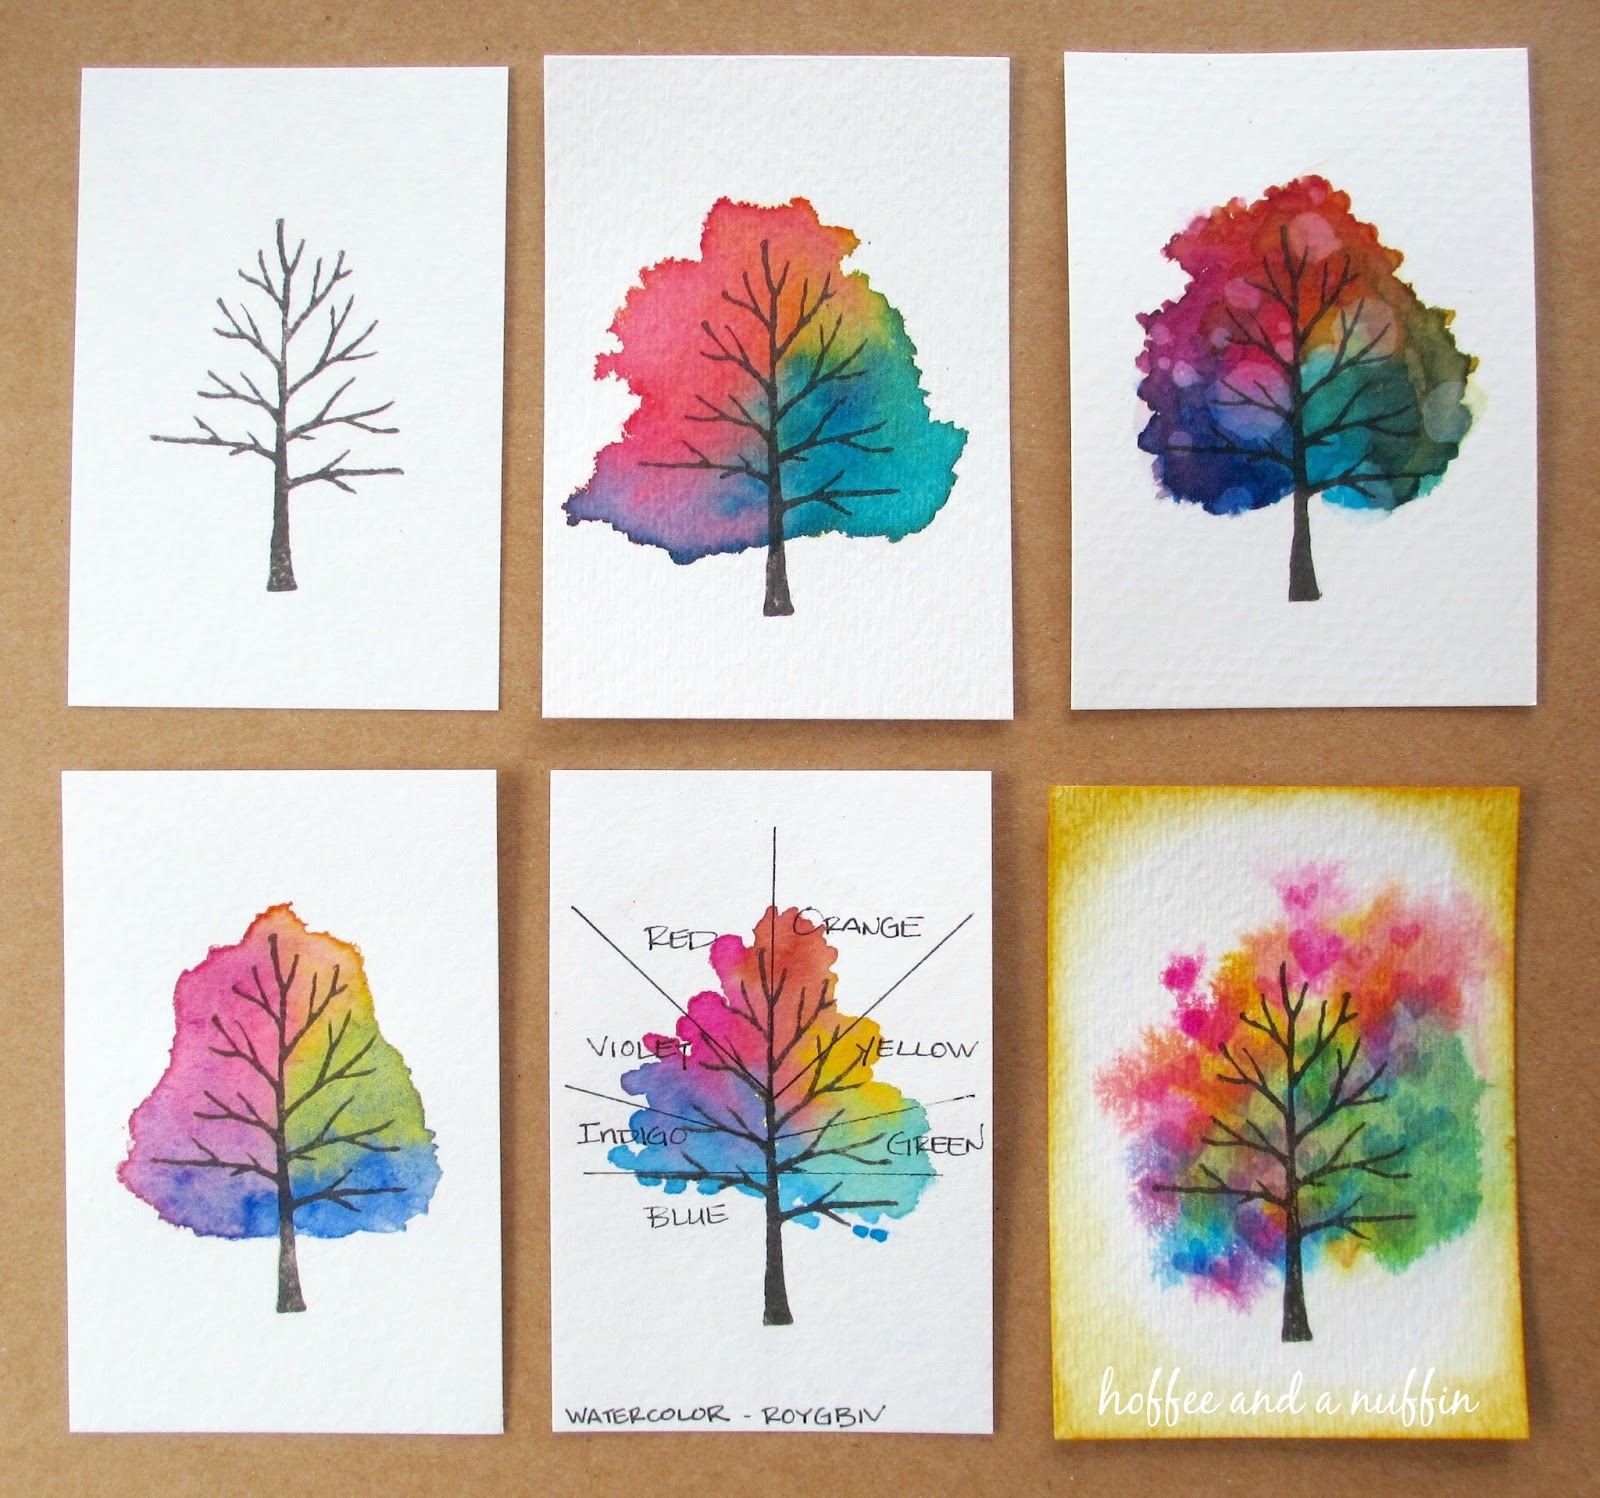
Left - Tree (With Endless Possibilities, small) rubber stamp with Timber Brown StazOn ink.
Center - distress ink applied as a watercolor
Right - distress ink applied as a watercolor, "bleached" by adding water and blotting with dry towel
Bottom Row:
Left - watercolor paint
Center - diagram of "rainbow" effect
Right - tree with color stamped with Three Tiny Hearts rubber stamp.
I hope this demonstration offers some inspiration and I look forward to seeing what you come up with. I'd love to see any trees you (or your kiddos!) make. Please share them with me on Facebook or Instagram: #hoffeeandanuffin
As always, thank you for following along on my handmade journey. Happy crafting!
1 comment:
Post a Comment